X Carriage and Toolchanger
For the X-carriage assembly you will need:
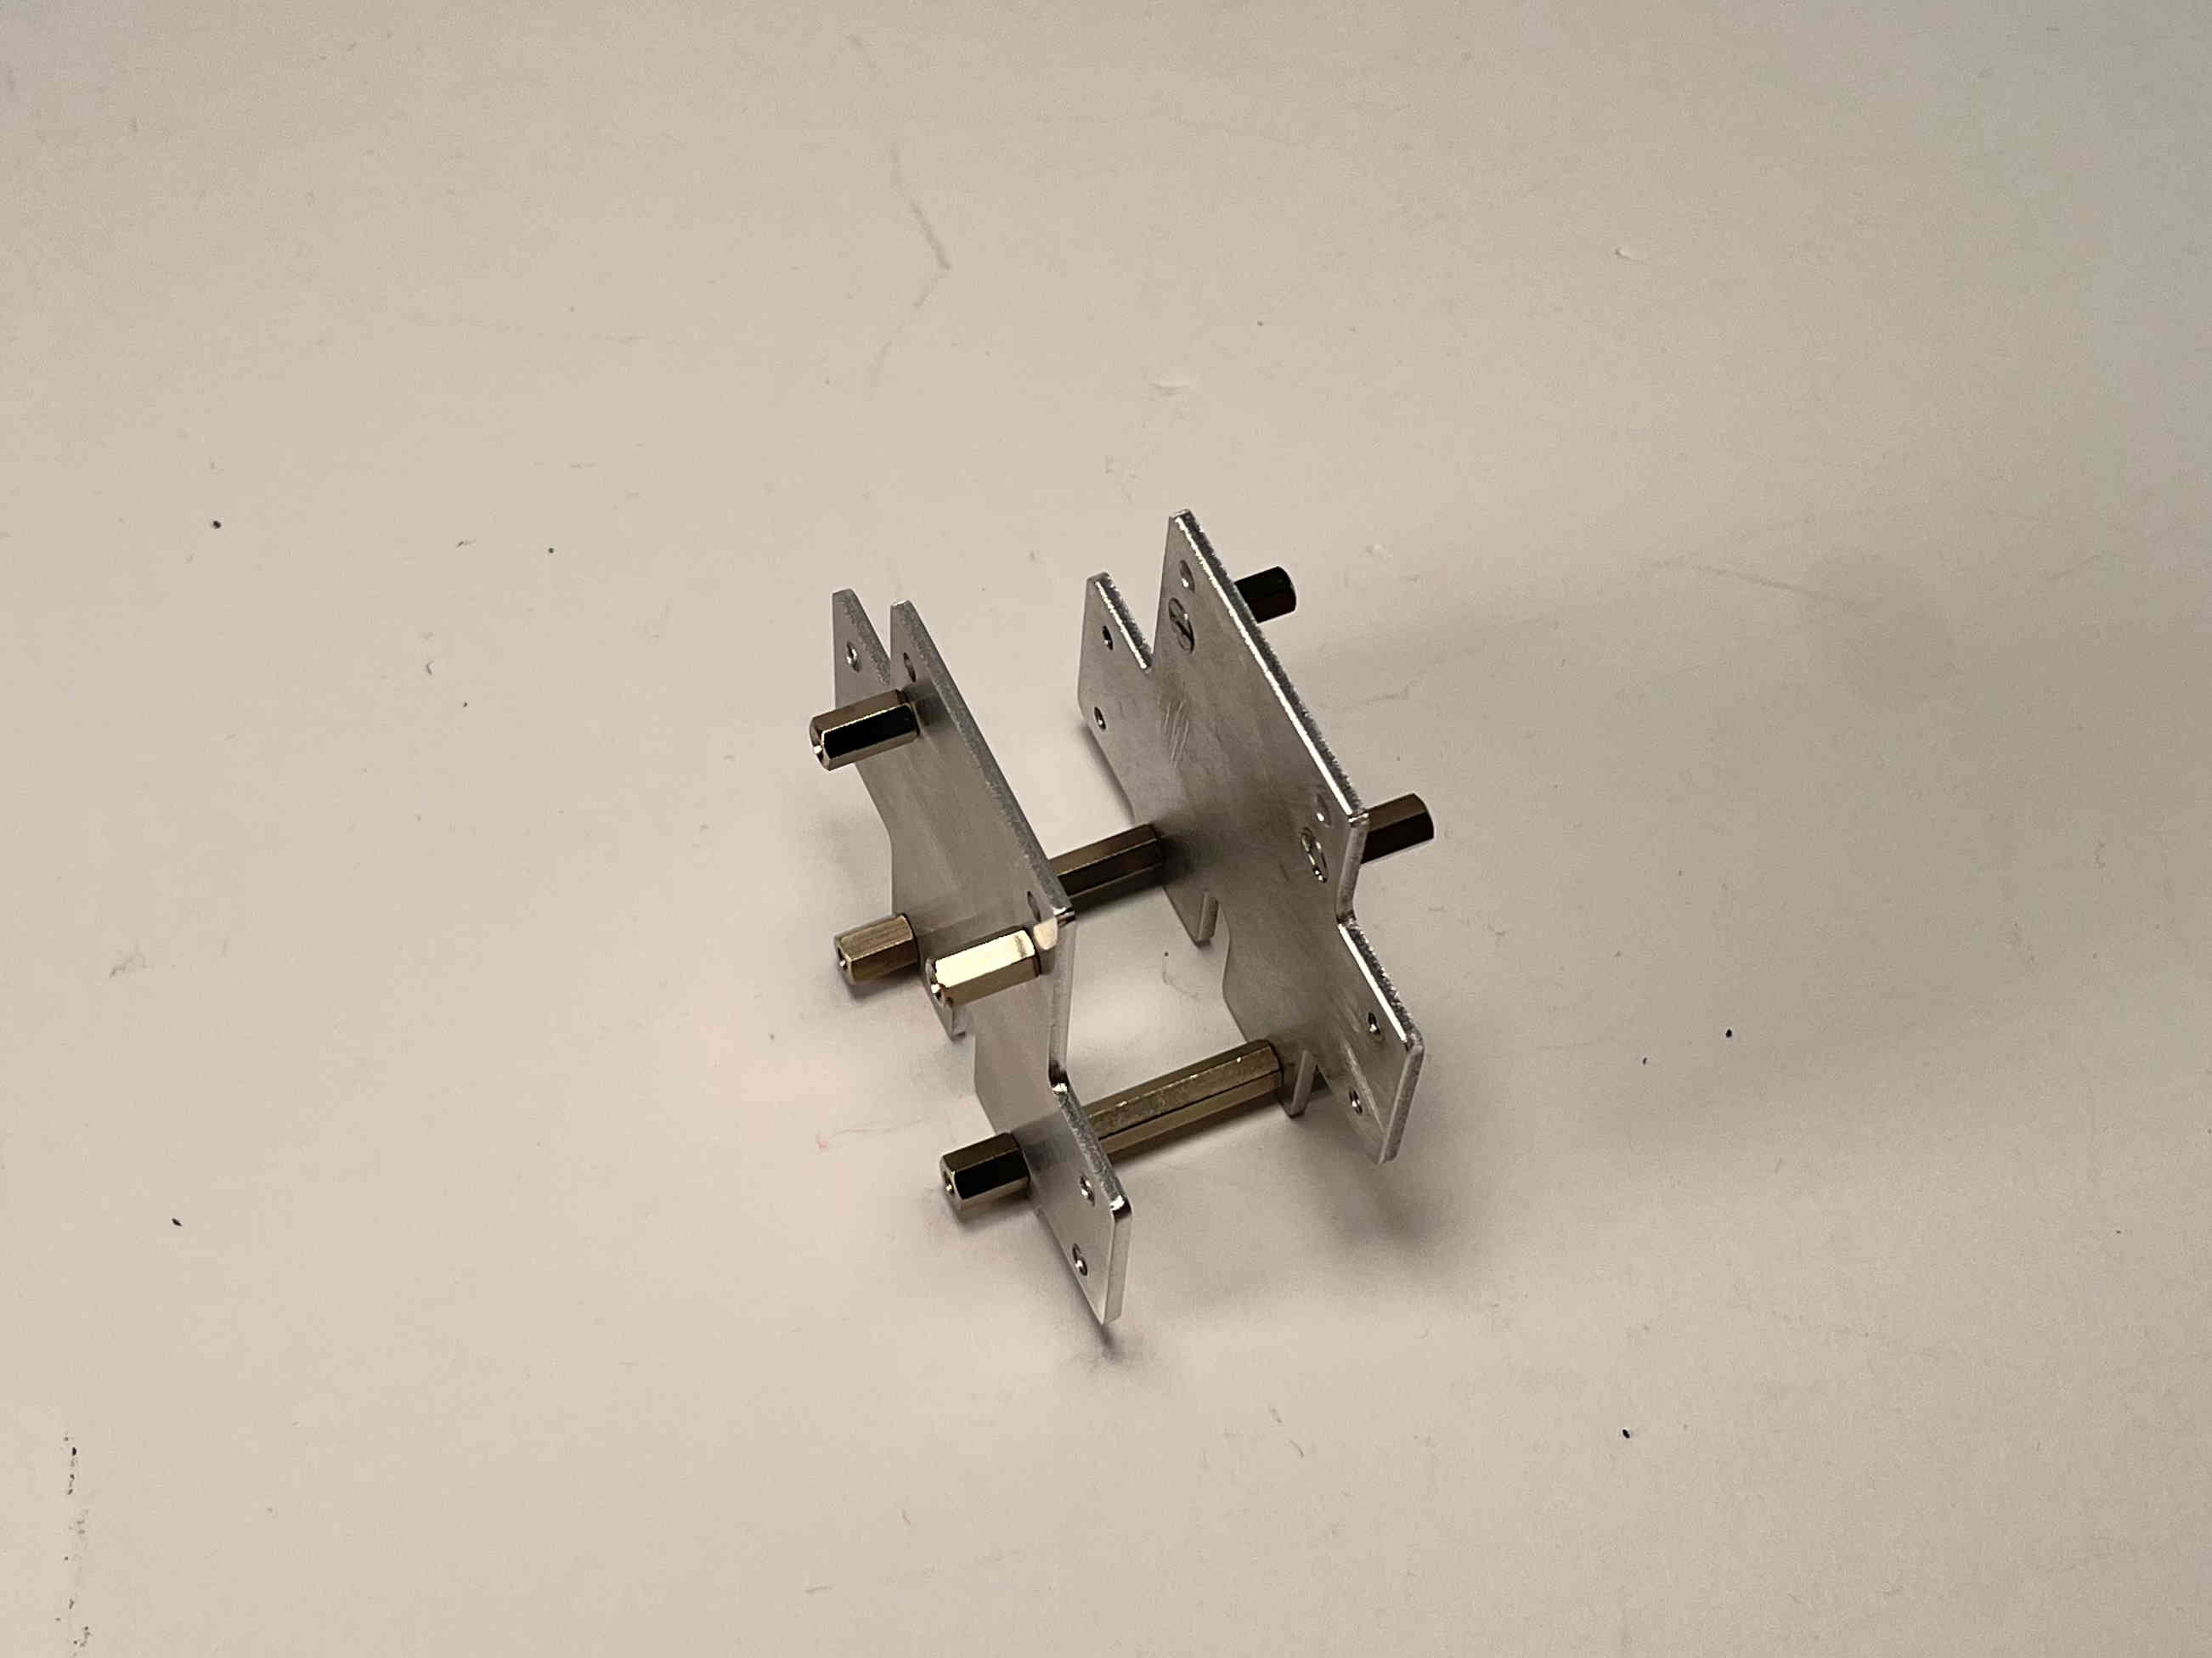
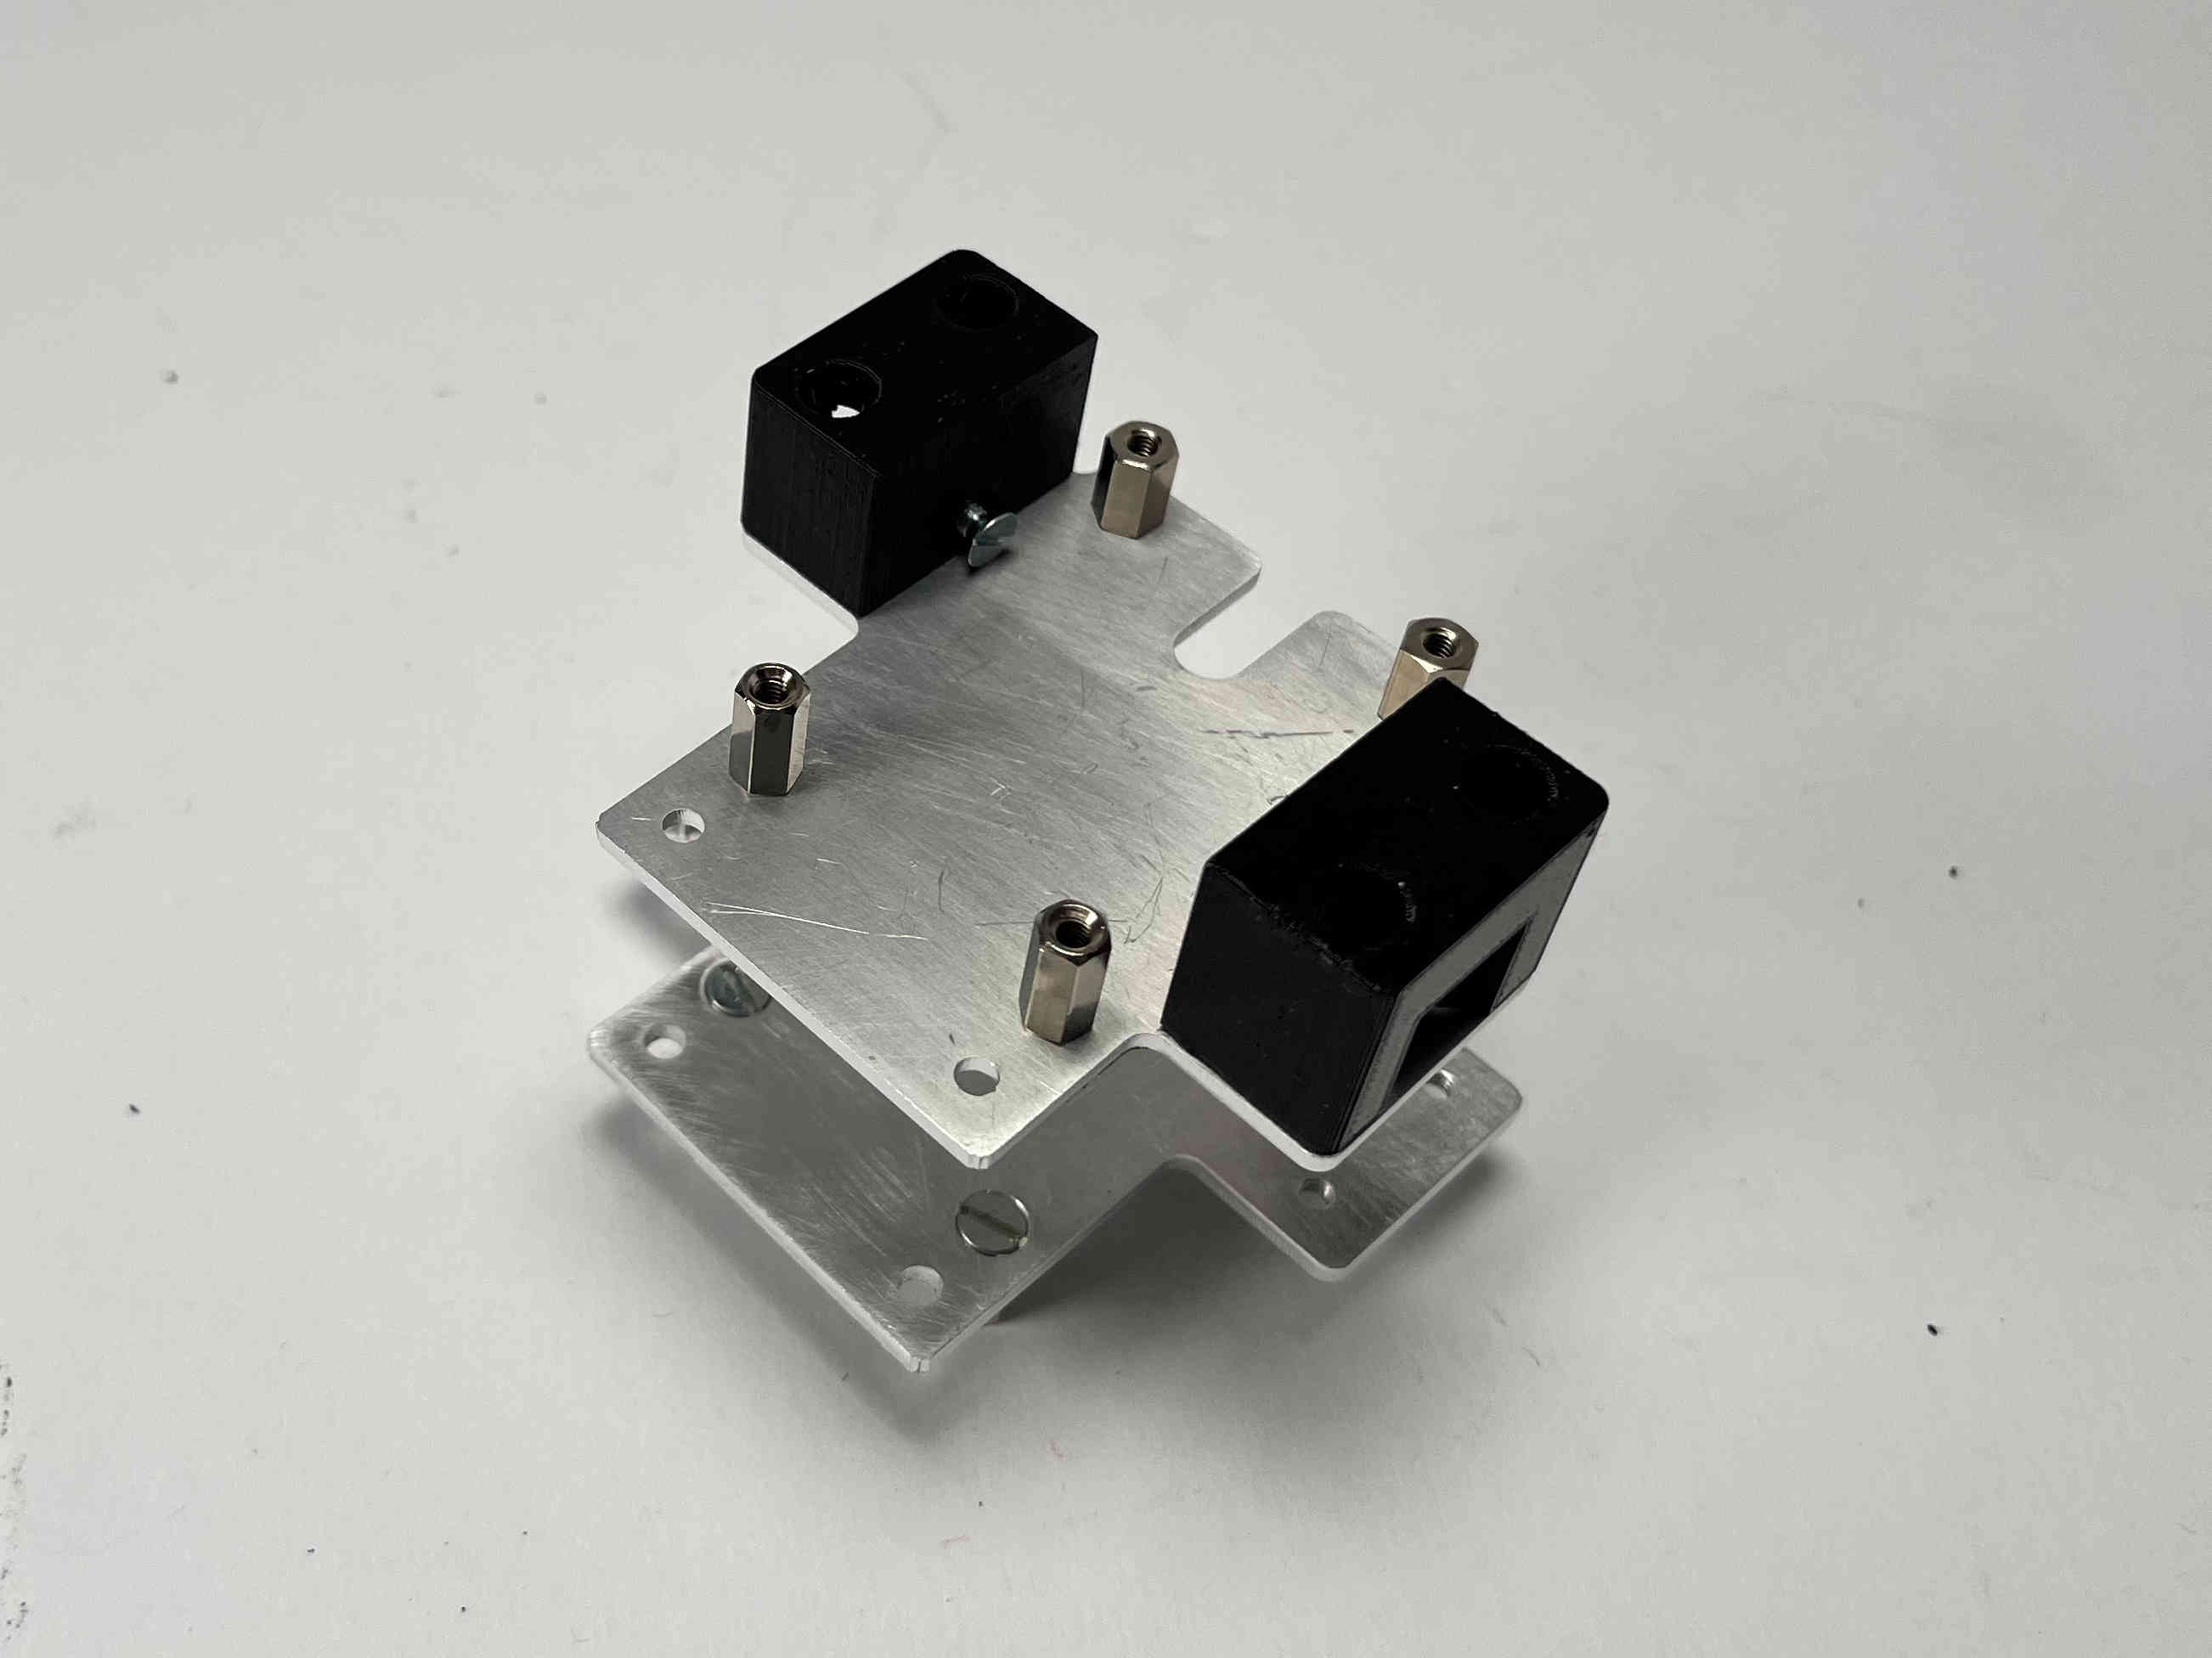
2x 28 mm standoffs
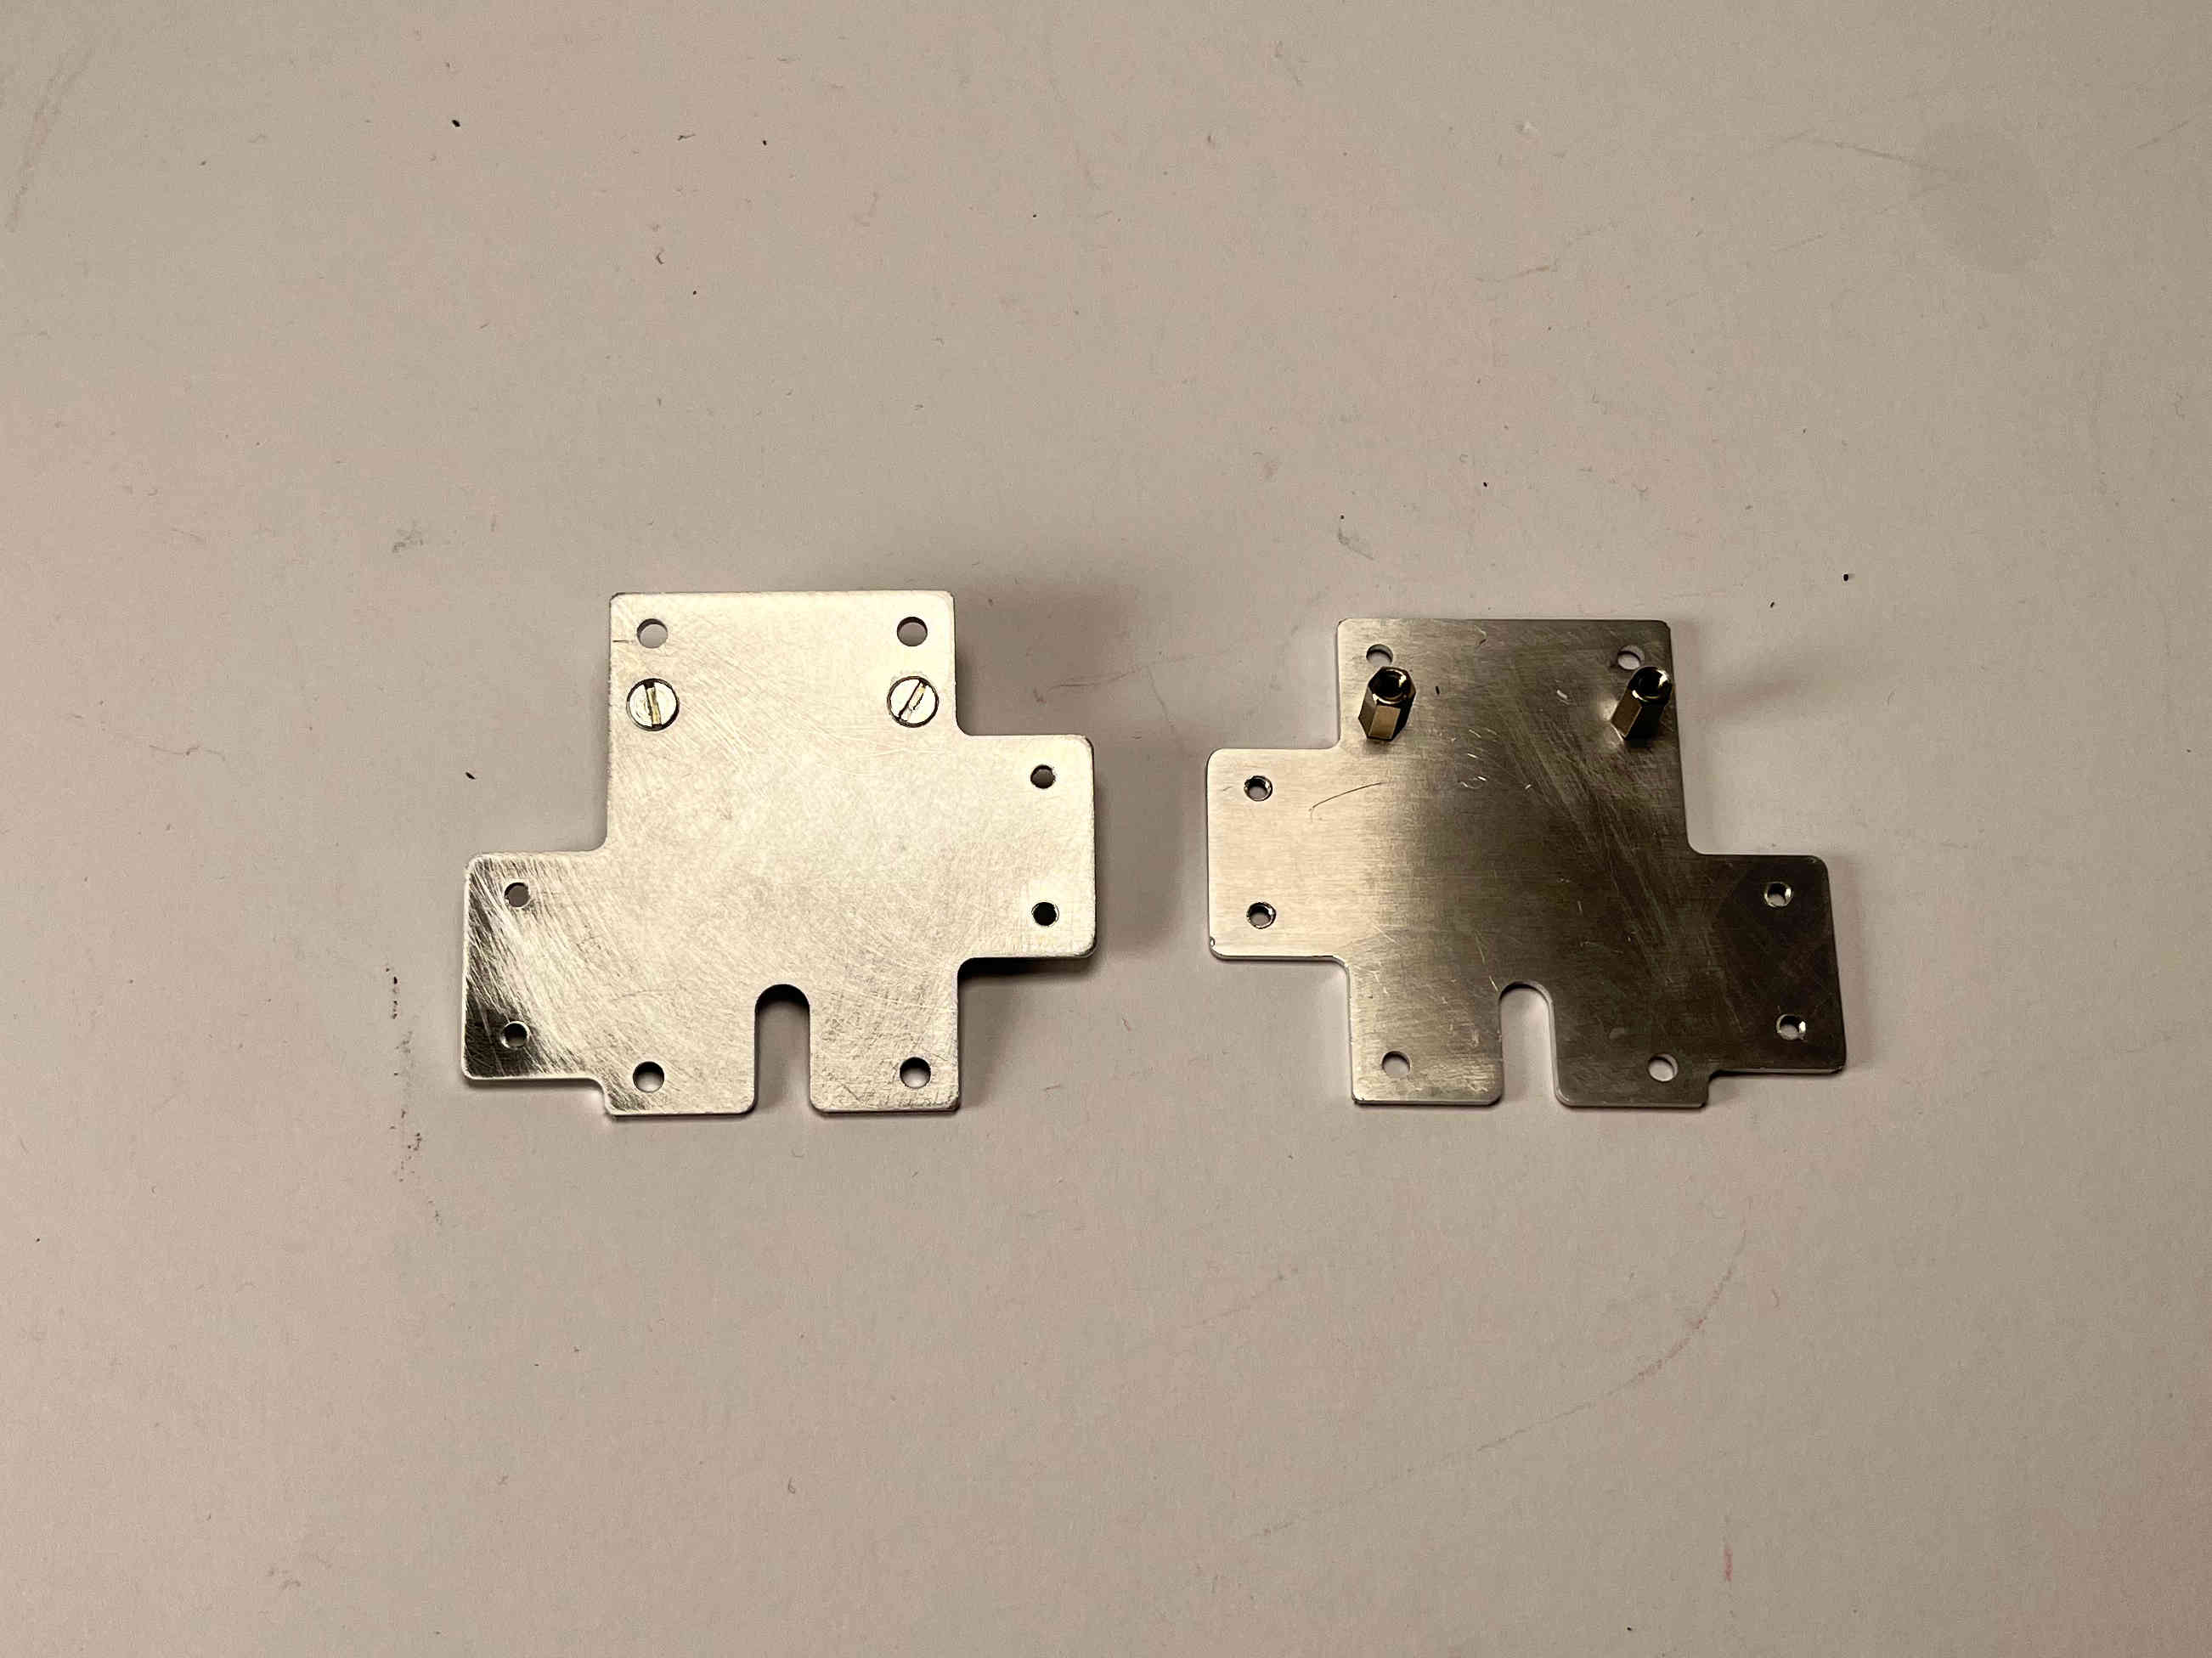
2x Machined X Carriage Plate
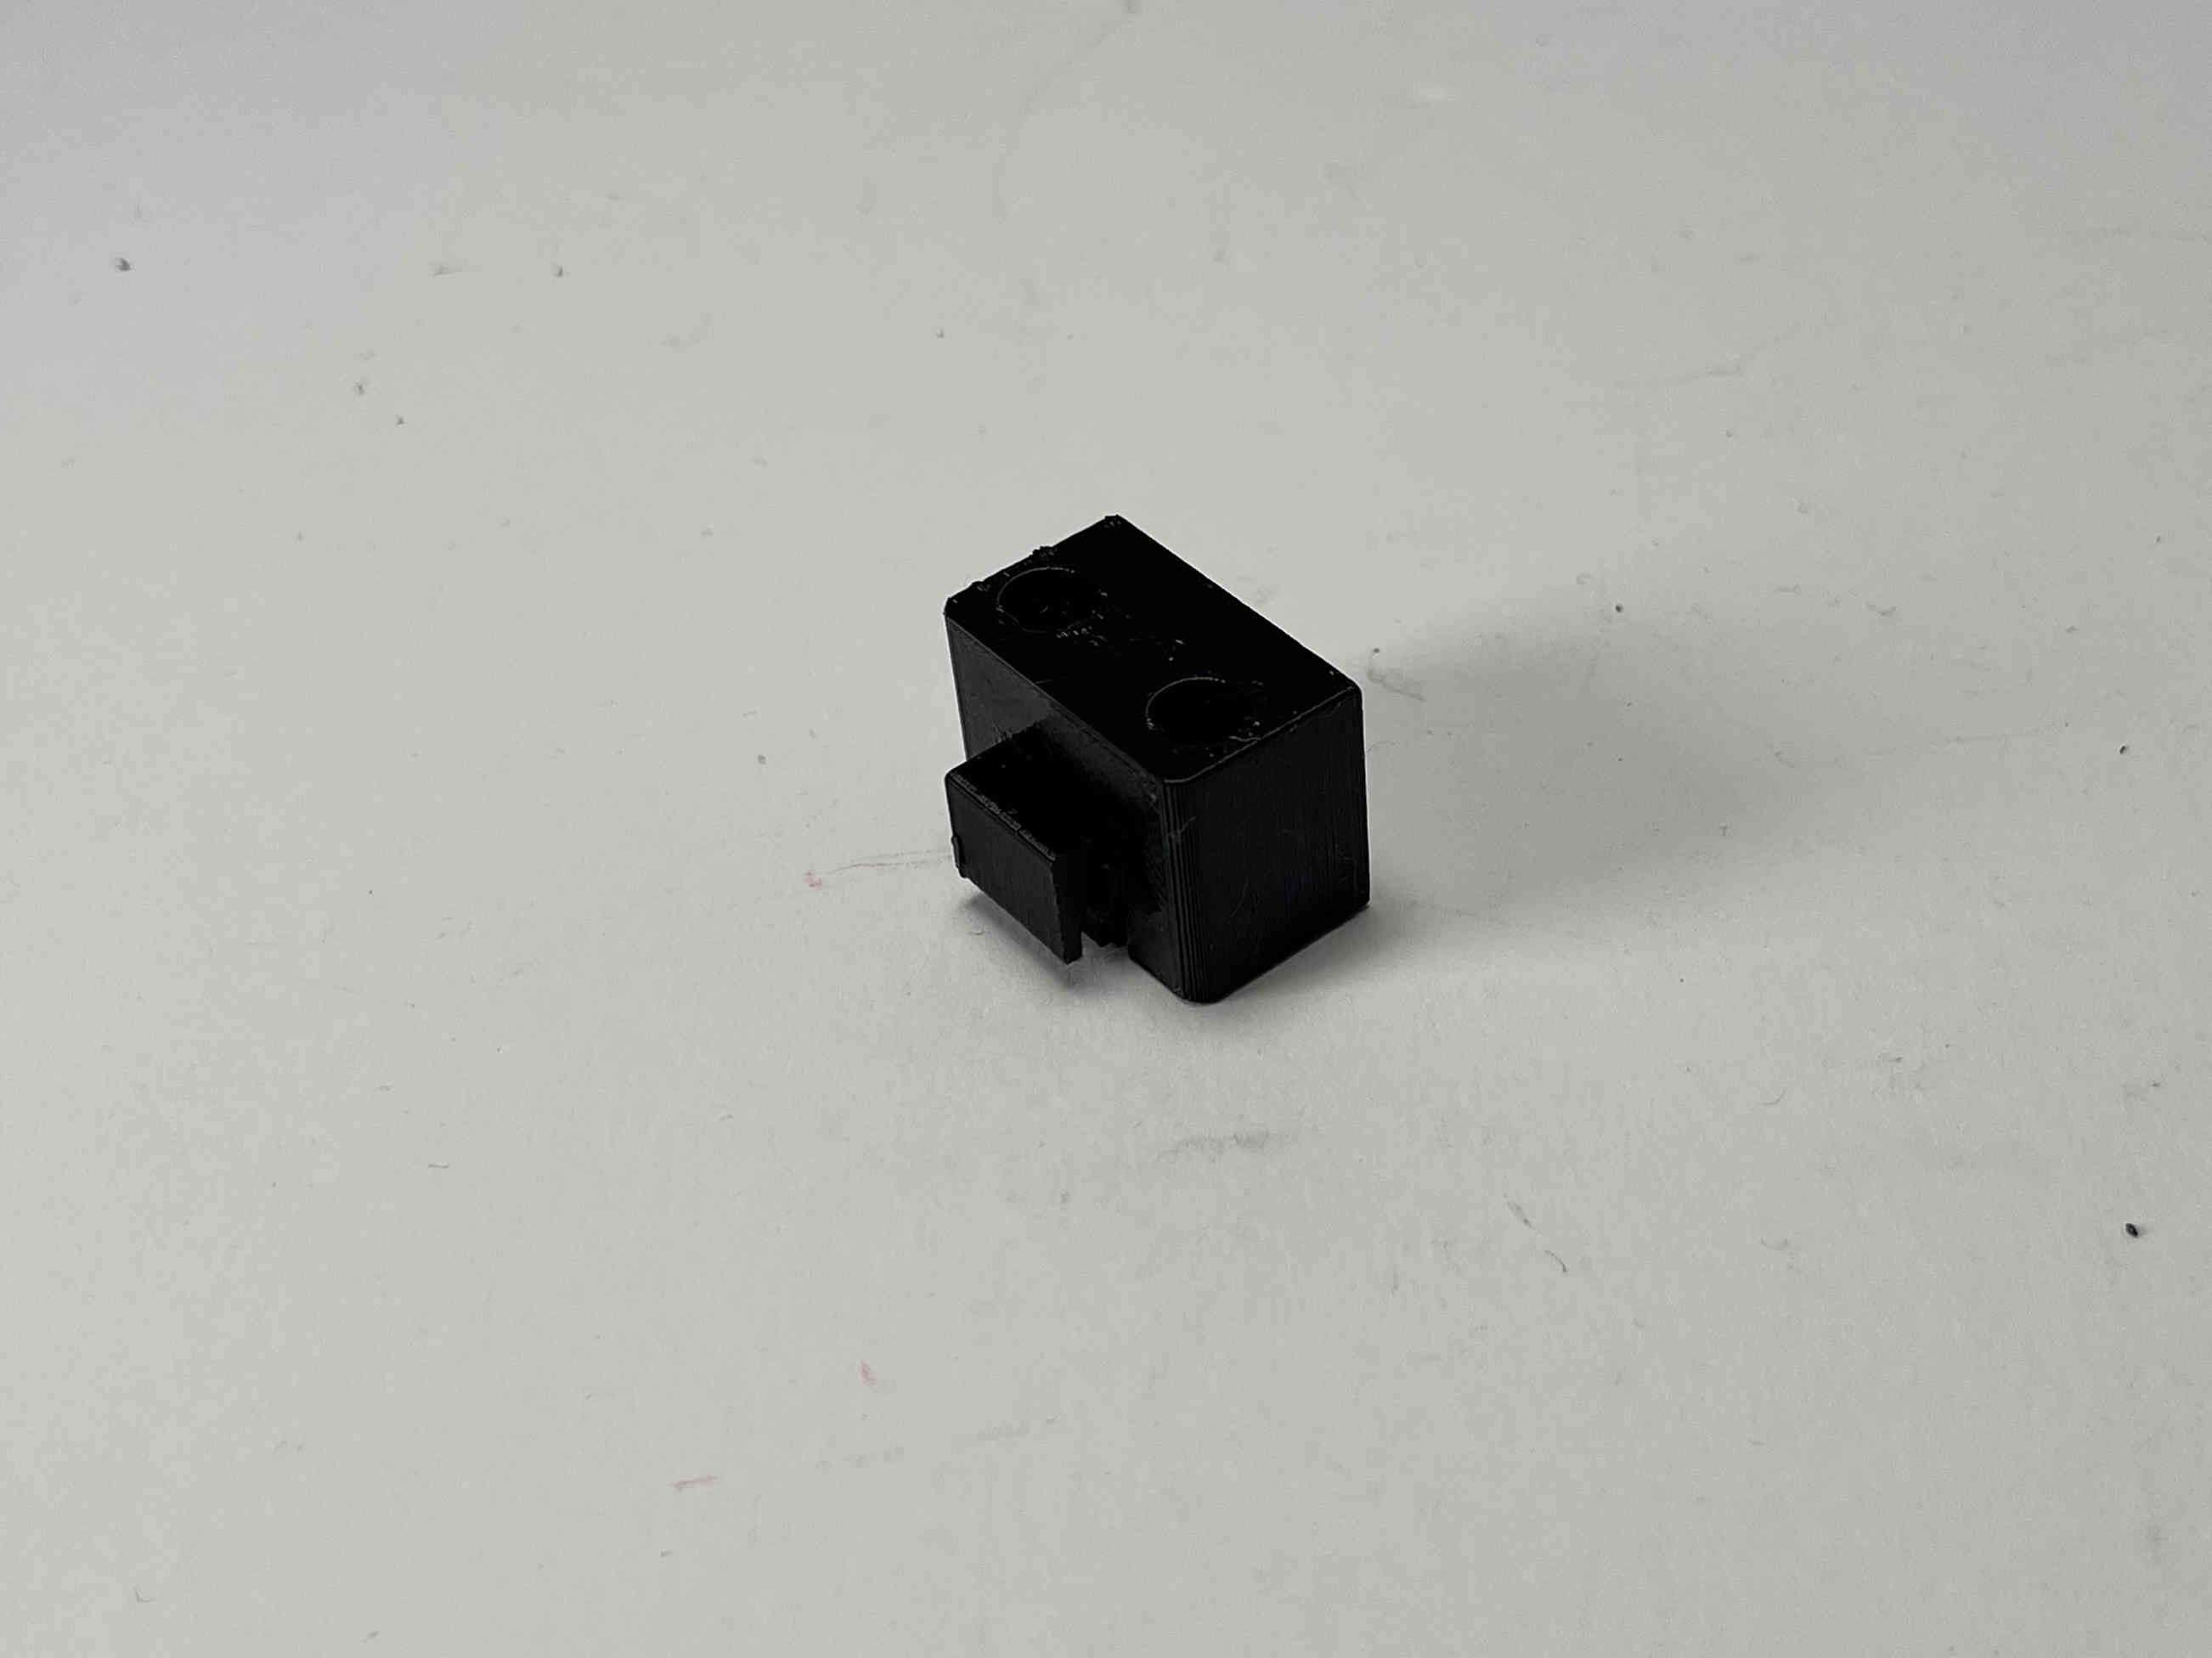
1x 3D printed Top Block
1x Tensioning System (8 parts)
4x 8mm standoffs with inner thread
4x 6mm standoffs with one outer and one inner thread
2x M3x40 caphead screw
4x M3 locking nut
4x M3x6 countersunk screw
6x M3x6 caphead screw
2x M3x10 countersunk screw
4x M3x16 caphead screw
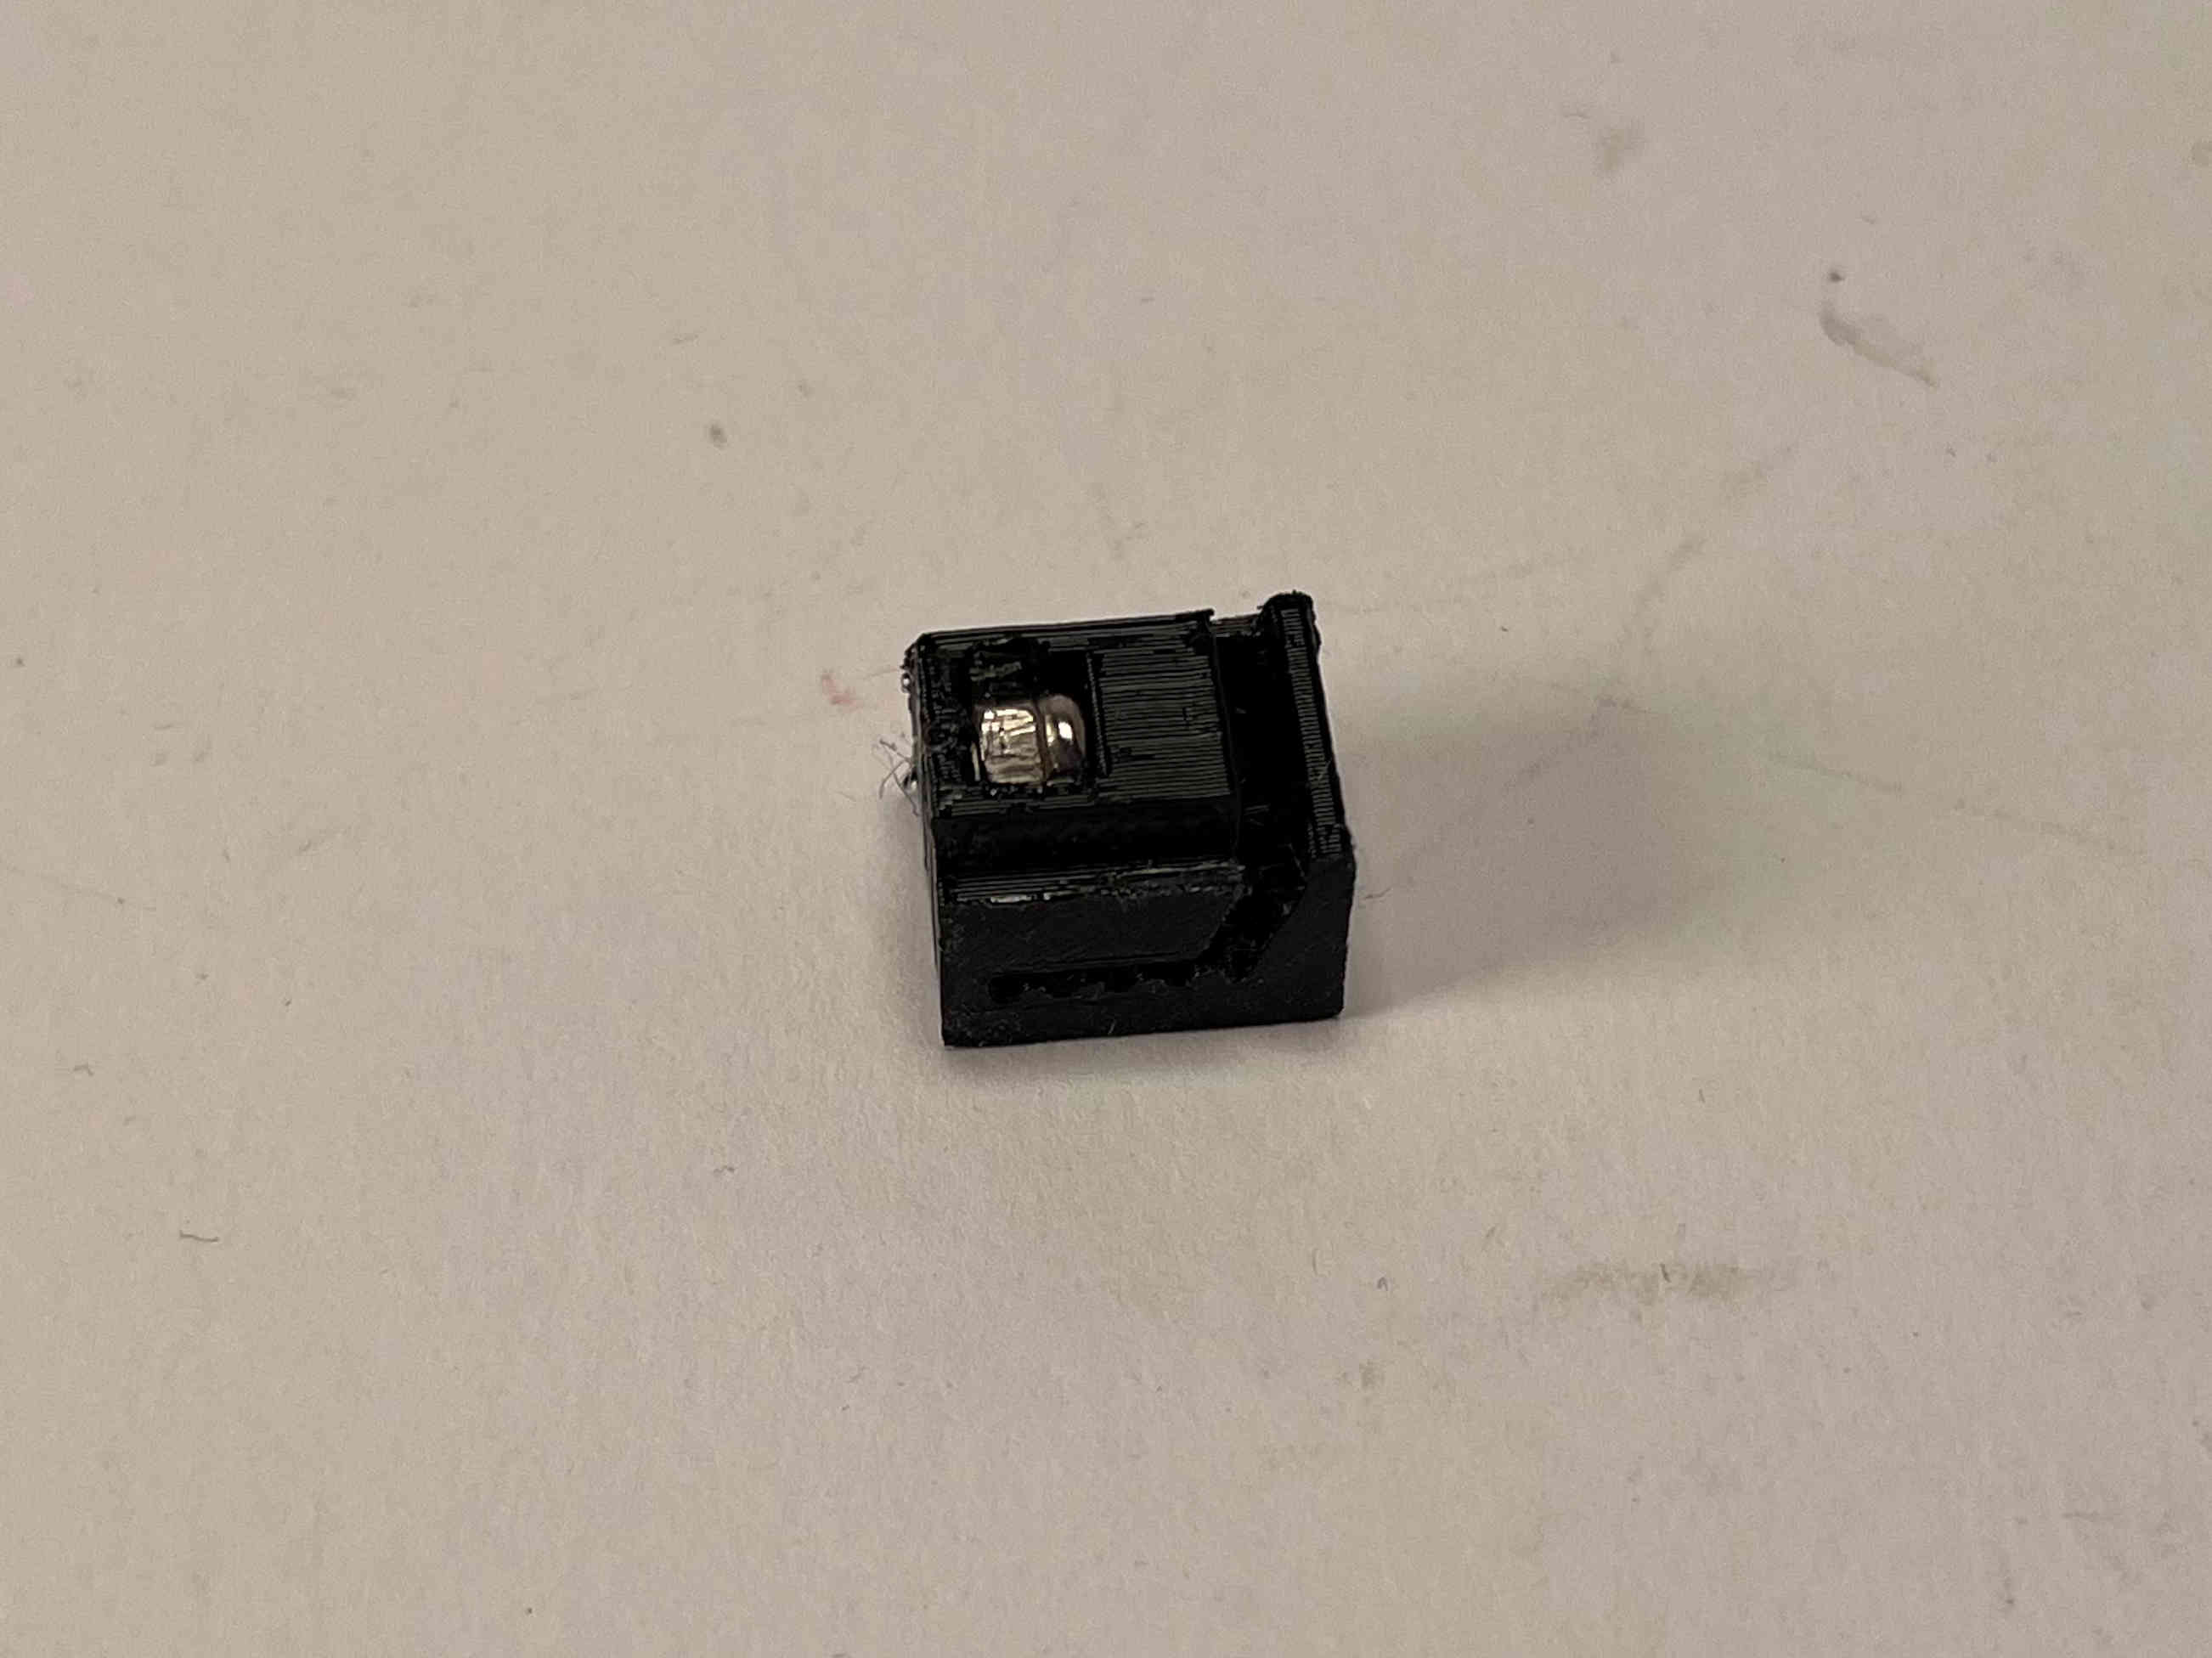
1x microswitch endstop

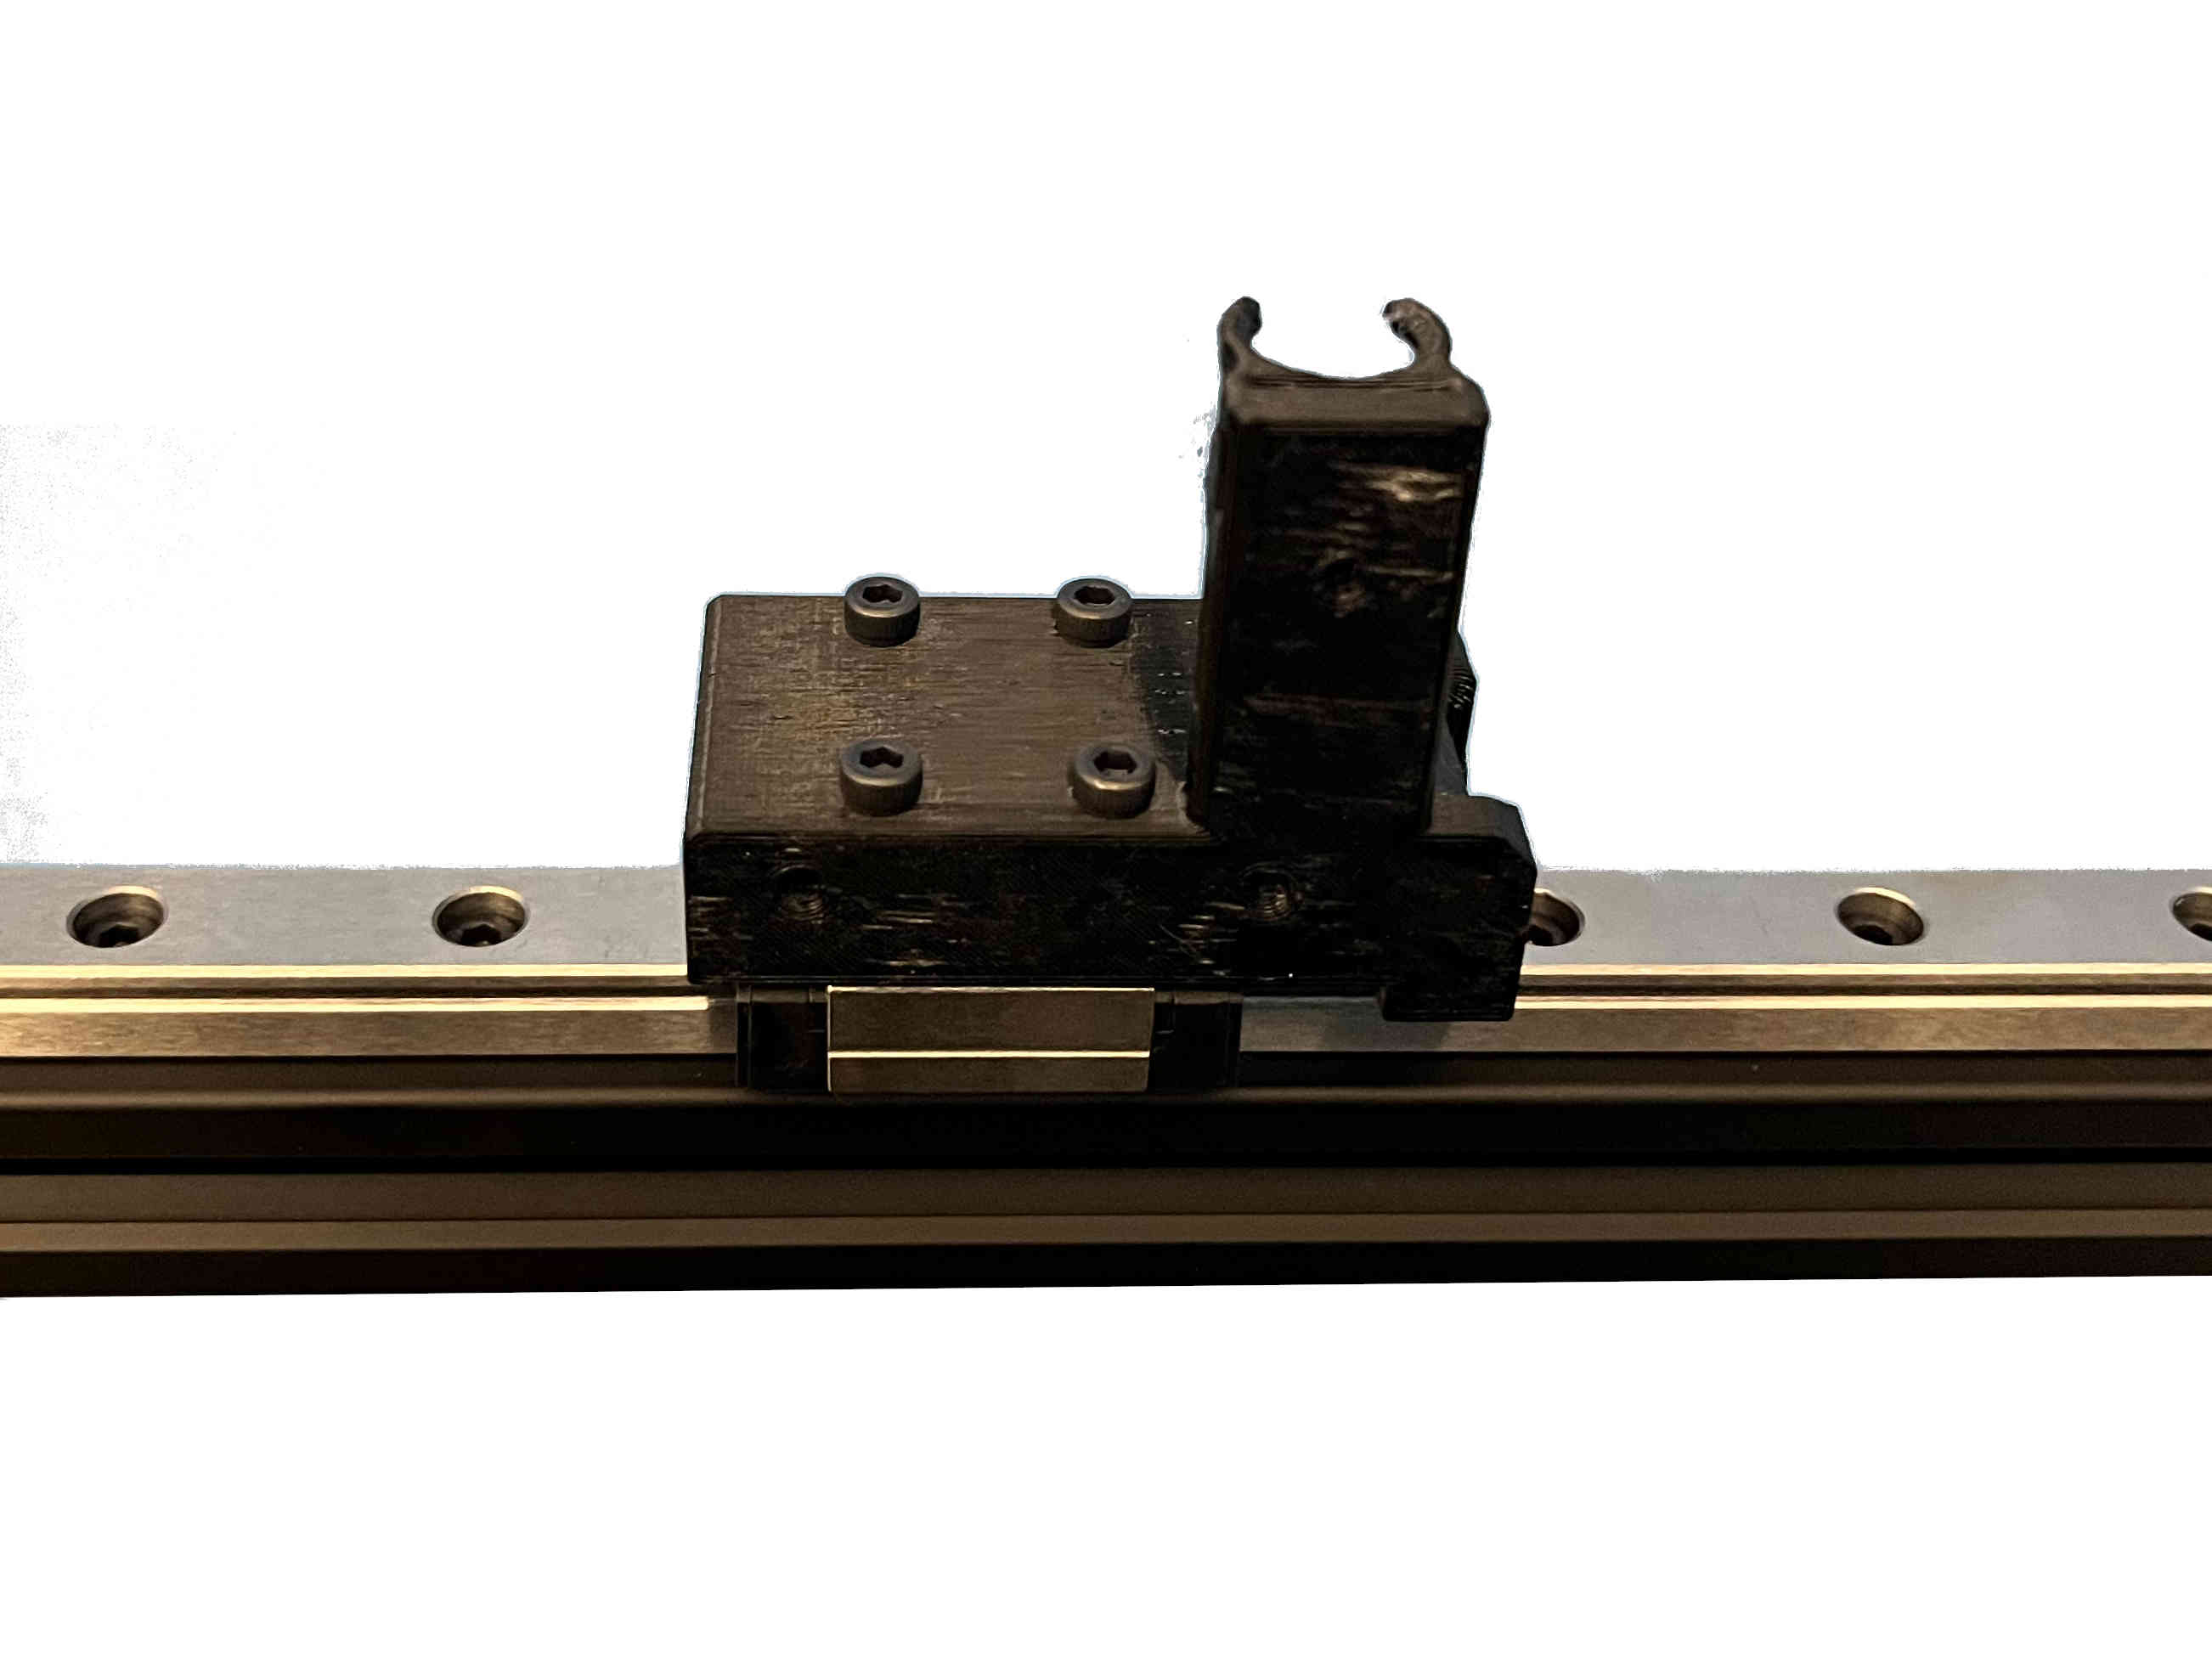
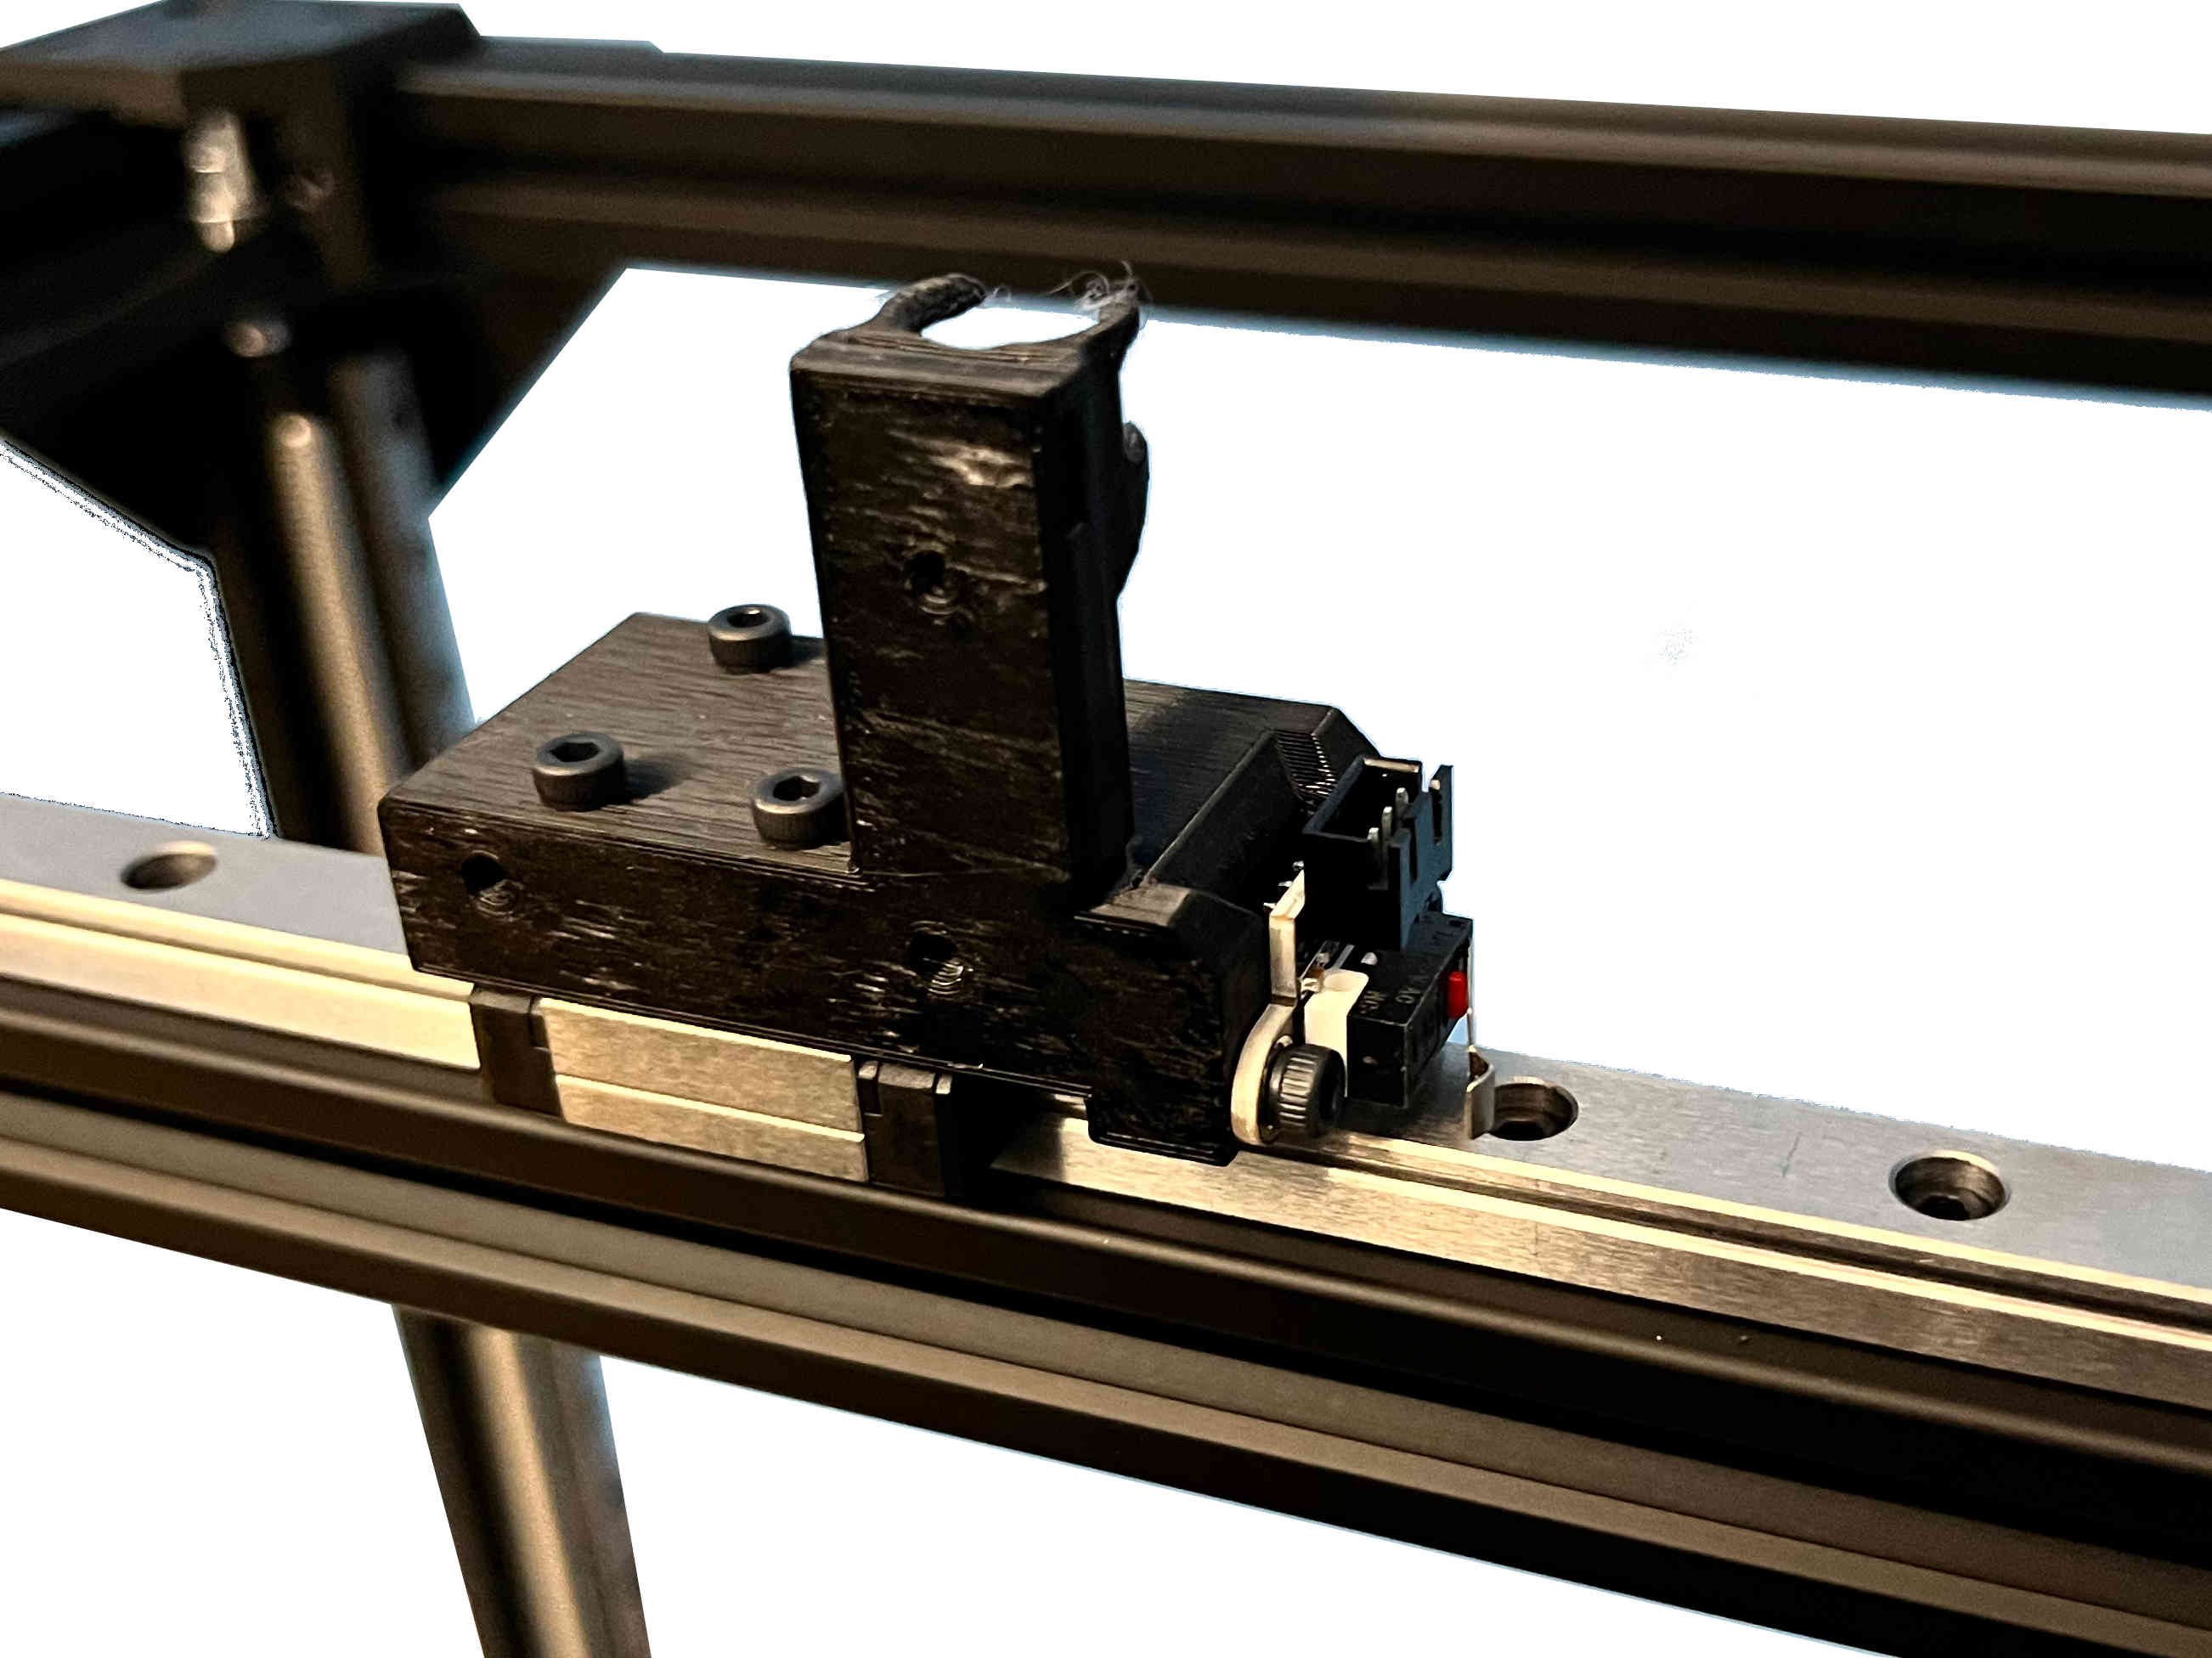
Attach the assembly to the topblock, using the two M3x40 caphead screws and two M3 locking nuts.

Insert the sliders into the tensioner blocks while turning the tensioning screws, just until the threads catch. Pretension the belts and clamp them in place on the front part of the carriage by attaching the tensioning plates with four M3x6 caphead screws. Finish tensioning by pulling in the tensioning slides using the M3x10 screws.
For the tool changer assembly, you will need the parts provided with the E3D tool changer, the machined shaft, and the printed tool changer cover. Please follow the installation guide “08 - Toolchanger Toolhead Installation” found on the E3D website up until step 36.