Unclogging Hemera
If the Hemera extruder is clogged, first try to heat up the hotend and extrude some material at the slowest speed.
If this fails, try raising the temperature by 10-20 degrees (assuming the material is not flammable or deteriorates at said temperatures) and try to extrude some material.
If this fails, remove the nozzle from the extruder and try the same procedure.
If the Hemera extruder is still clogged, you will have to take it apart, to clean spur gear. This will take between 15 and 30 minutes. While the hotend is at temperature, pull out any remainder of the filament from the top of the extruder. Then cool down the extruder (This can be expediated by turning on the part cooling fan) and follow the guide below.
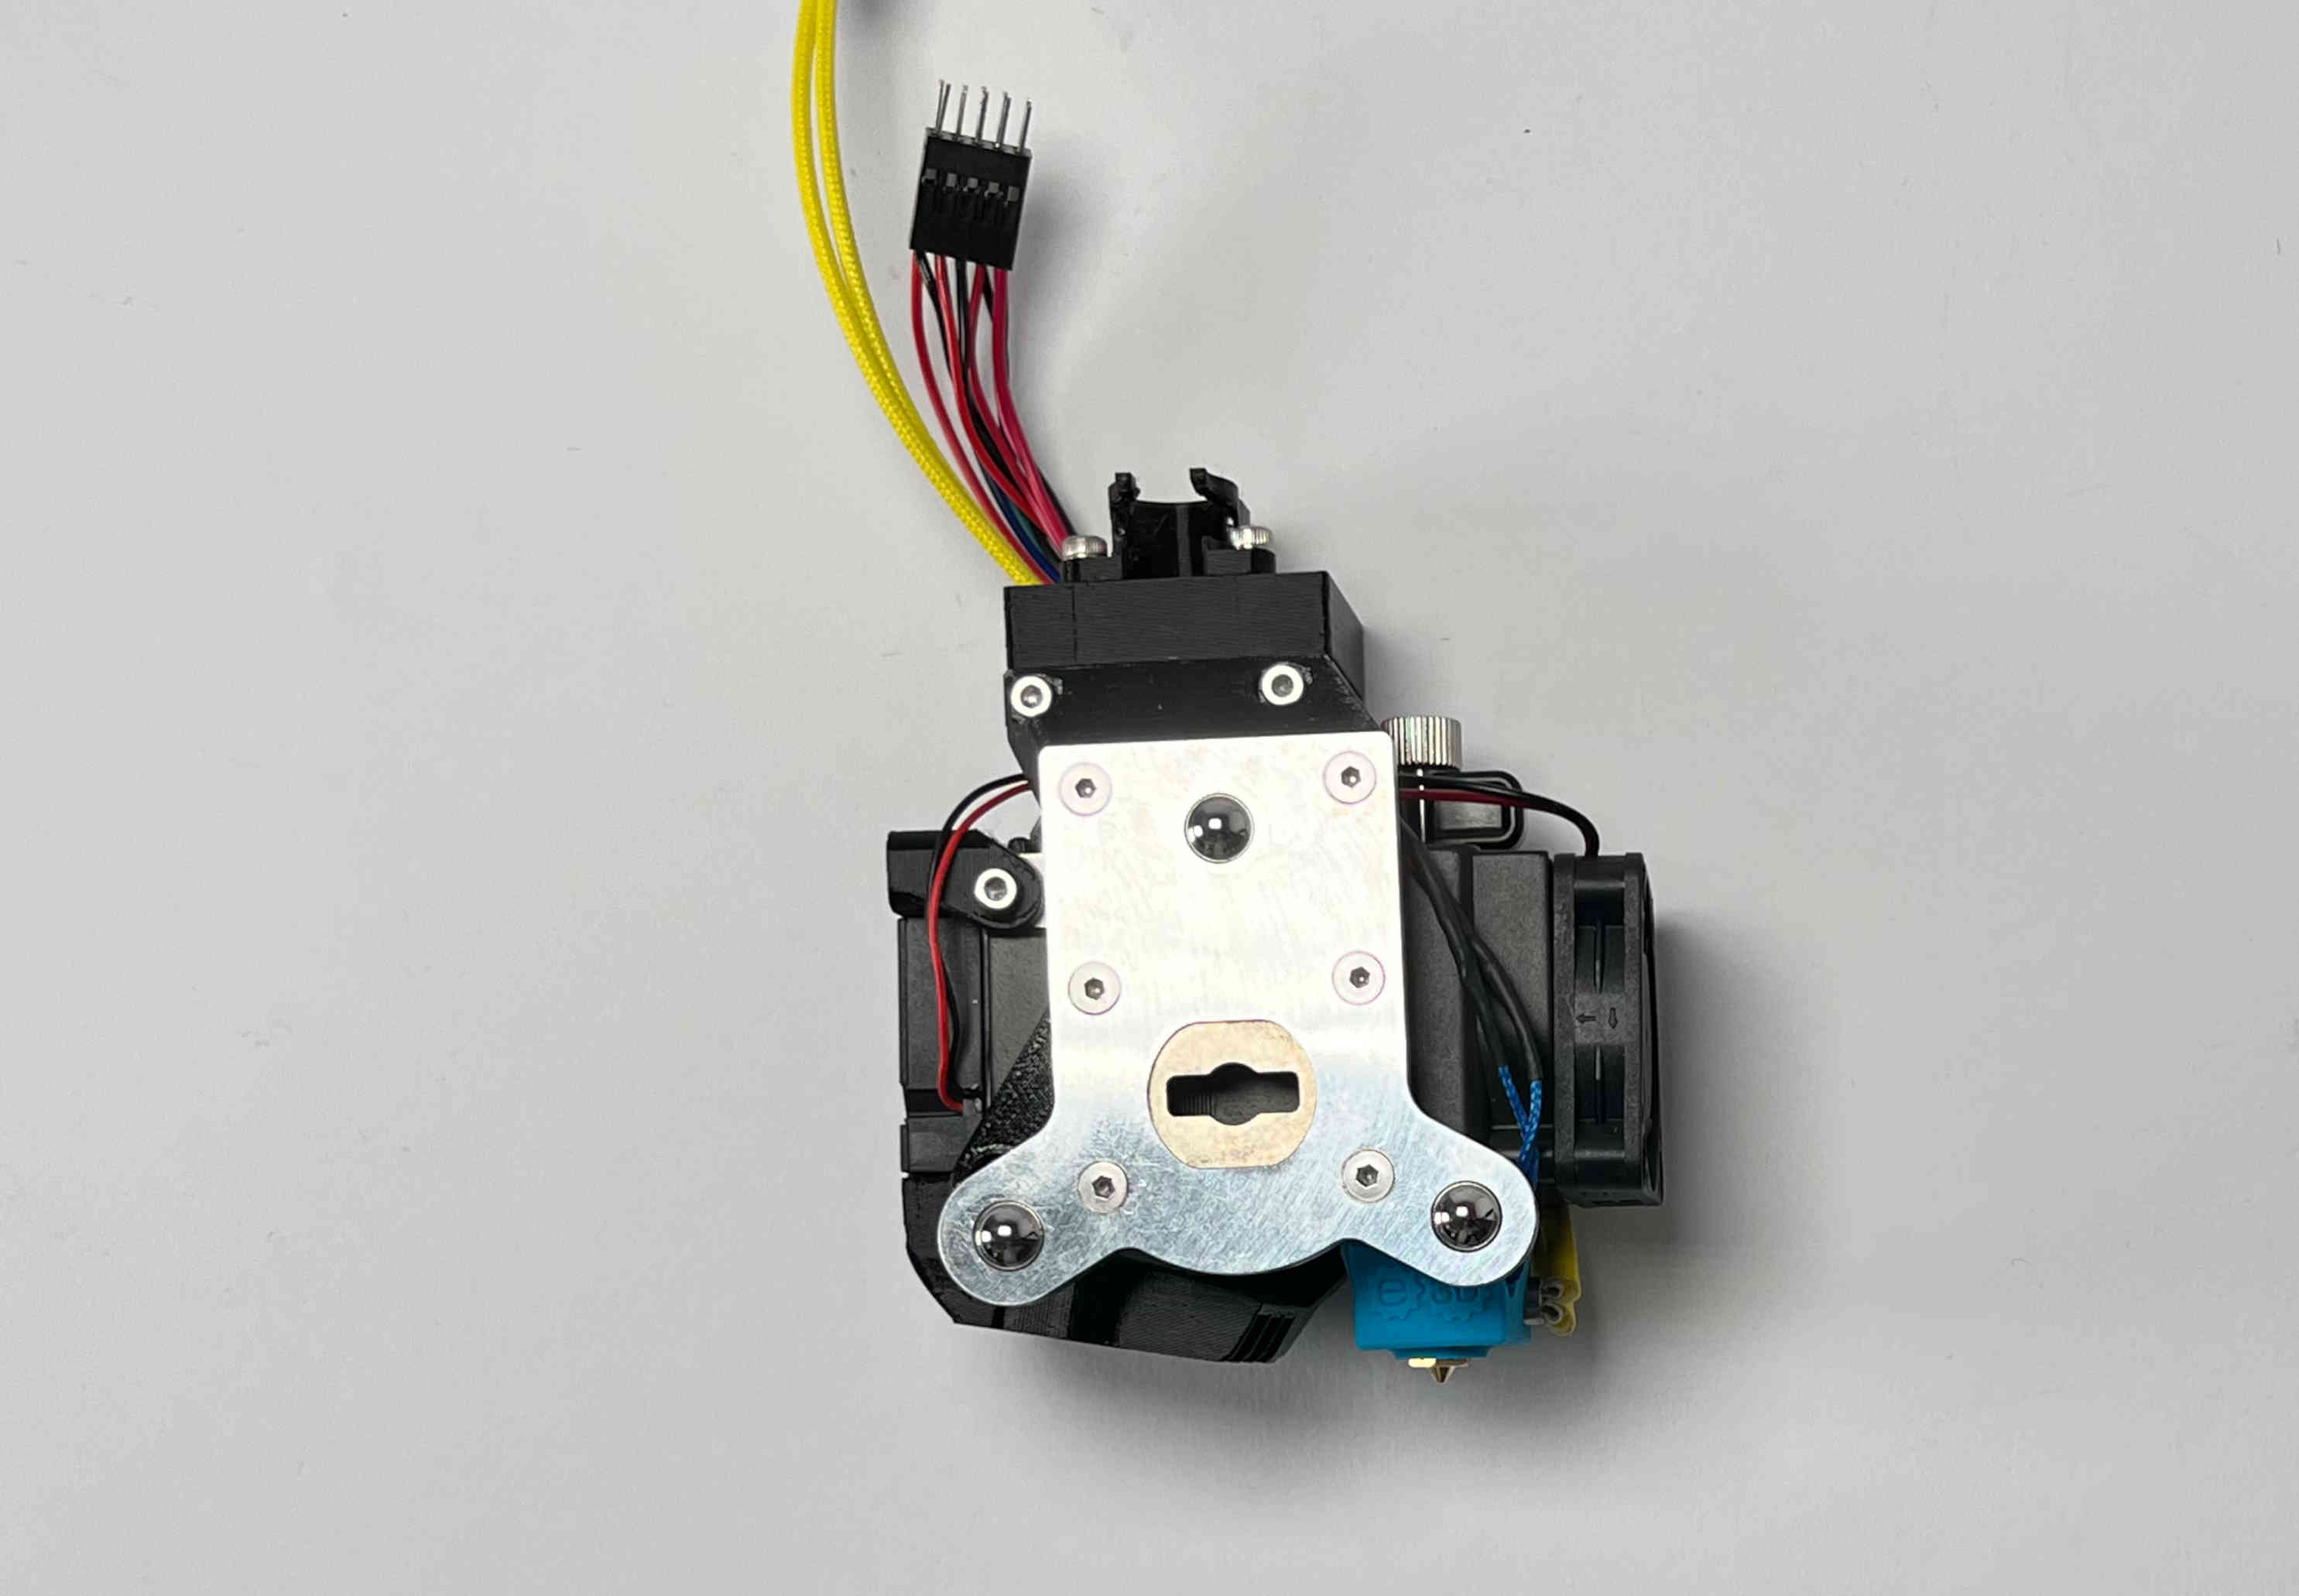
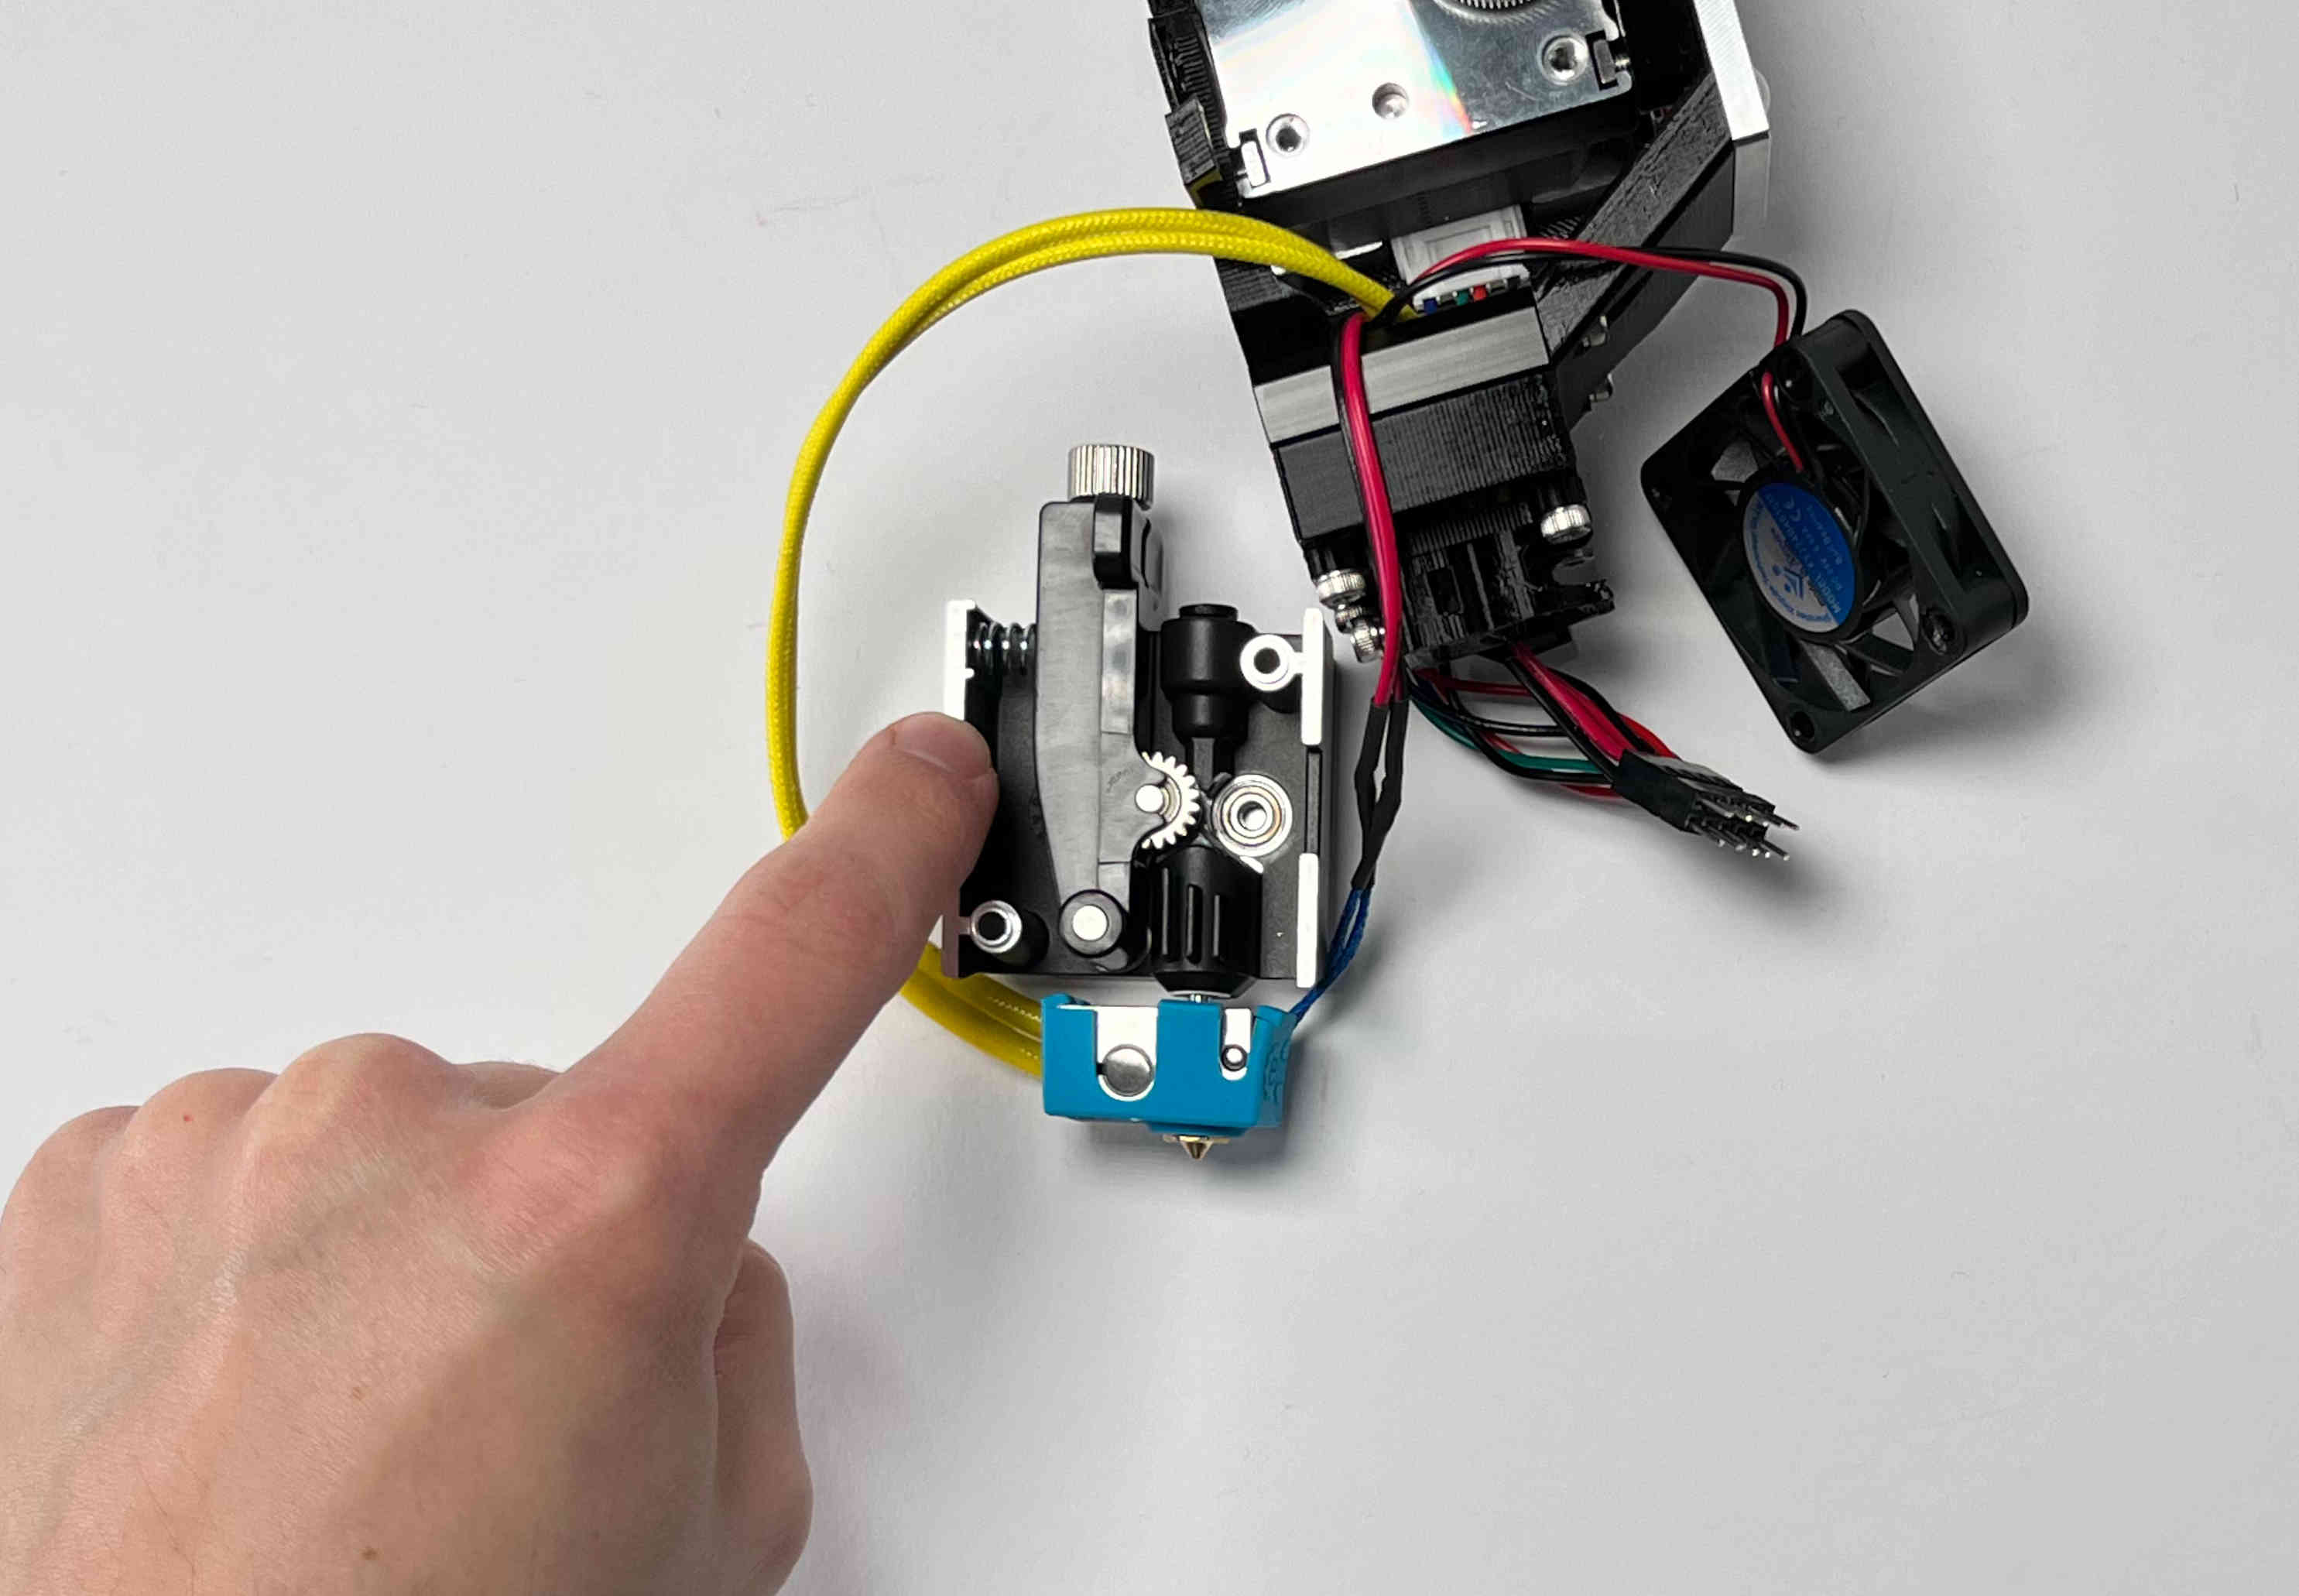
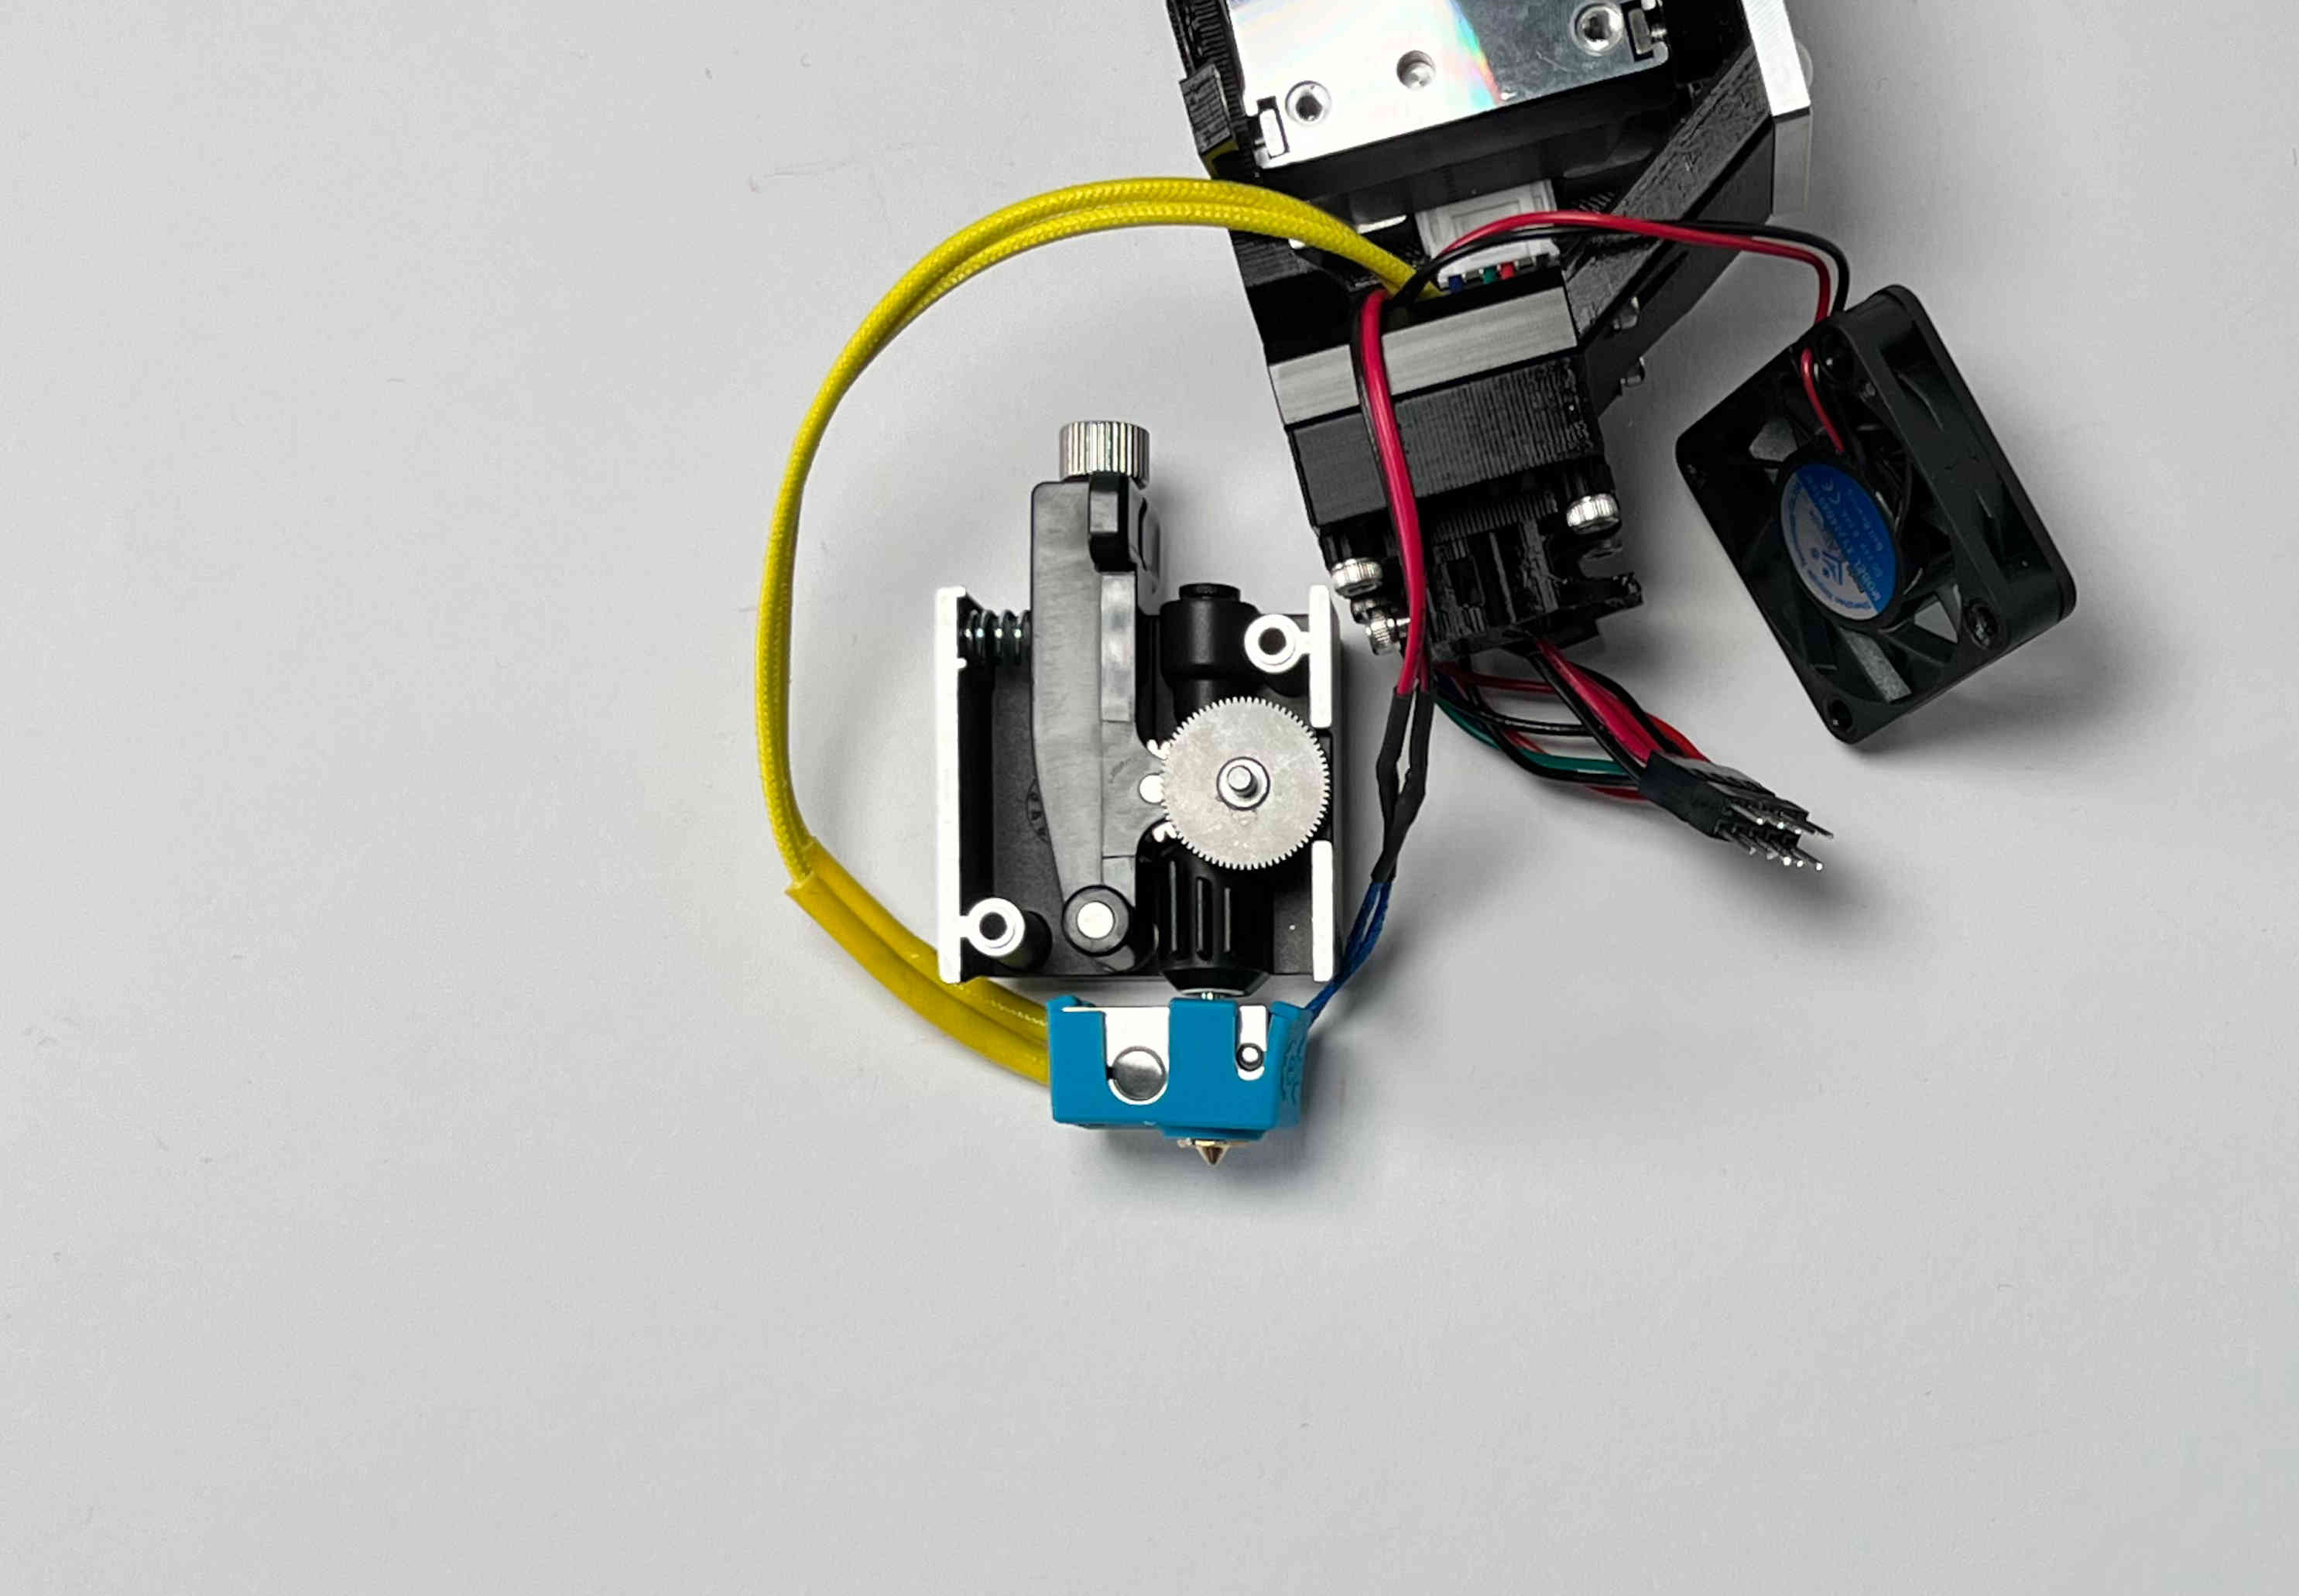
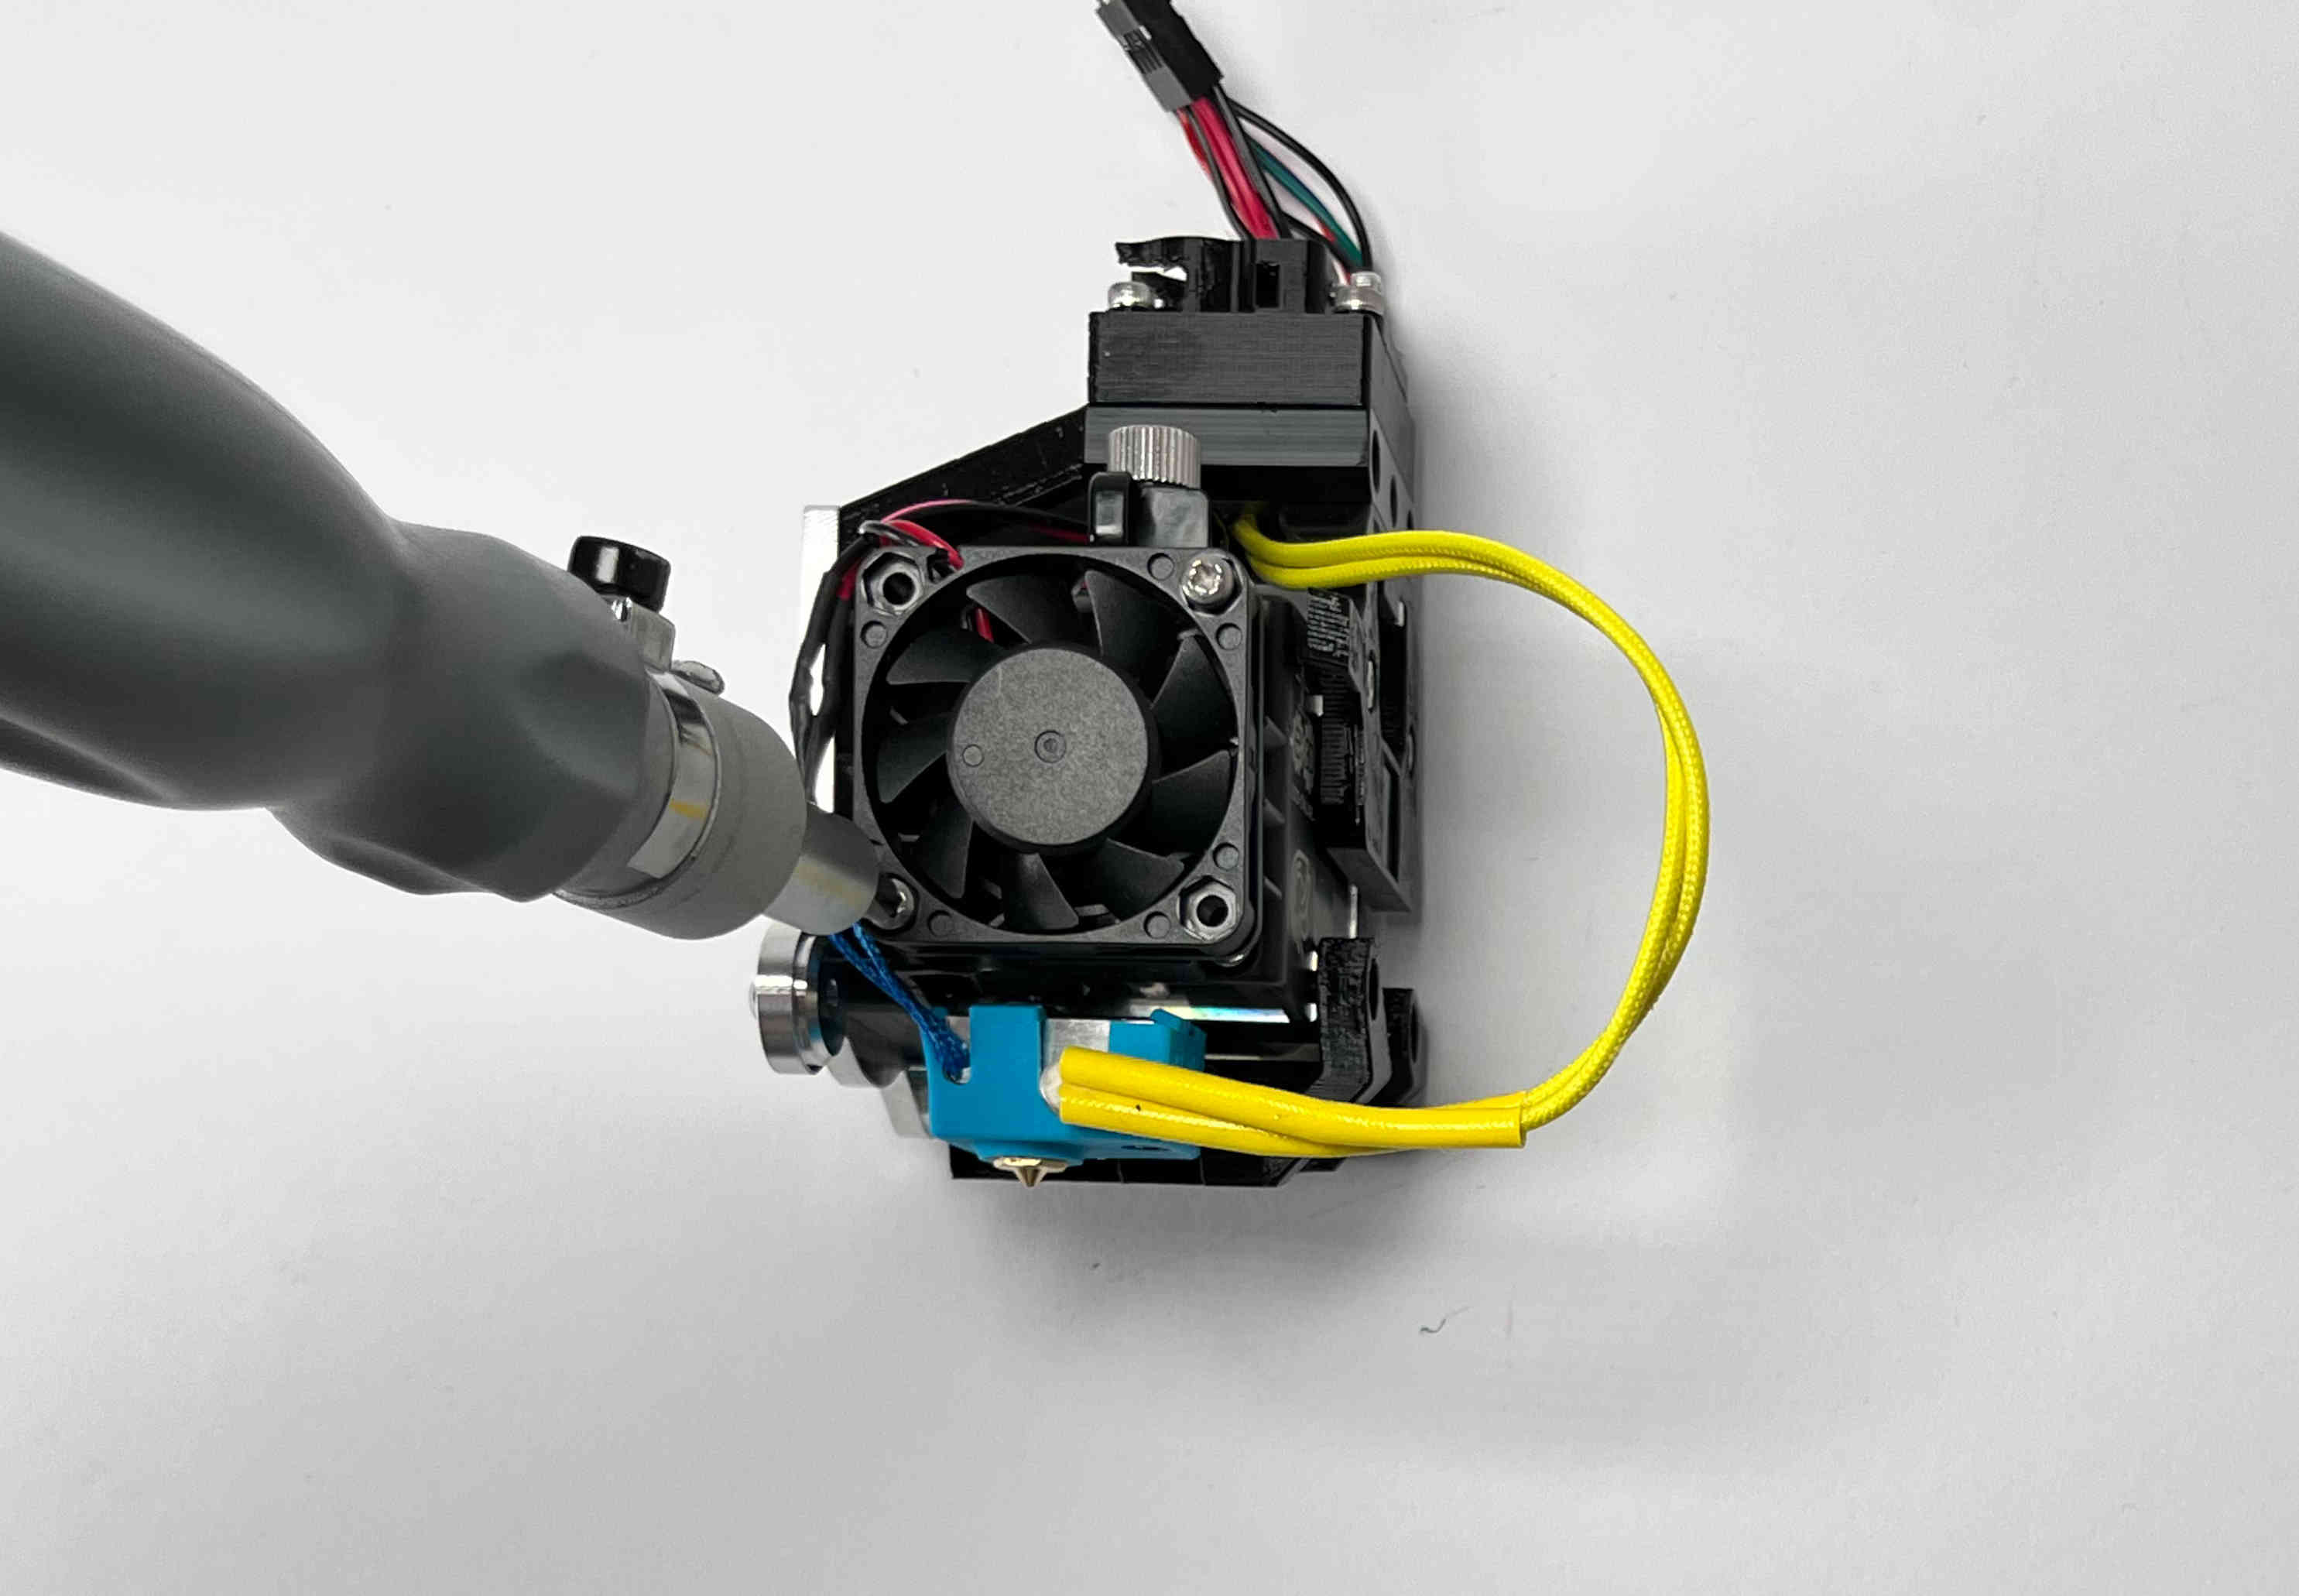
Remove the hemera from the printer, by cutting any zipties, unplugging the connectors, and unscrewing the cable brace / metal strip.
Note: Possibly to remove the connectors, you will have to unscrew the top part, by loosening the four screws at the top of the extruder.

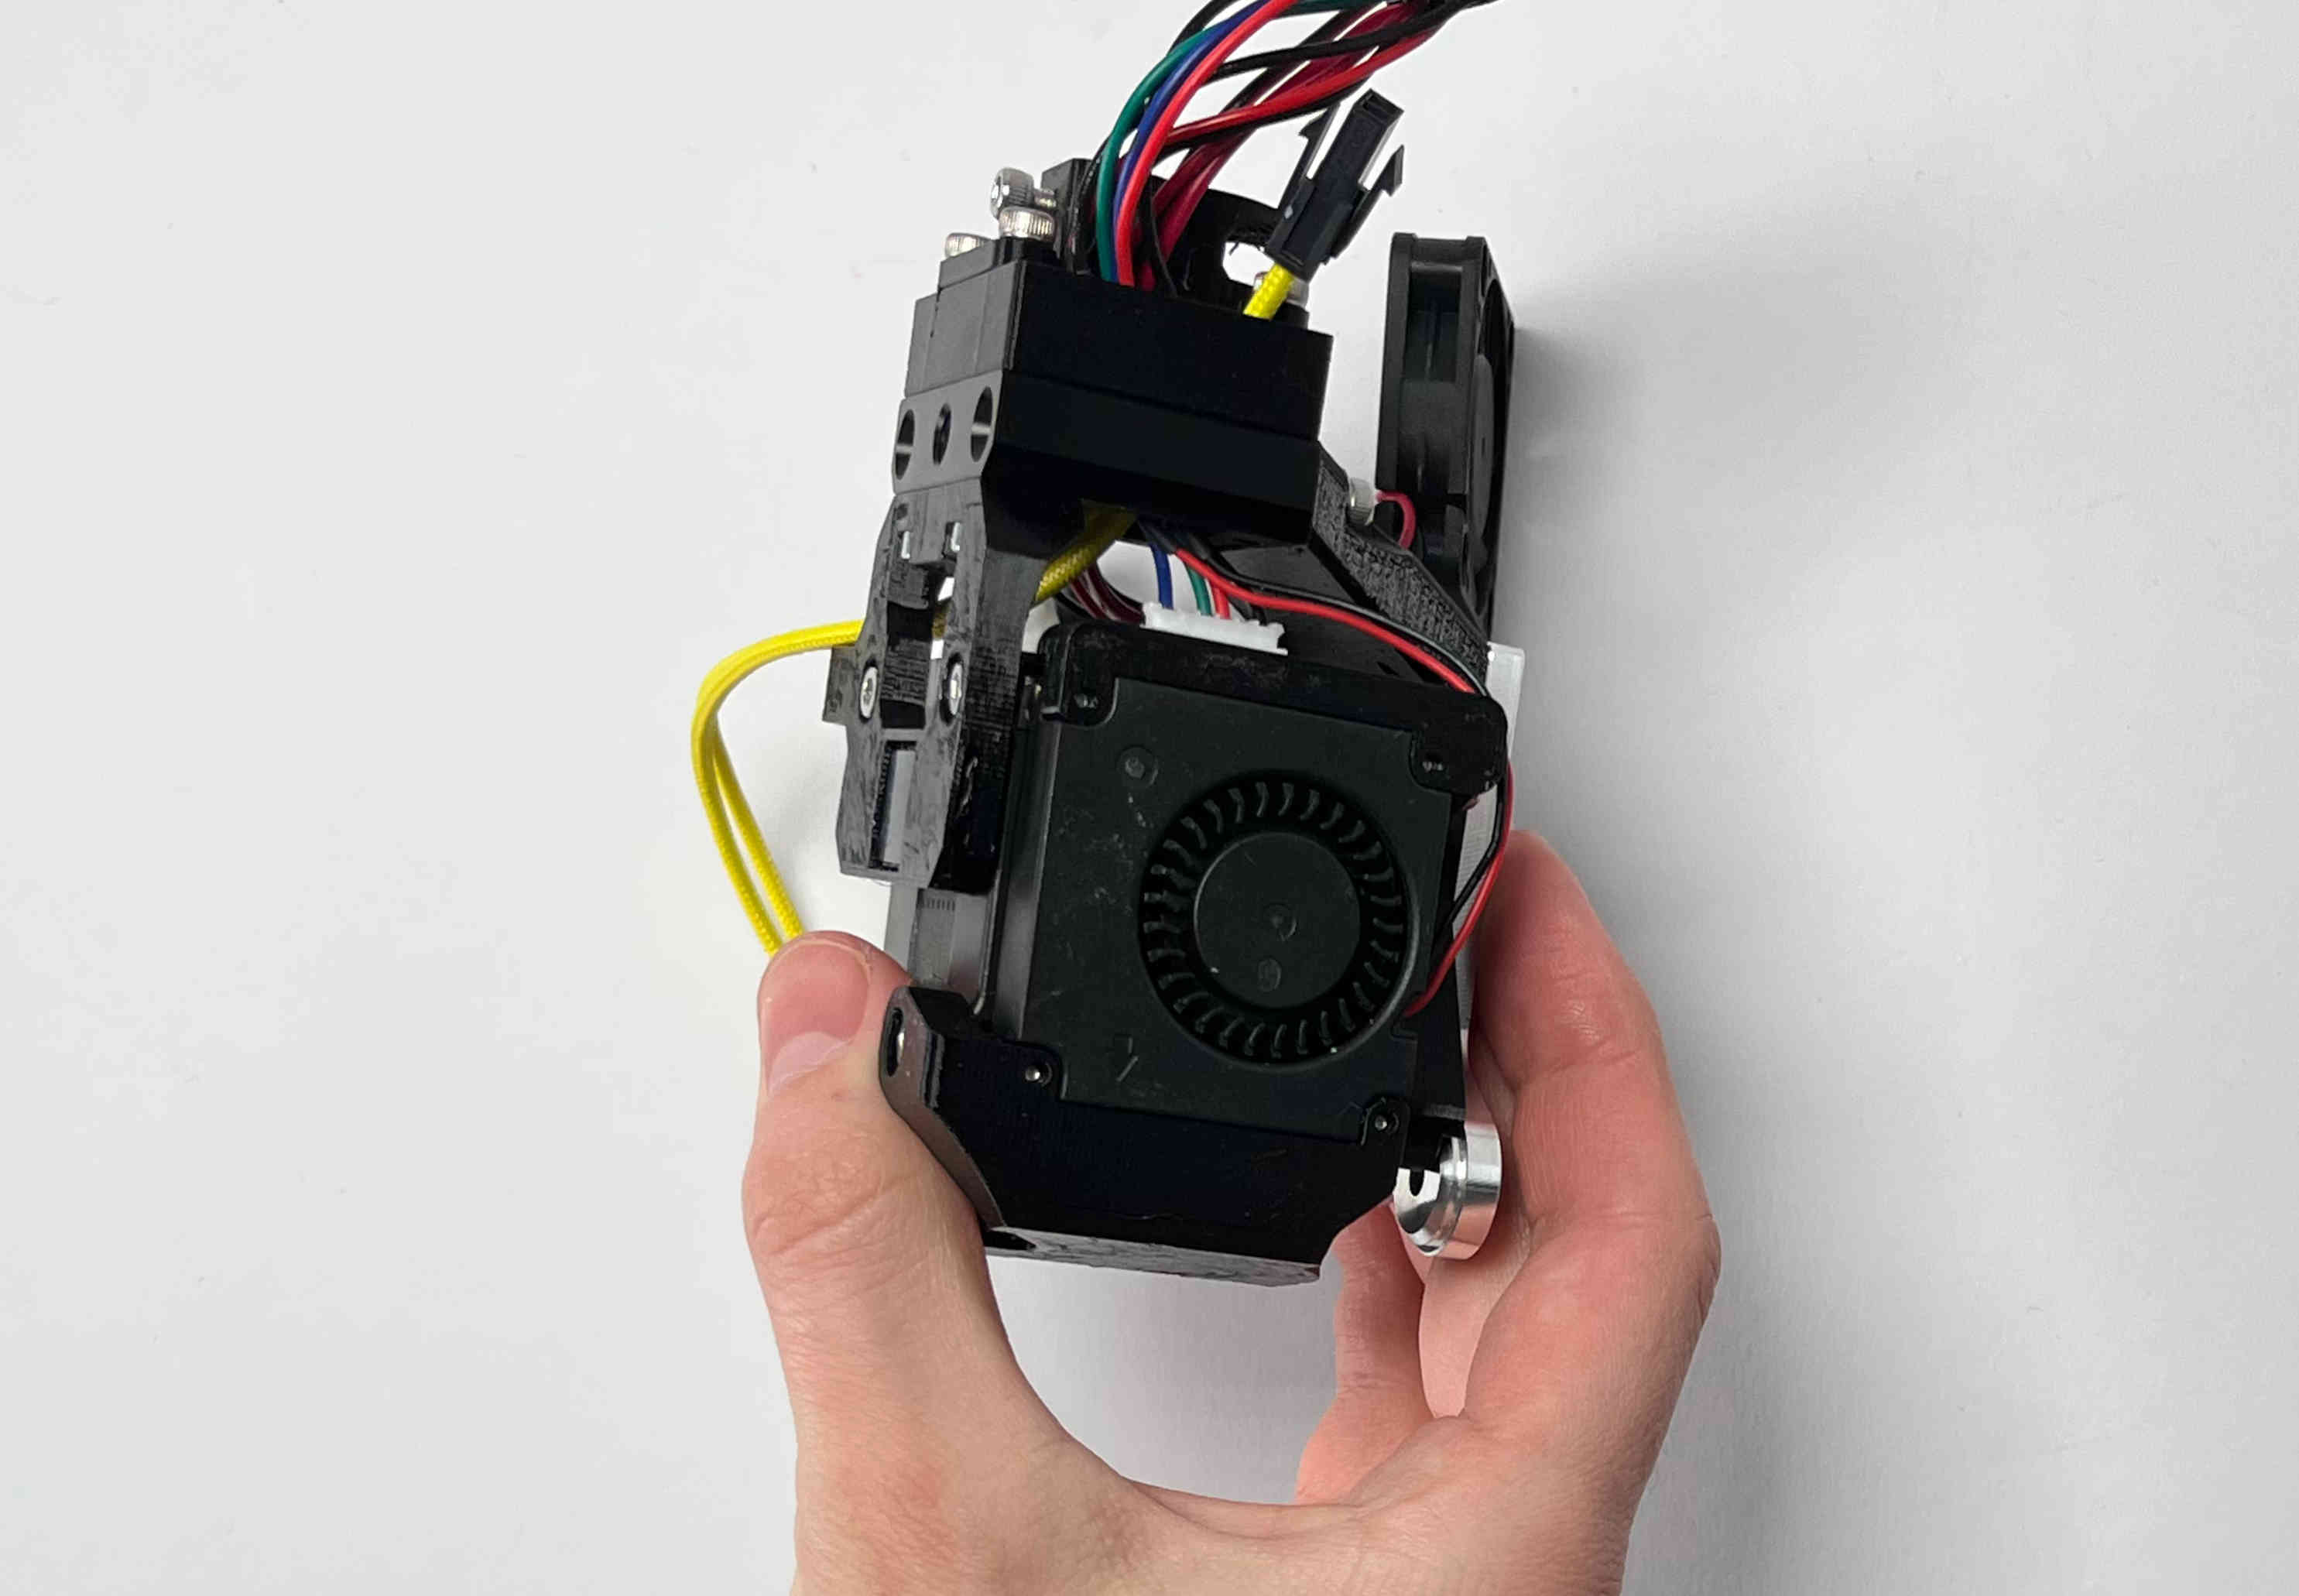
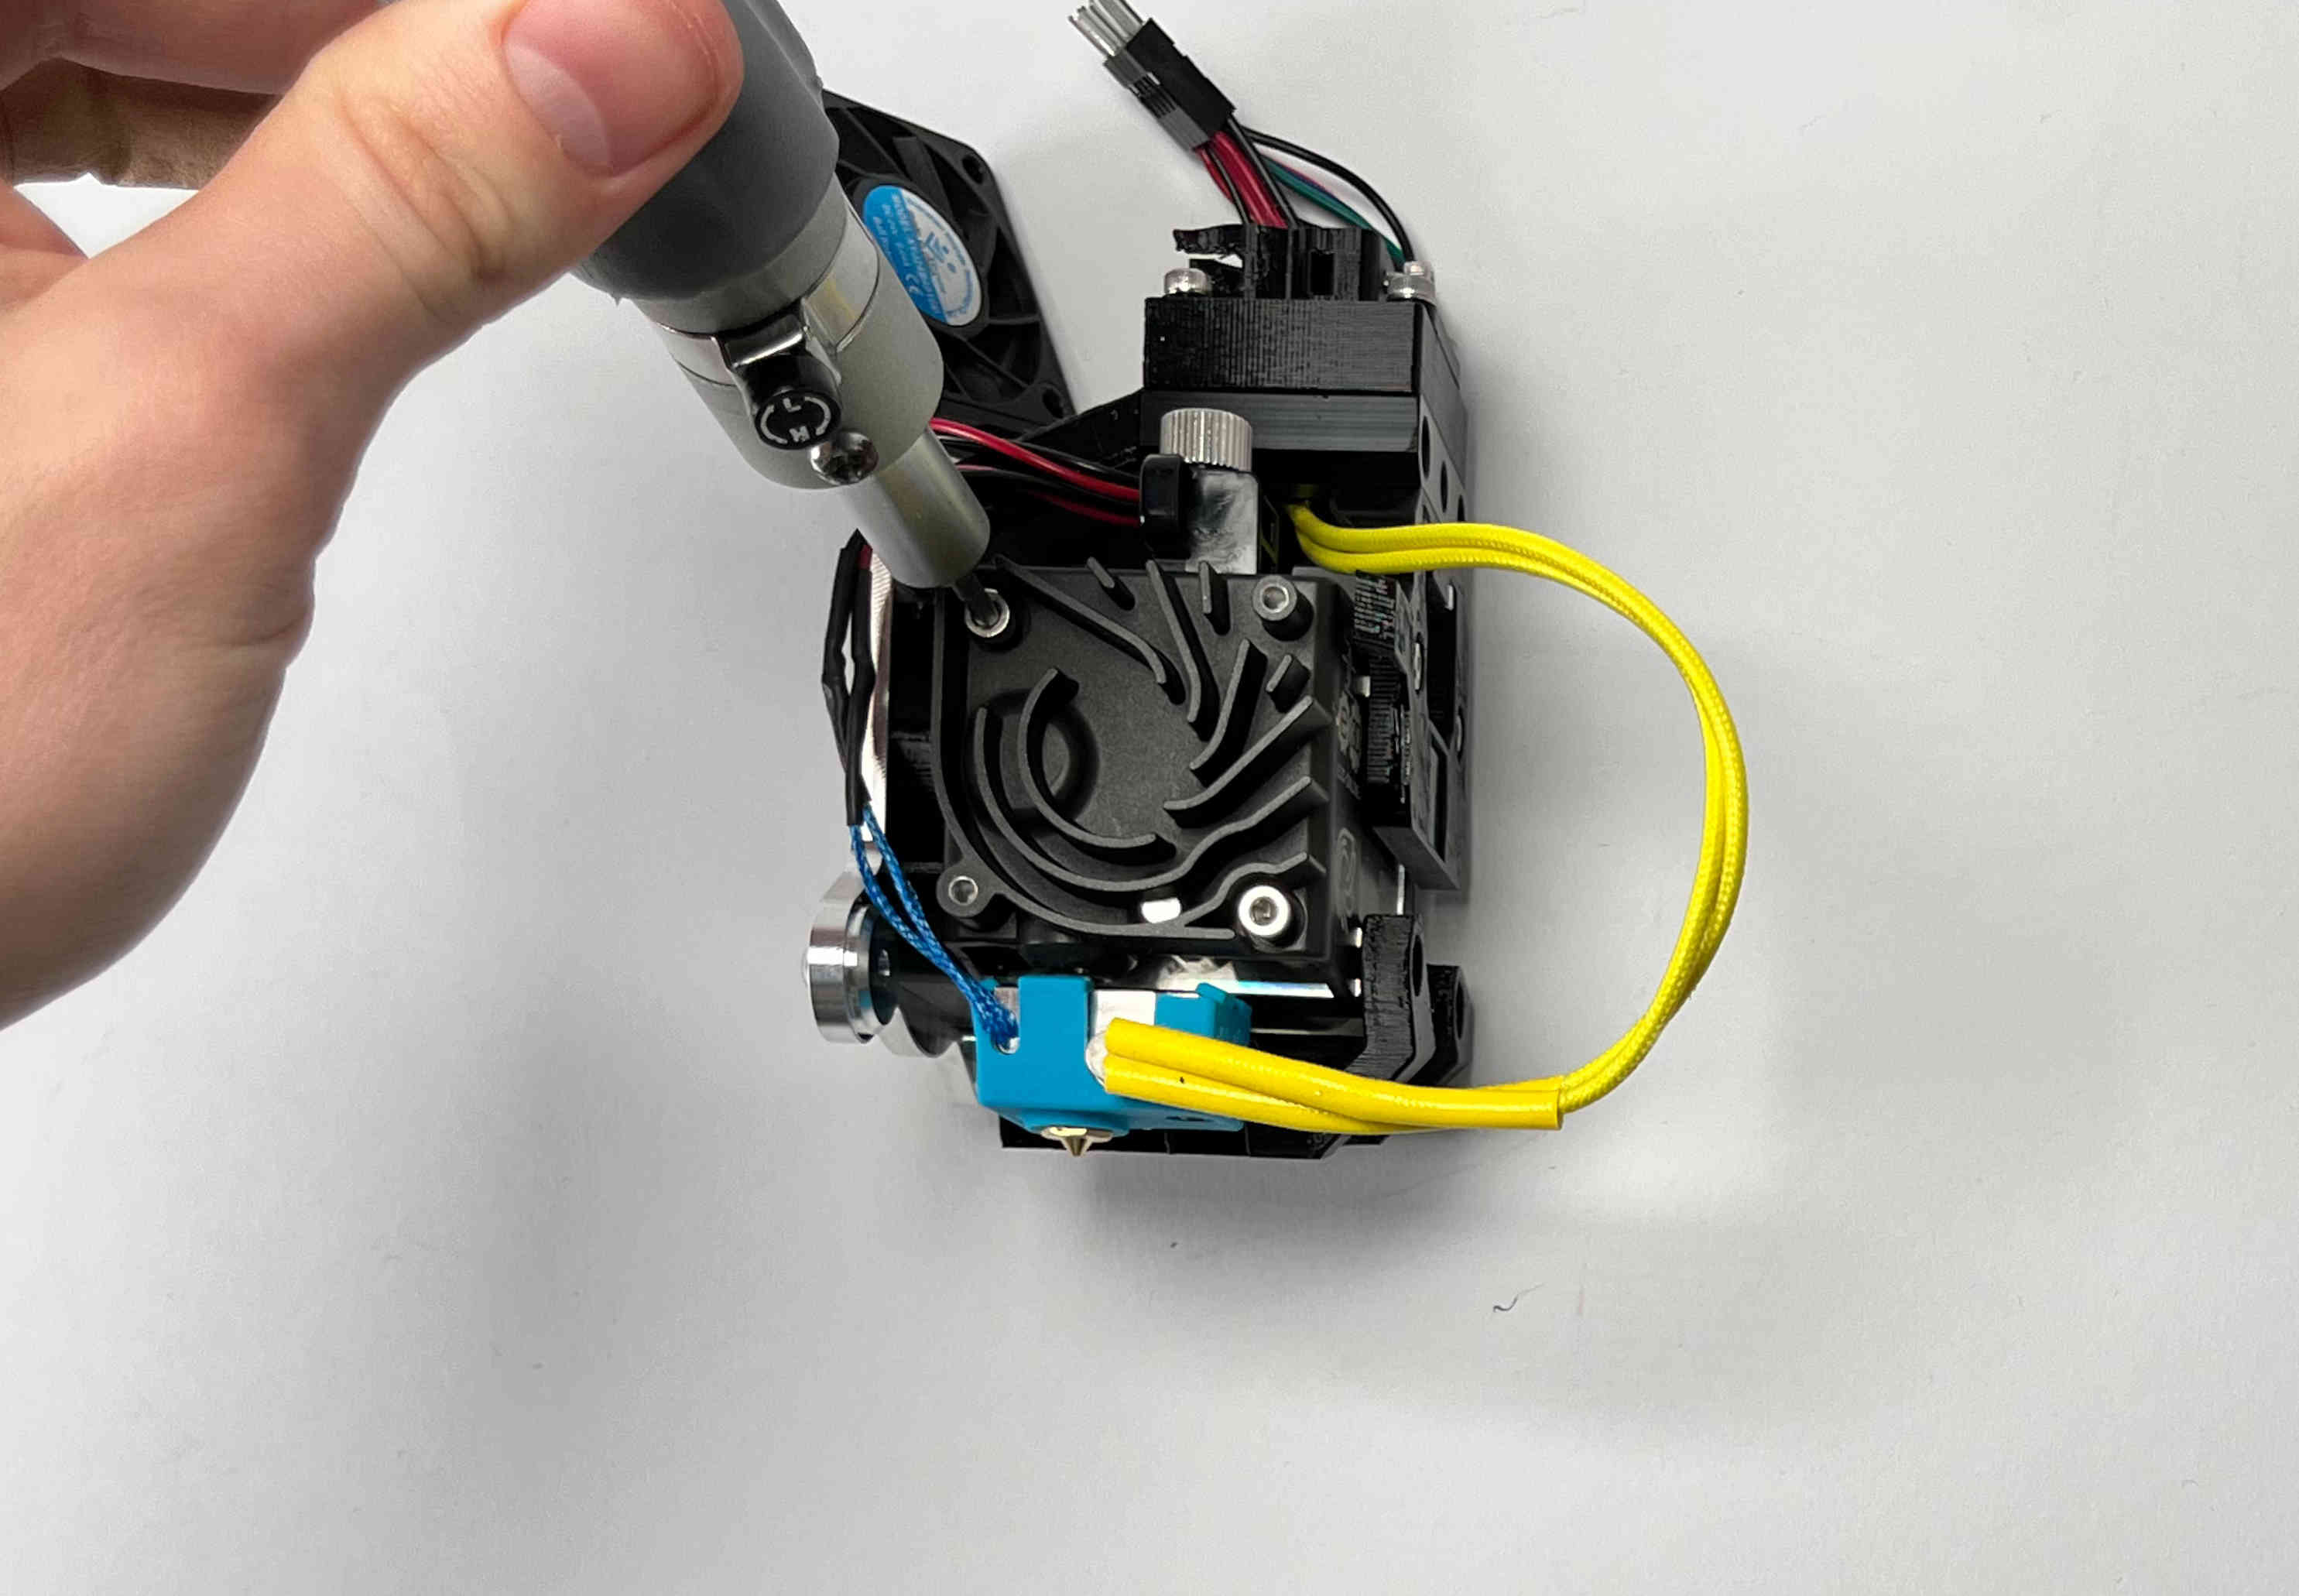
Unscrew the hotend fan, by loosening the two self tapping screws.
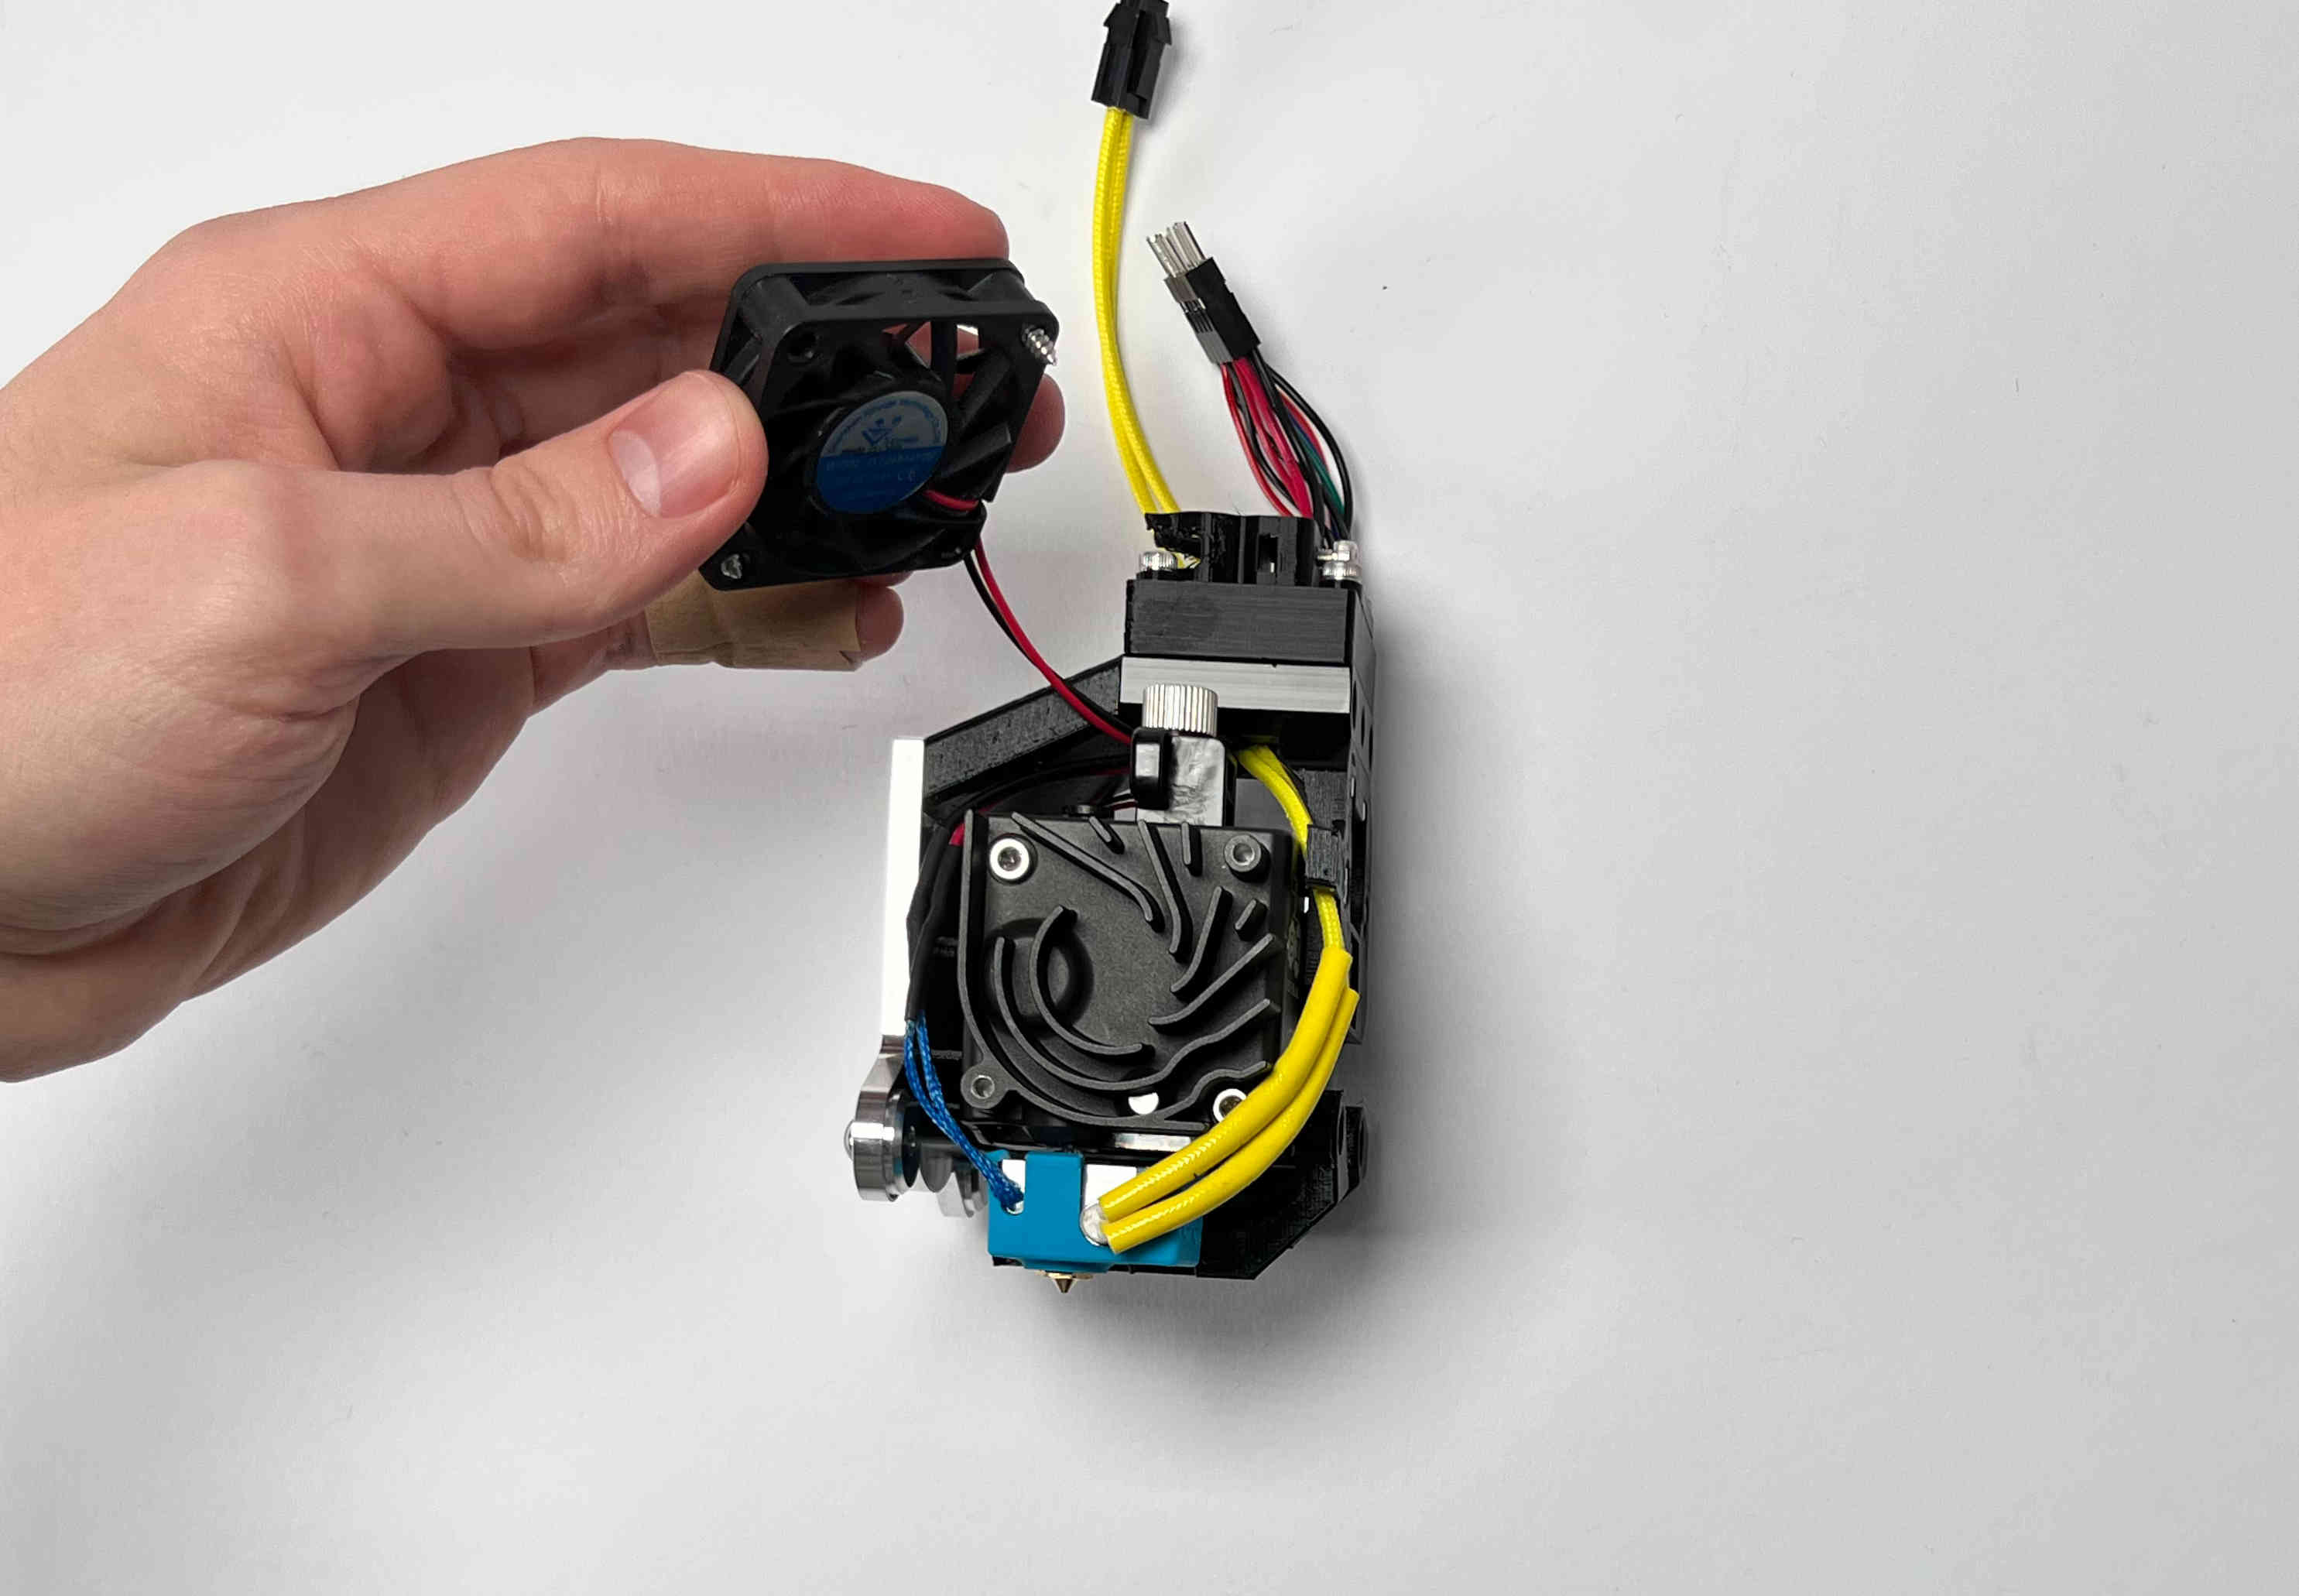
Remove the hotend fan.

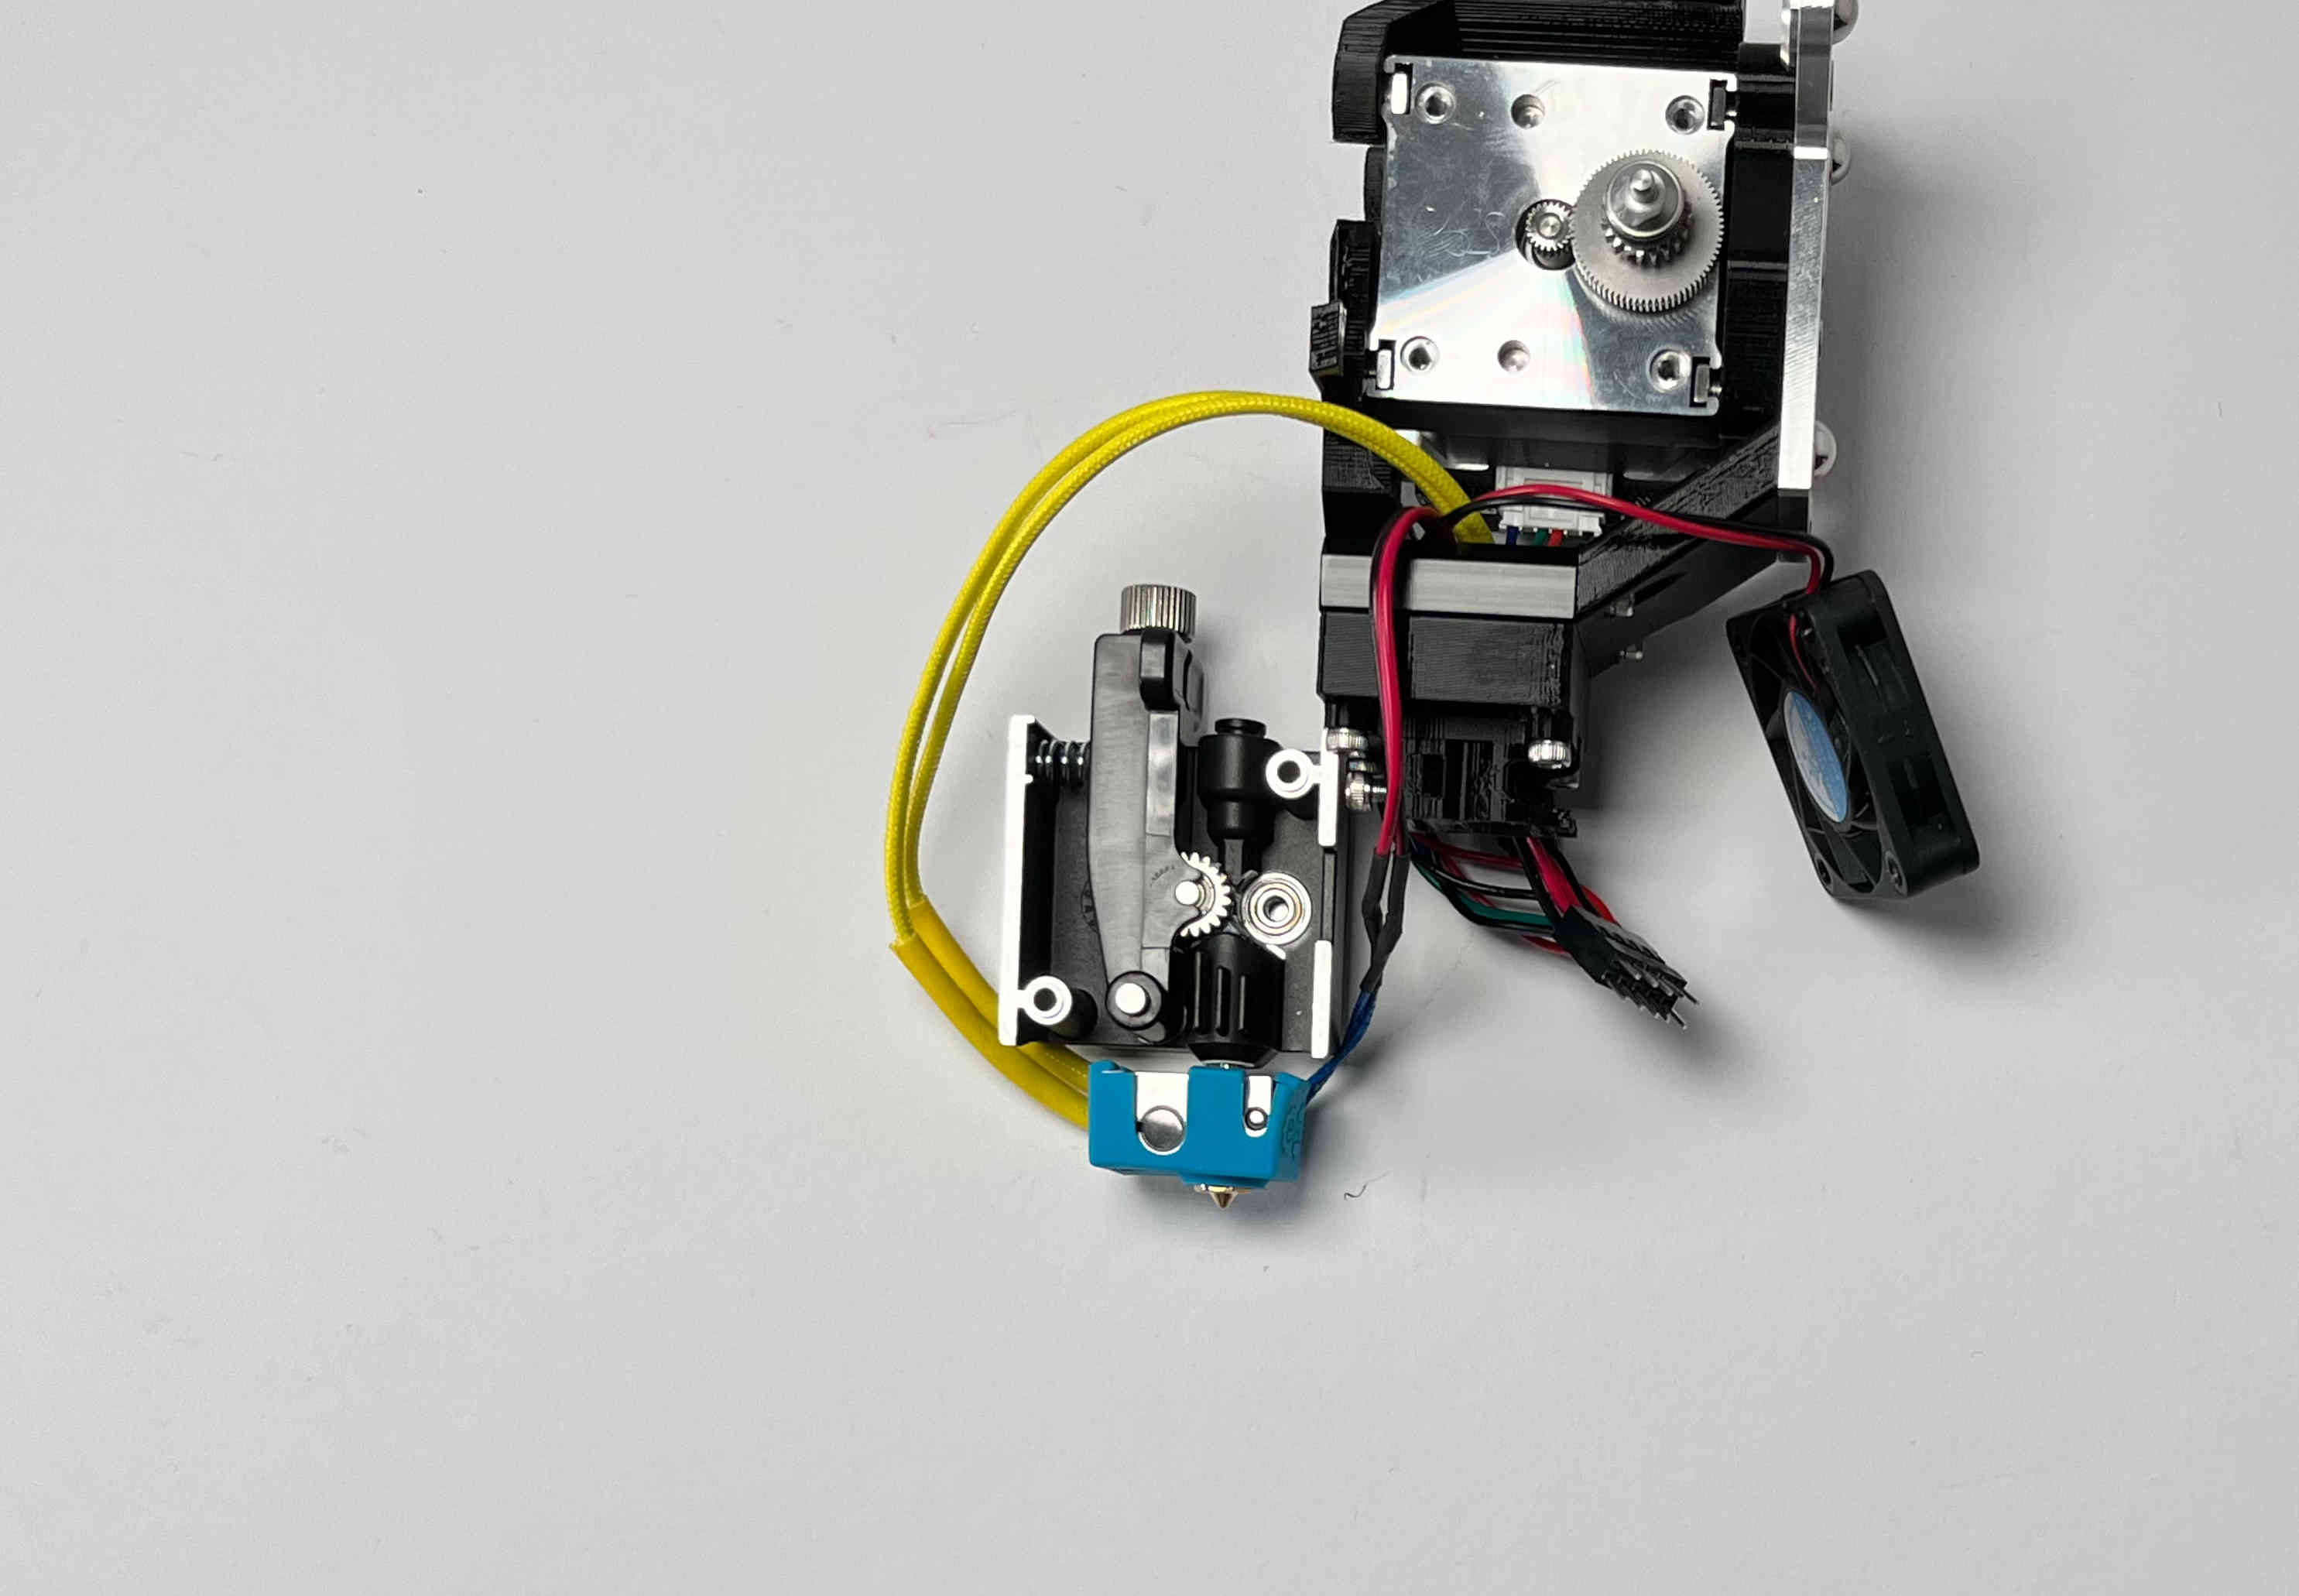
Unscrew the heatsink, by loosening the two machine screws.

Remove the heat sink.
Note: the heatsink also holds some shafts for the gears in place. If it is stuck, carefully wiggle it free.

Set the heatsink to the side of the extruder.
If you can see any debris in the stage remove it.

Remove the idler lever by pulling it out of the heatsink.
Note: There is a spring tensioning the idler. This will also be pulled out.
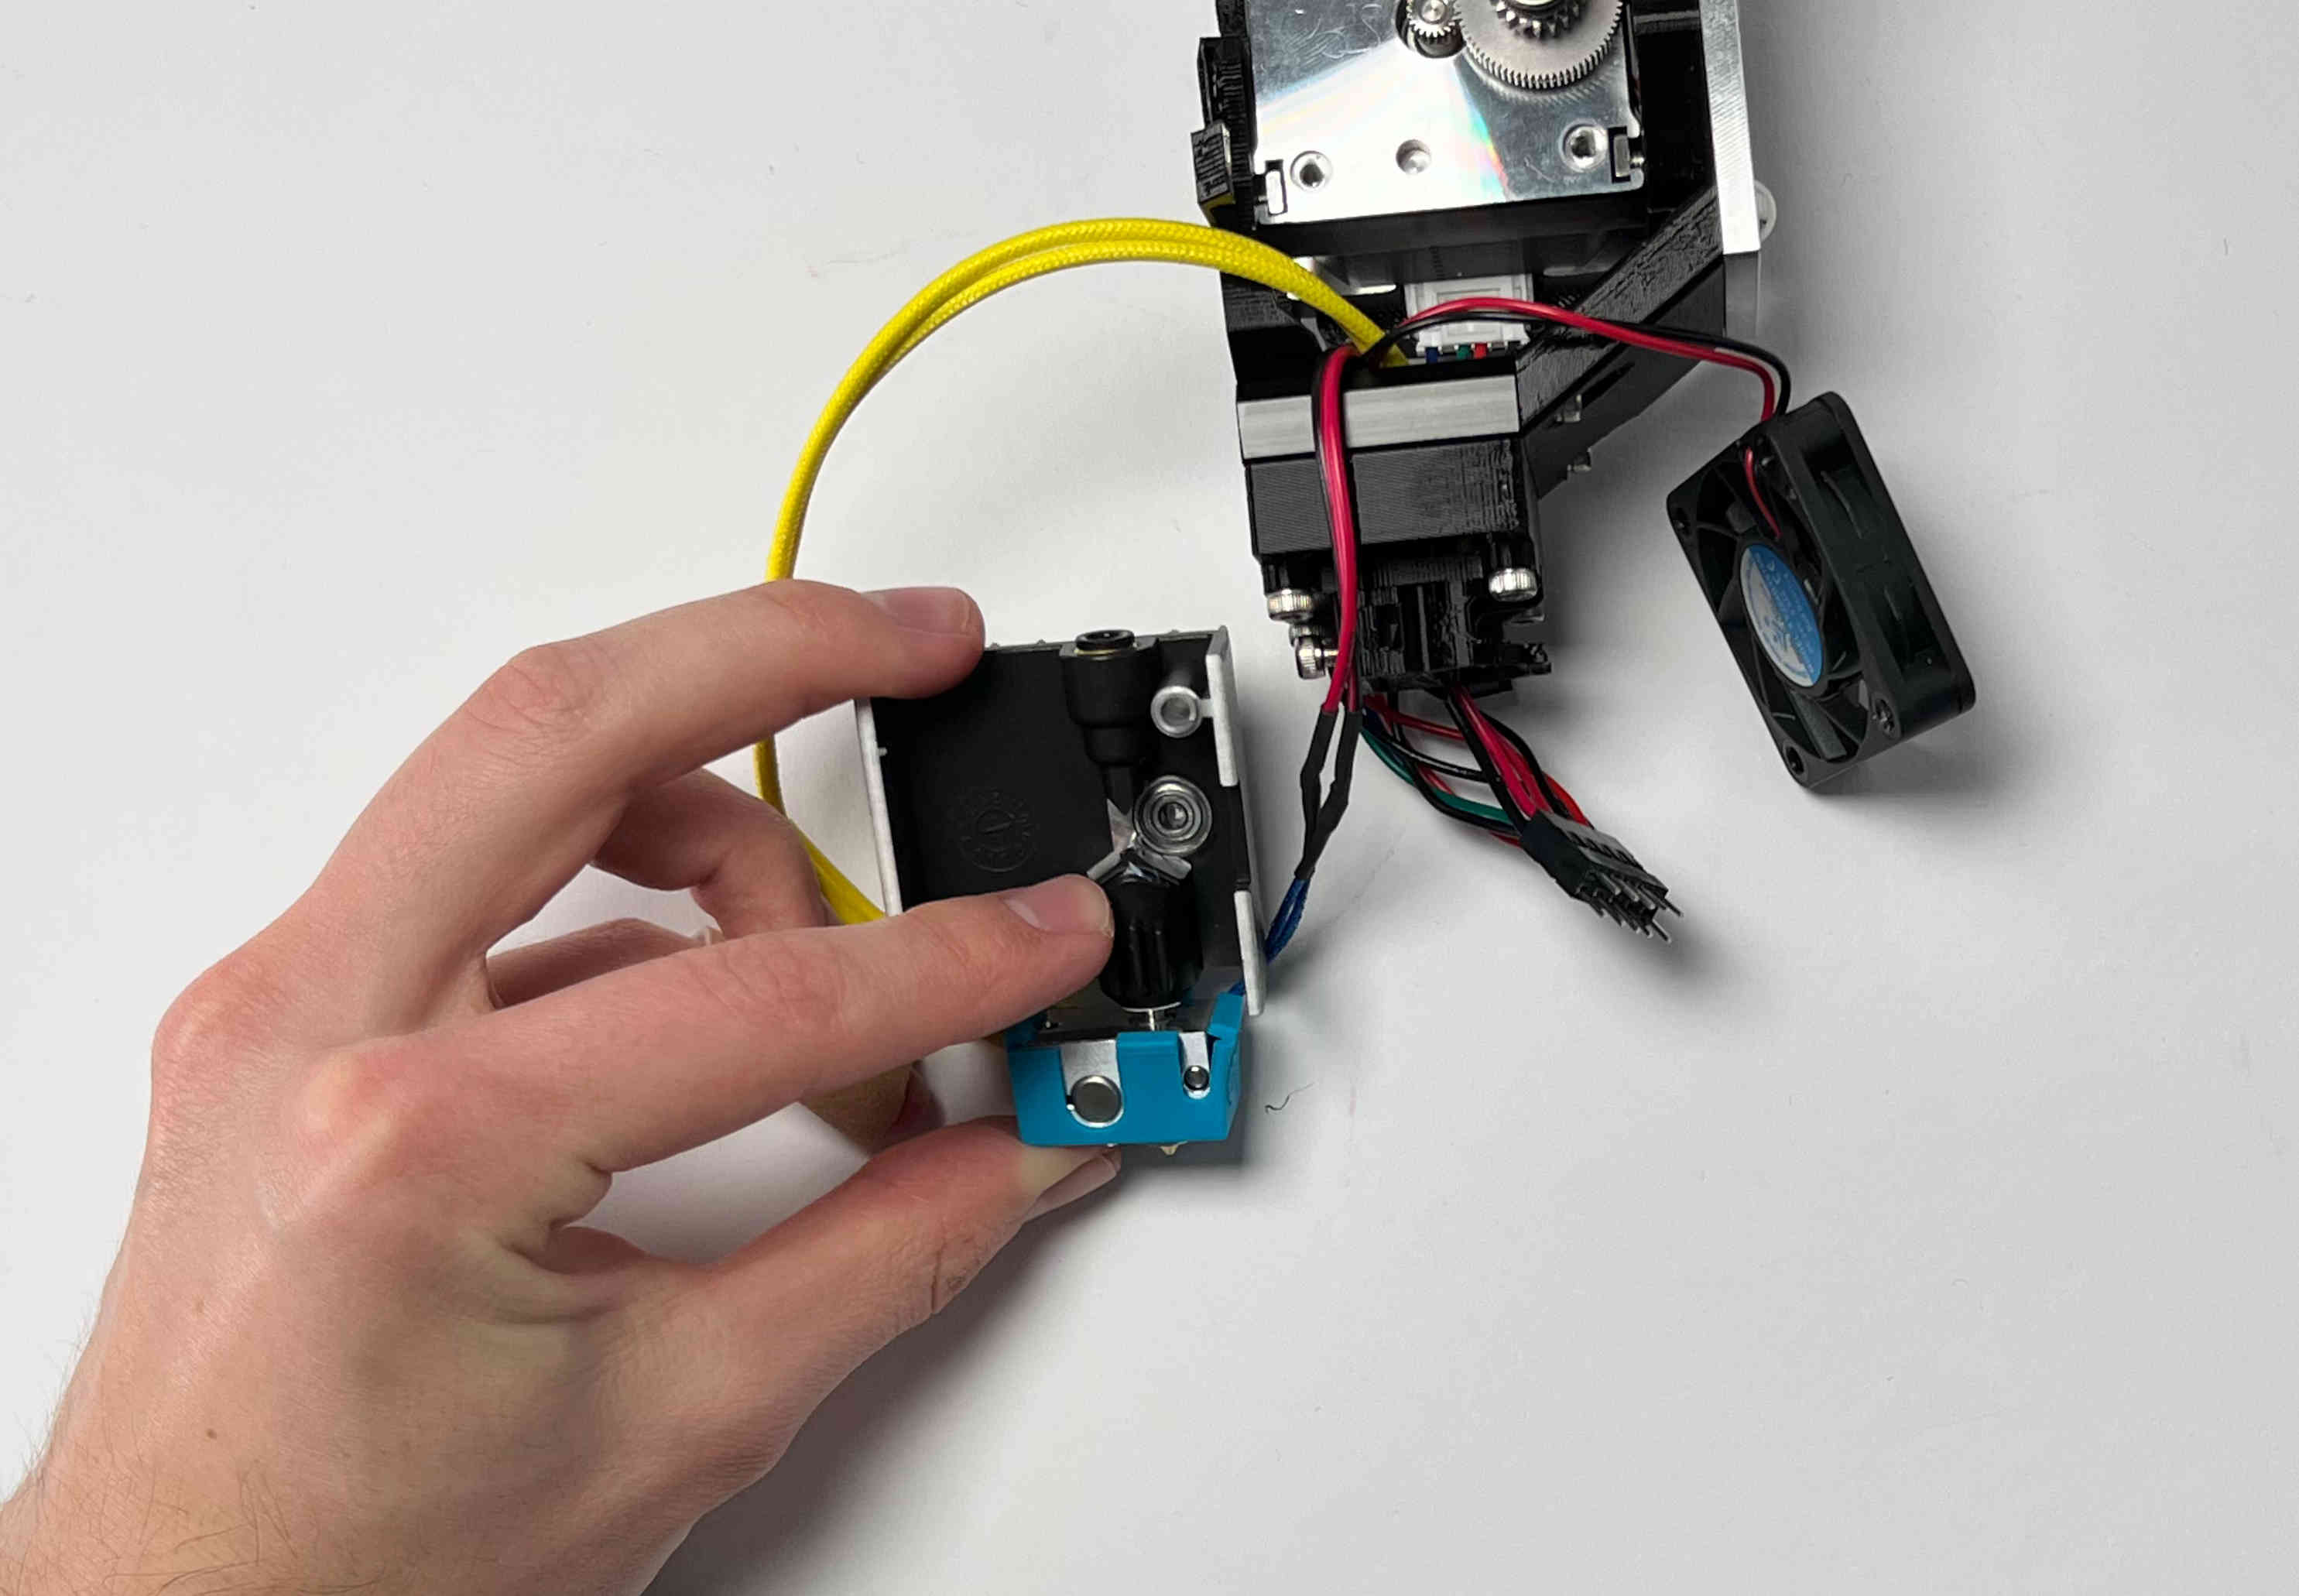
Remove any debris on the spurgear, and around the hotend.

Set the spring onto the plastic pin in the idler.
Place the idler on the pin in the heatsink.
Place the spurgear in the bearing on the heatsink. Make sure the idler and spurgear mesh.
Place the extruder on the heatsink. This is easier than placing the heatsink on the extruder, since some components might fall out of the heatsink.
Fasten the heatsink using the two machine screws.
Fasten the hotend fan using the selftapping screws.