E3D Hemera
Please follow the hotend assembly instructions found on the E3D website . If you are using a different sized metal strip. You will have to modify the “bracket”, “Cable relief”, and “Parking spot” parts.
Main Tool
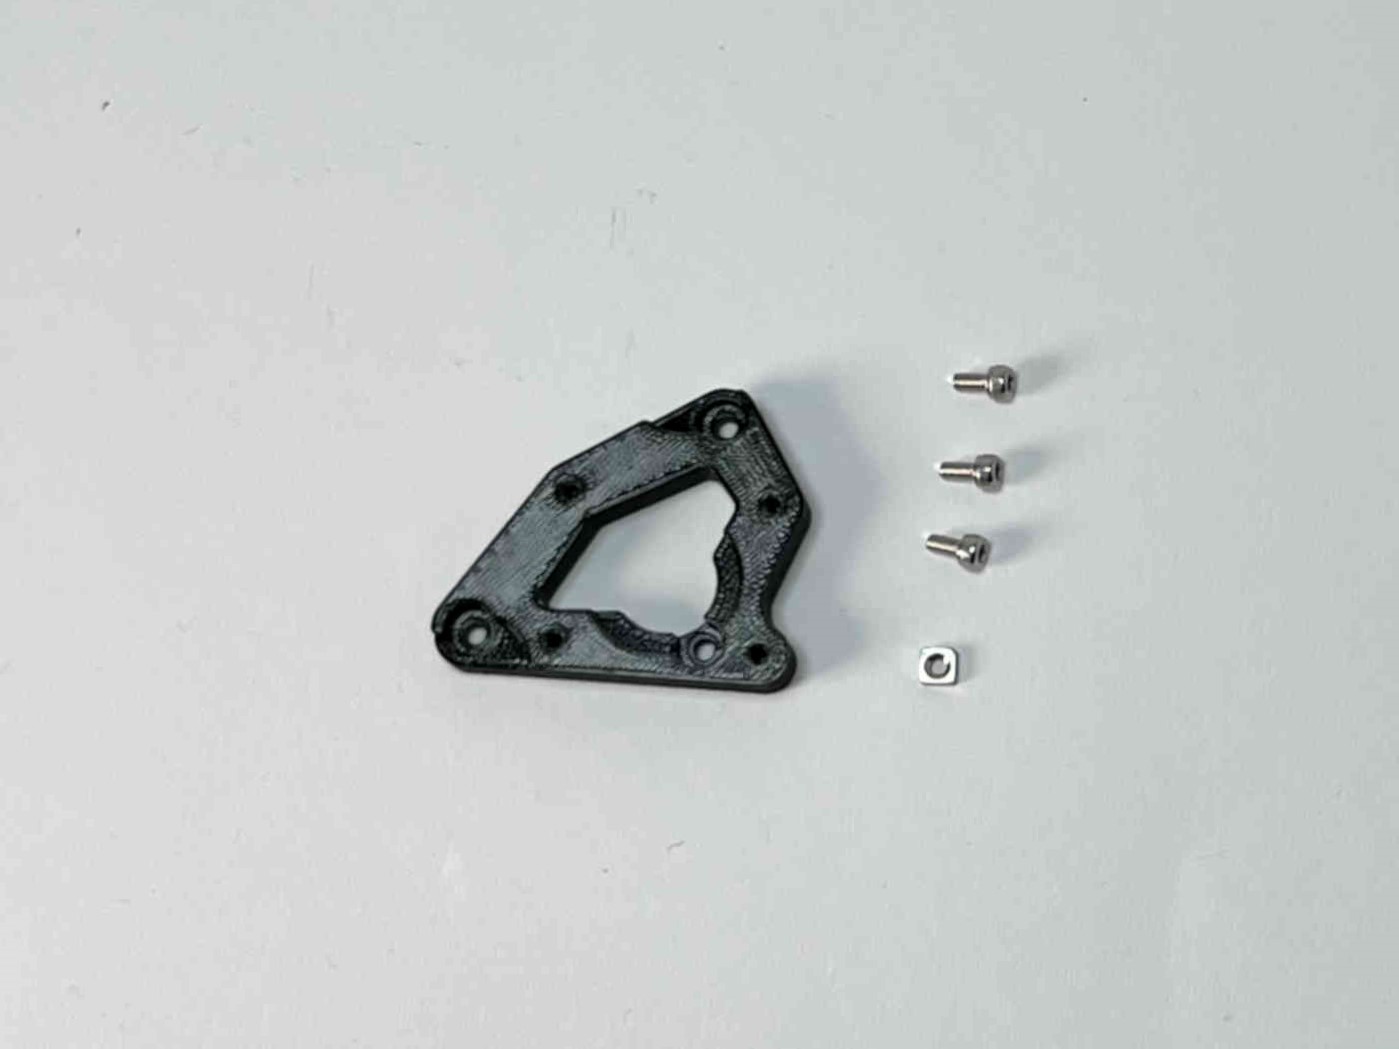
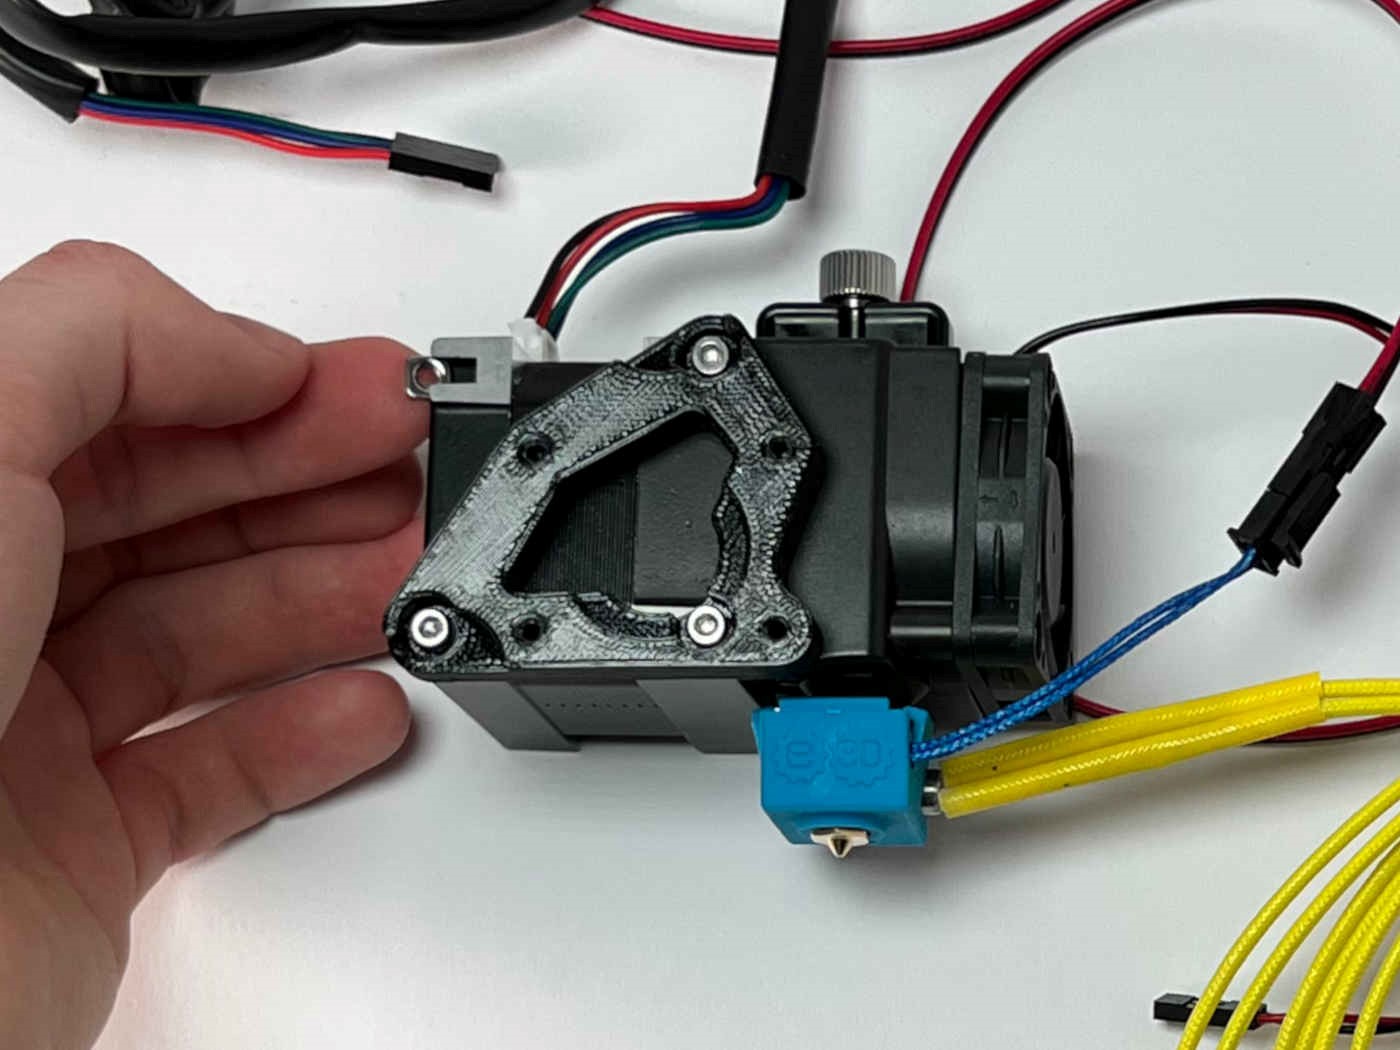
Prepare “Hemera adapter”, three M3x6 caphead screws, and an M3 square nut.
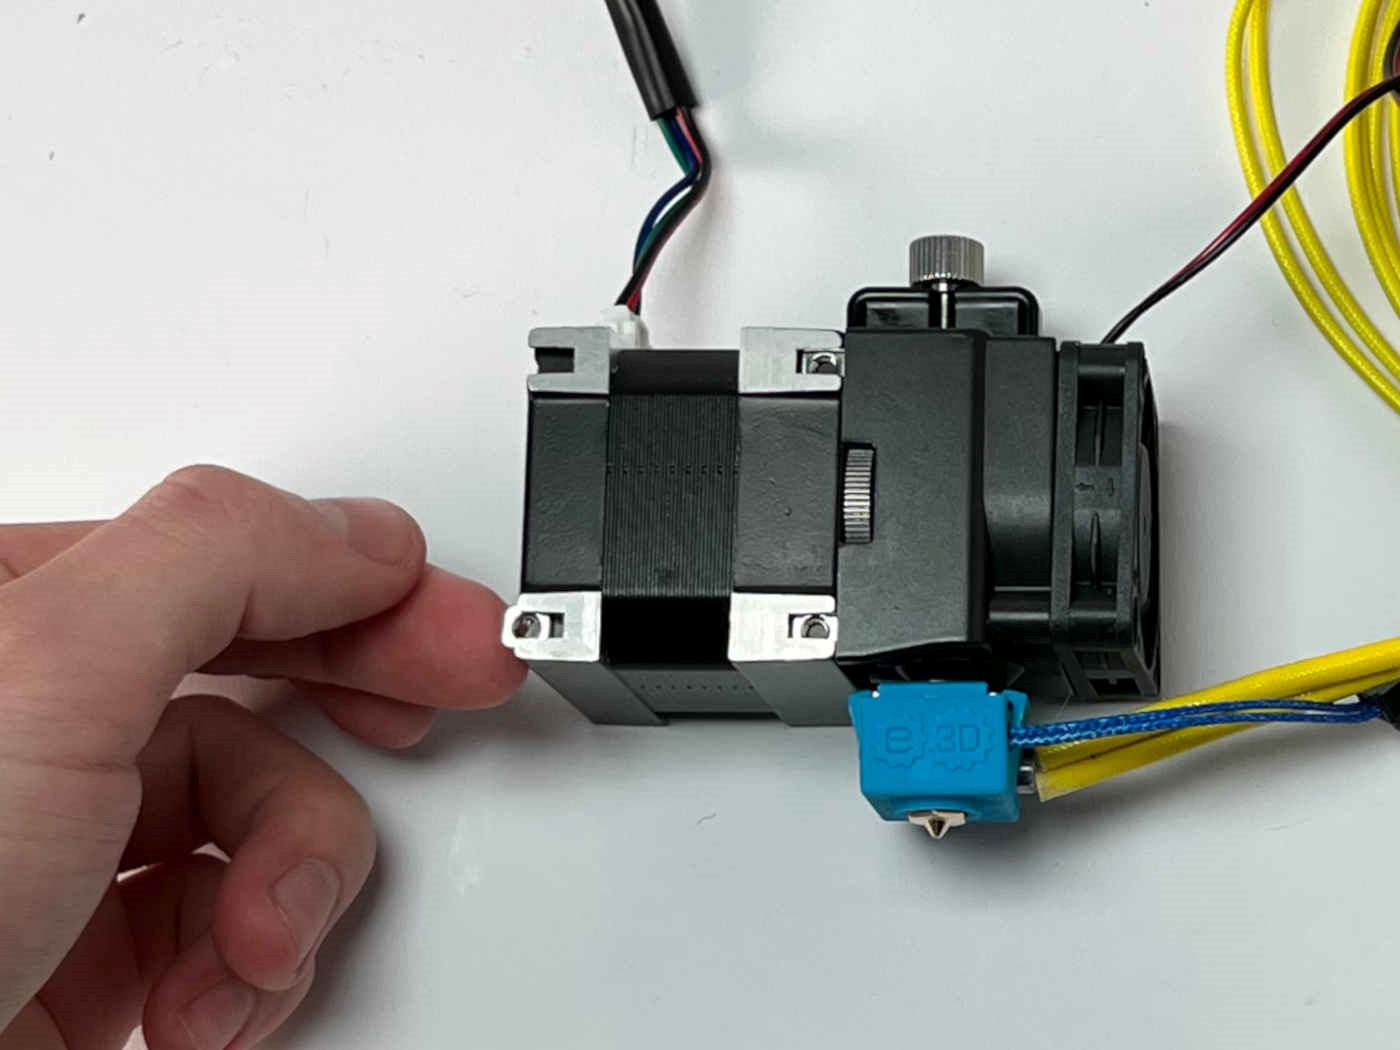
Insert the square nut into the T-slot on the extruder motor. Note the orientation of the assembly.
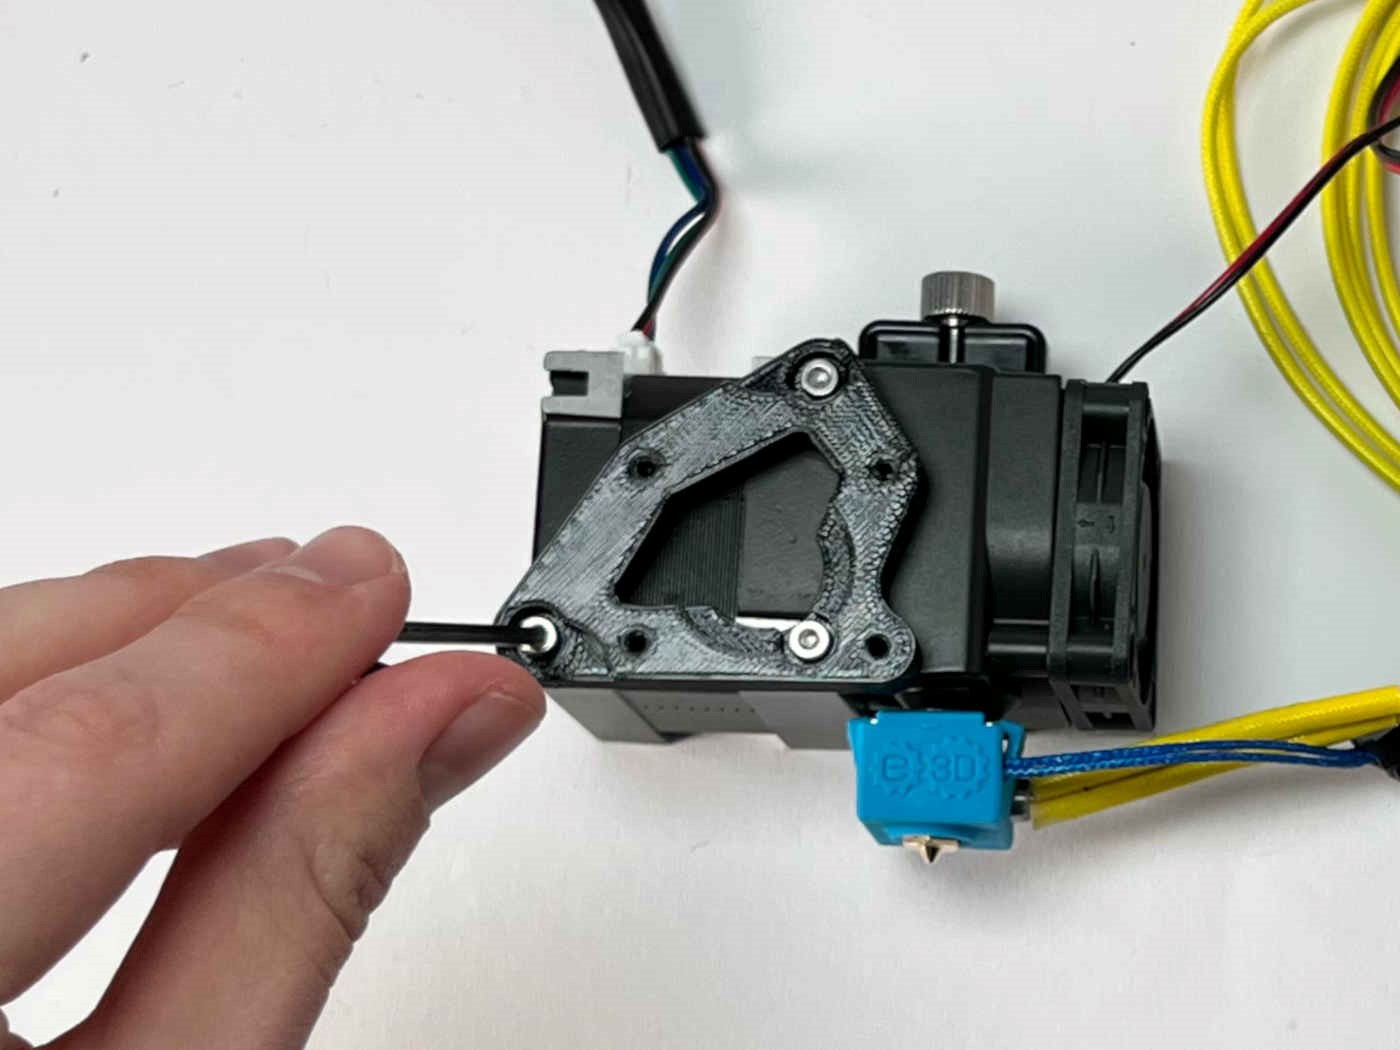
Fasten the adapter to the extruder motor using the M3 screws.
Warning
Do not use longer screws! They could damage the extruder motor.
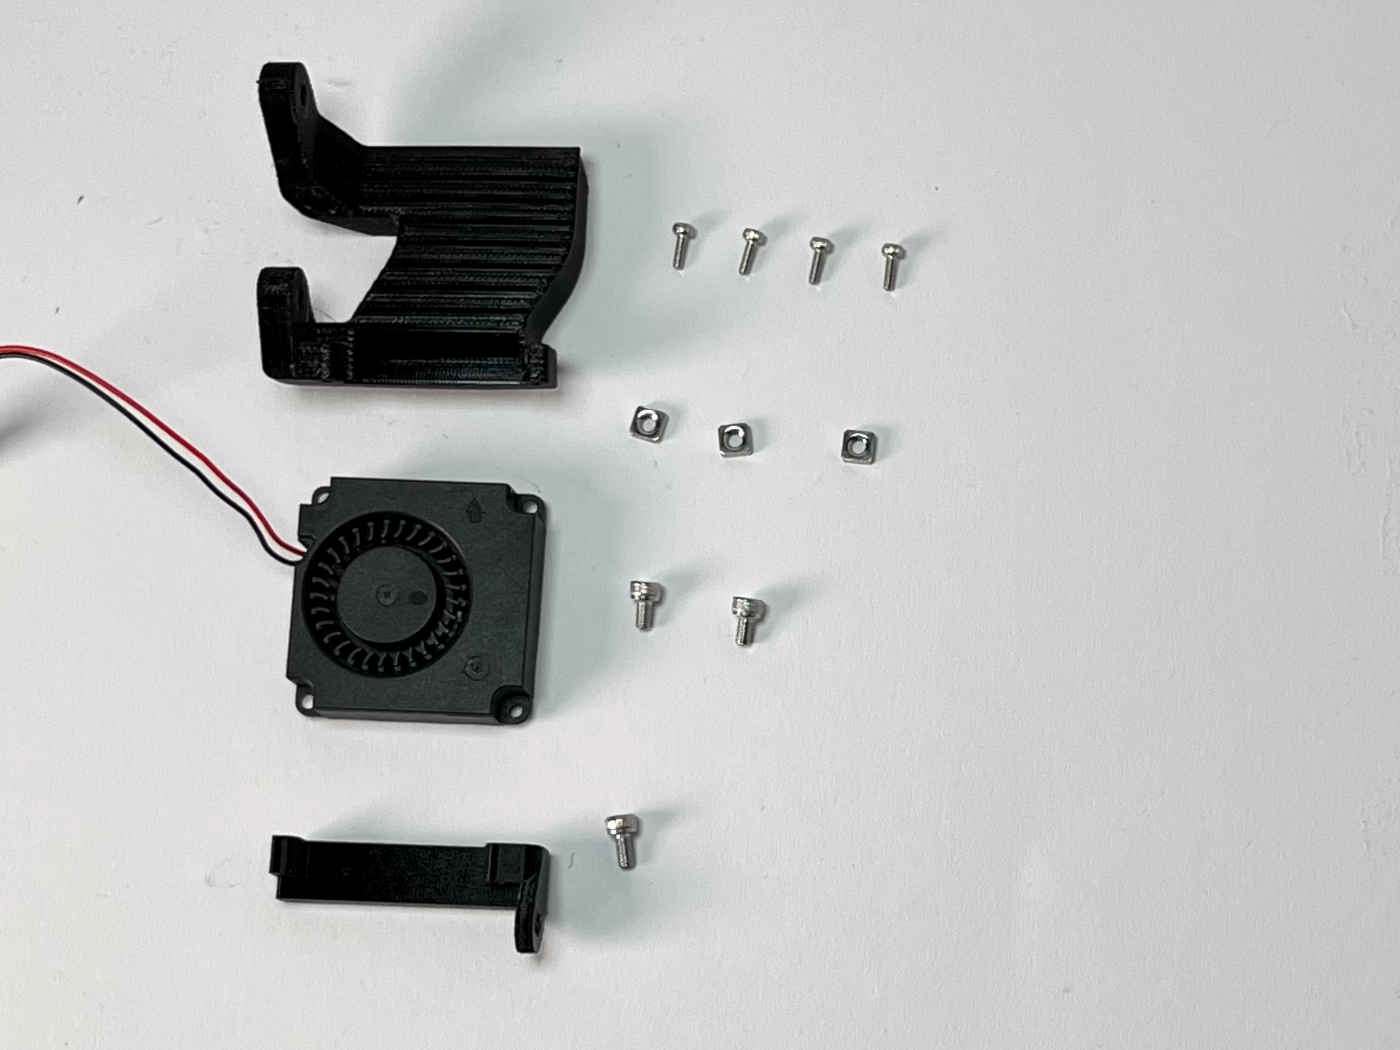
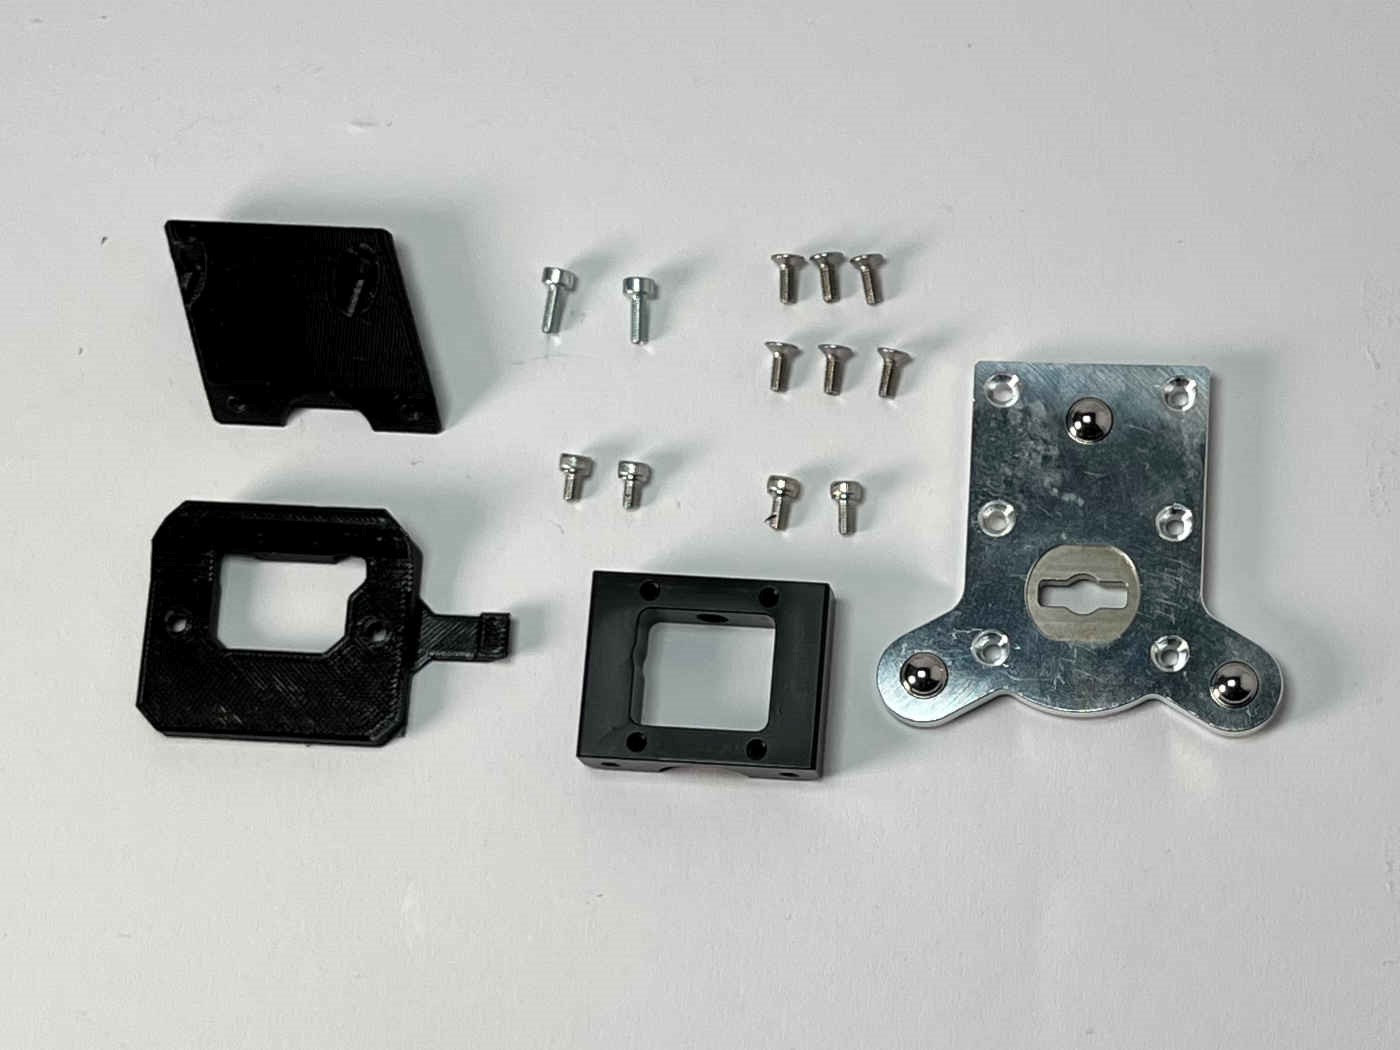
Prepare the print fan, the “PCF bracket”, the “PCF duct”, four M2x8 caphead screws, three M3 square nuts, two M3x5 caphead screws, and one M3x6 caphead screw.
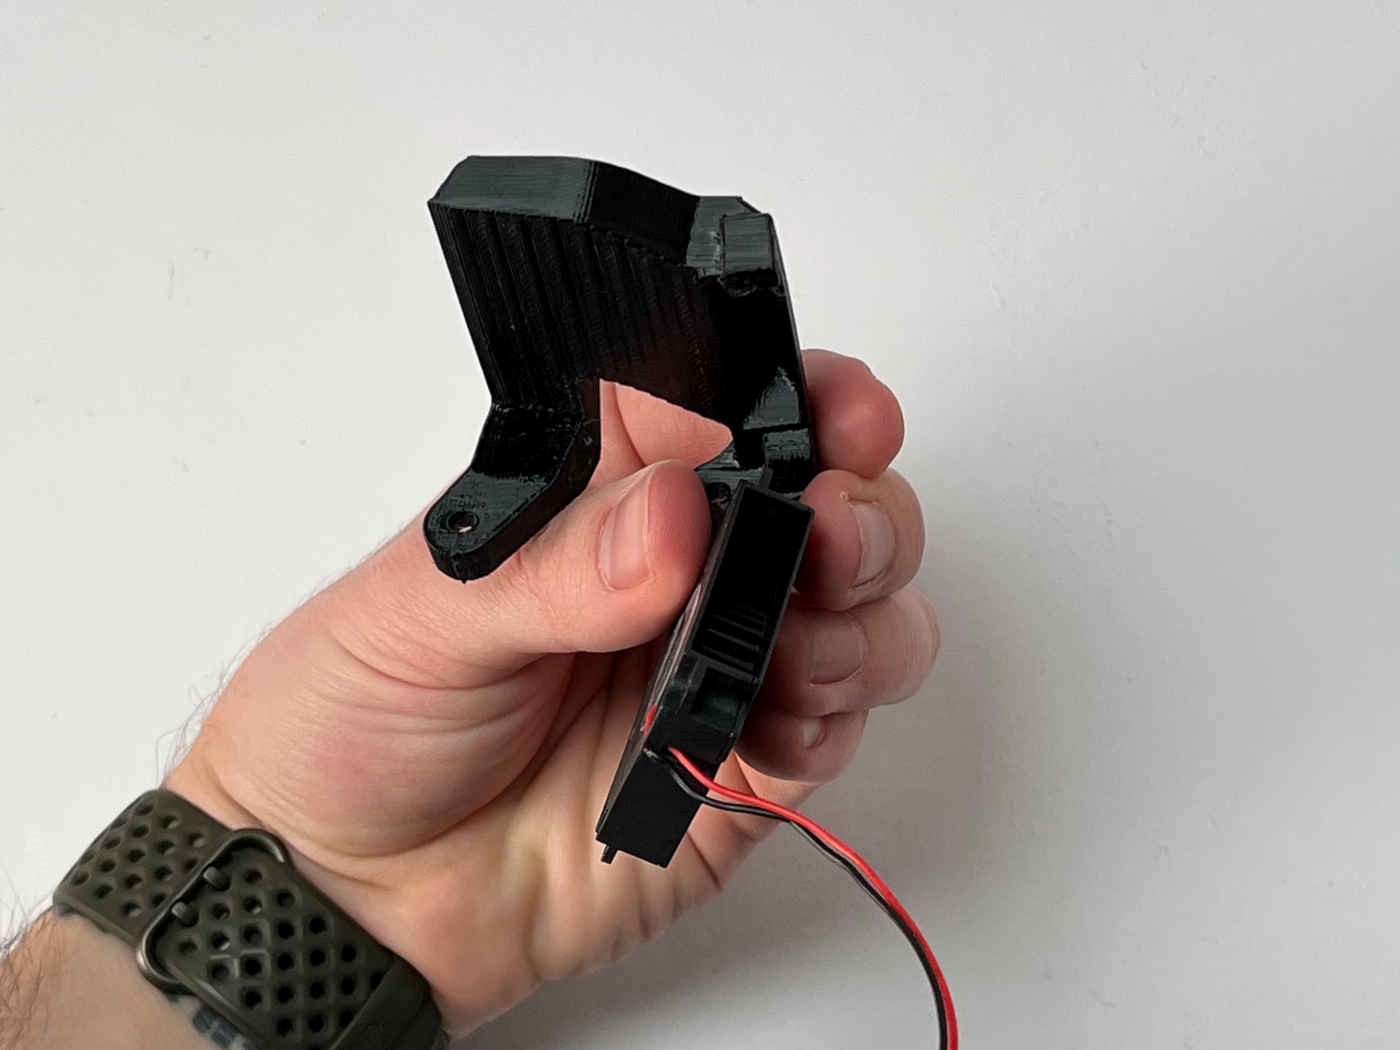
Note the orientation of the print fan.
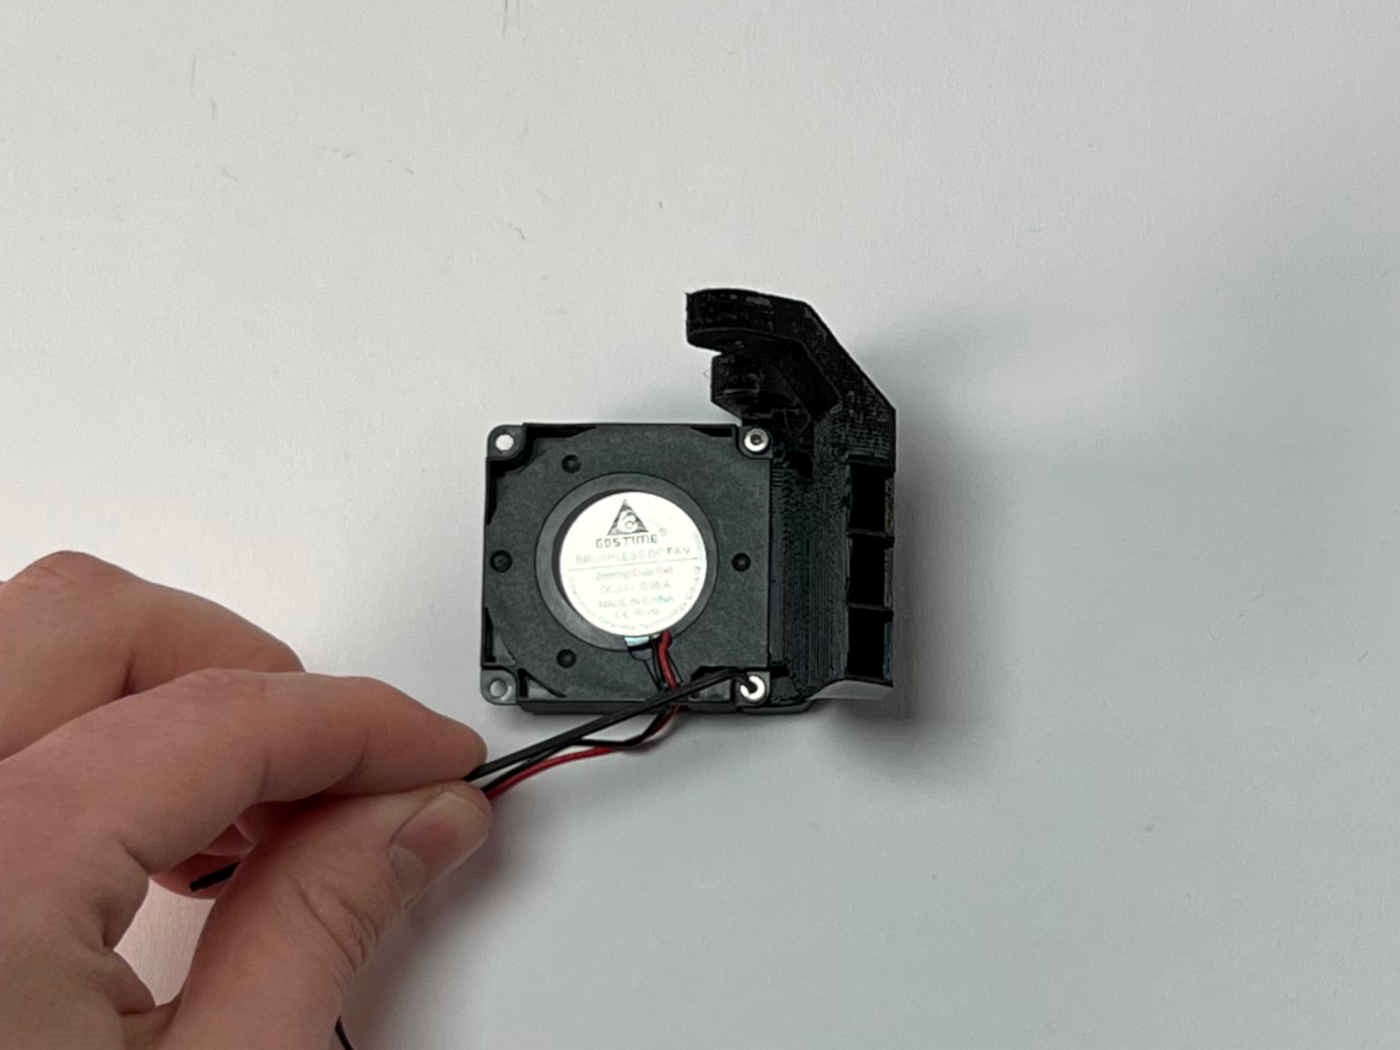
Attach the print fan to the PCF duct using two M2x8 screws.
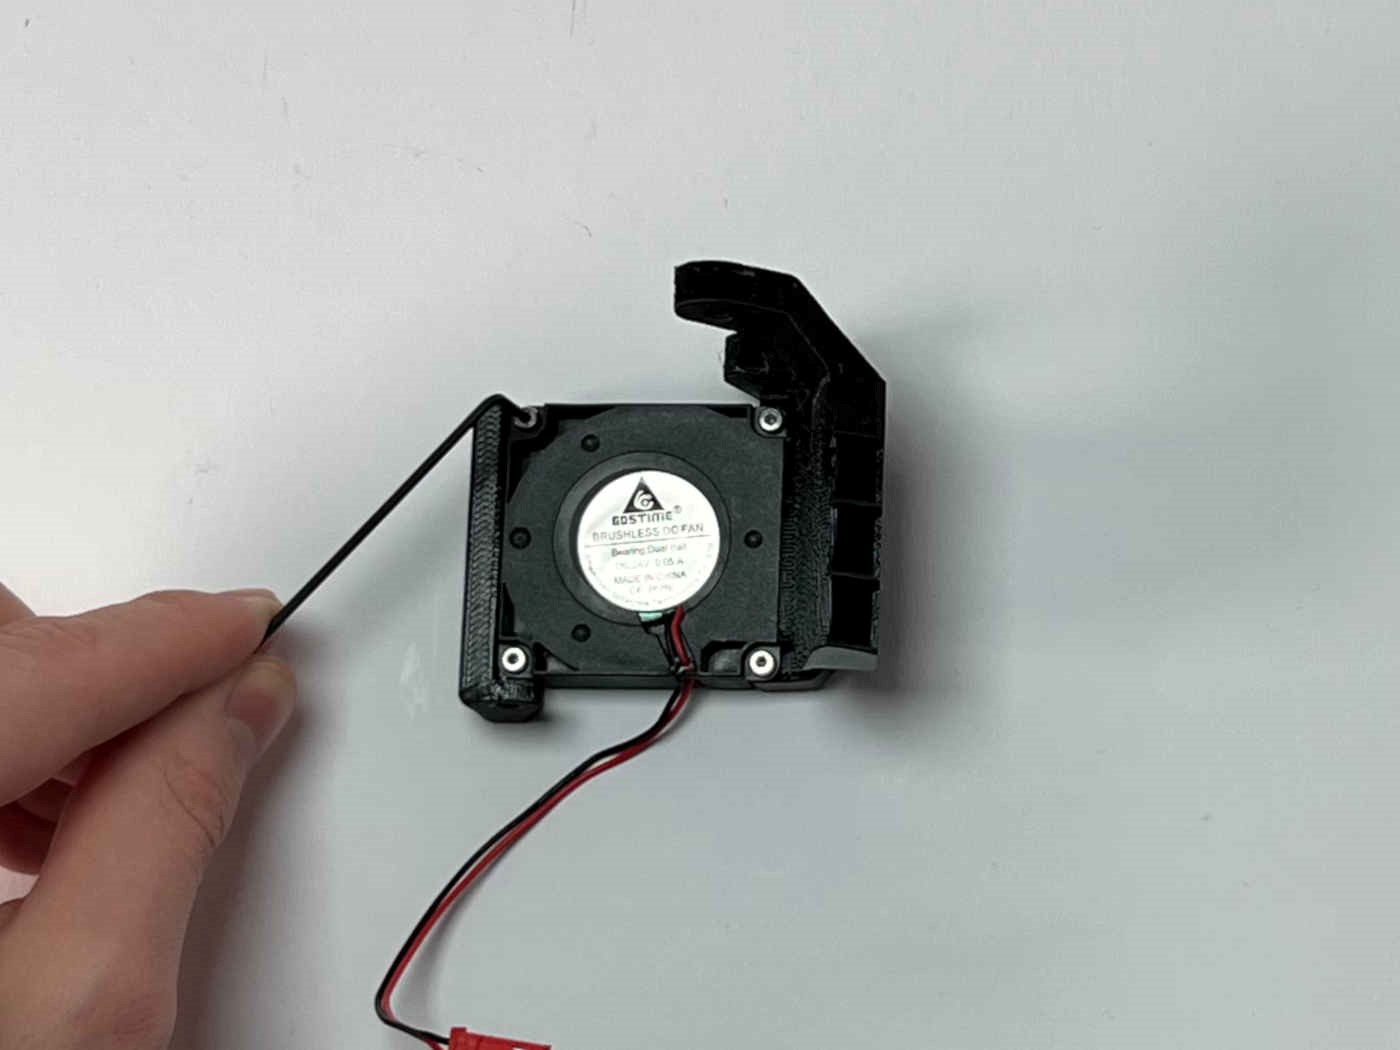
Attach the PCF bracket using two M2x8 screws.
Insert the square nuts into the remaining T-slots on the extruder motor.
Attack the PCF duct to the extruder motor using two M3x5 screws.
Attach the PCF bracket to the extruder motor using the M3x6 screw.
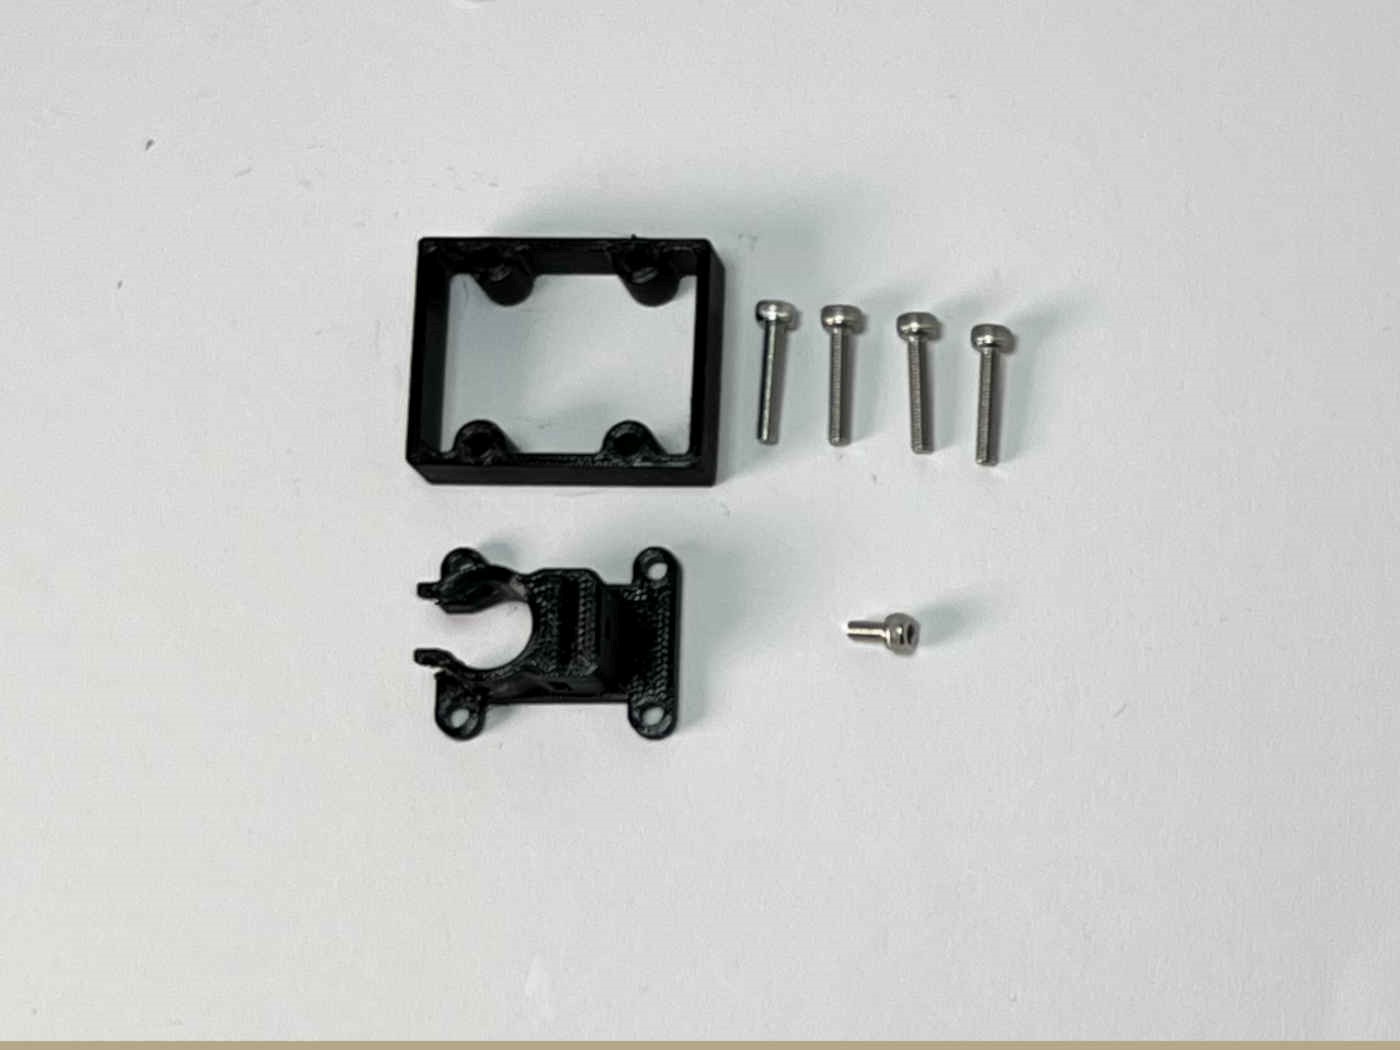
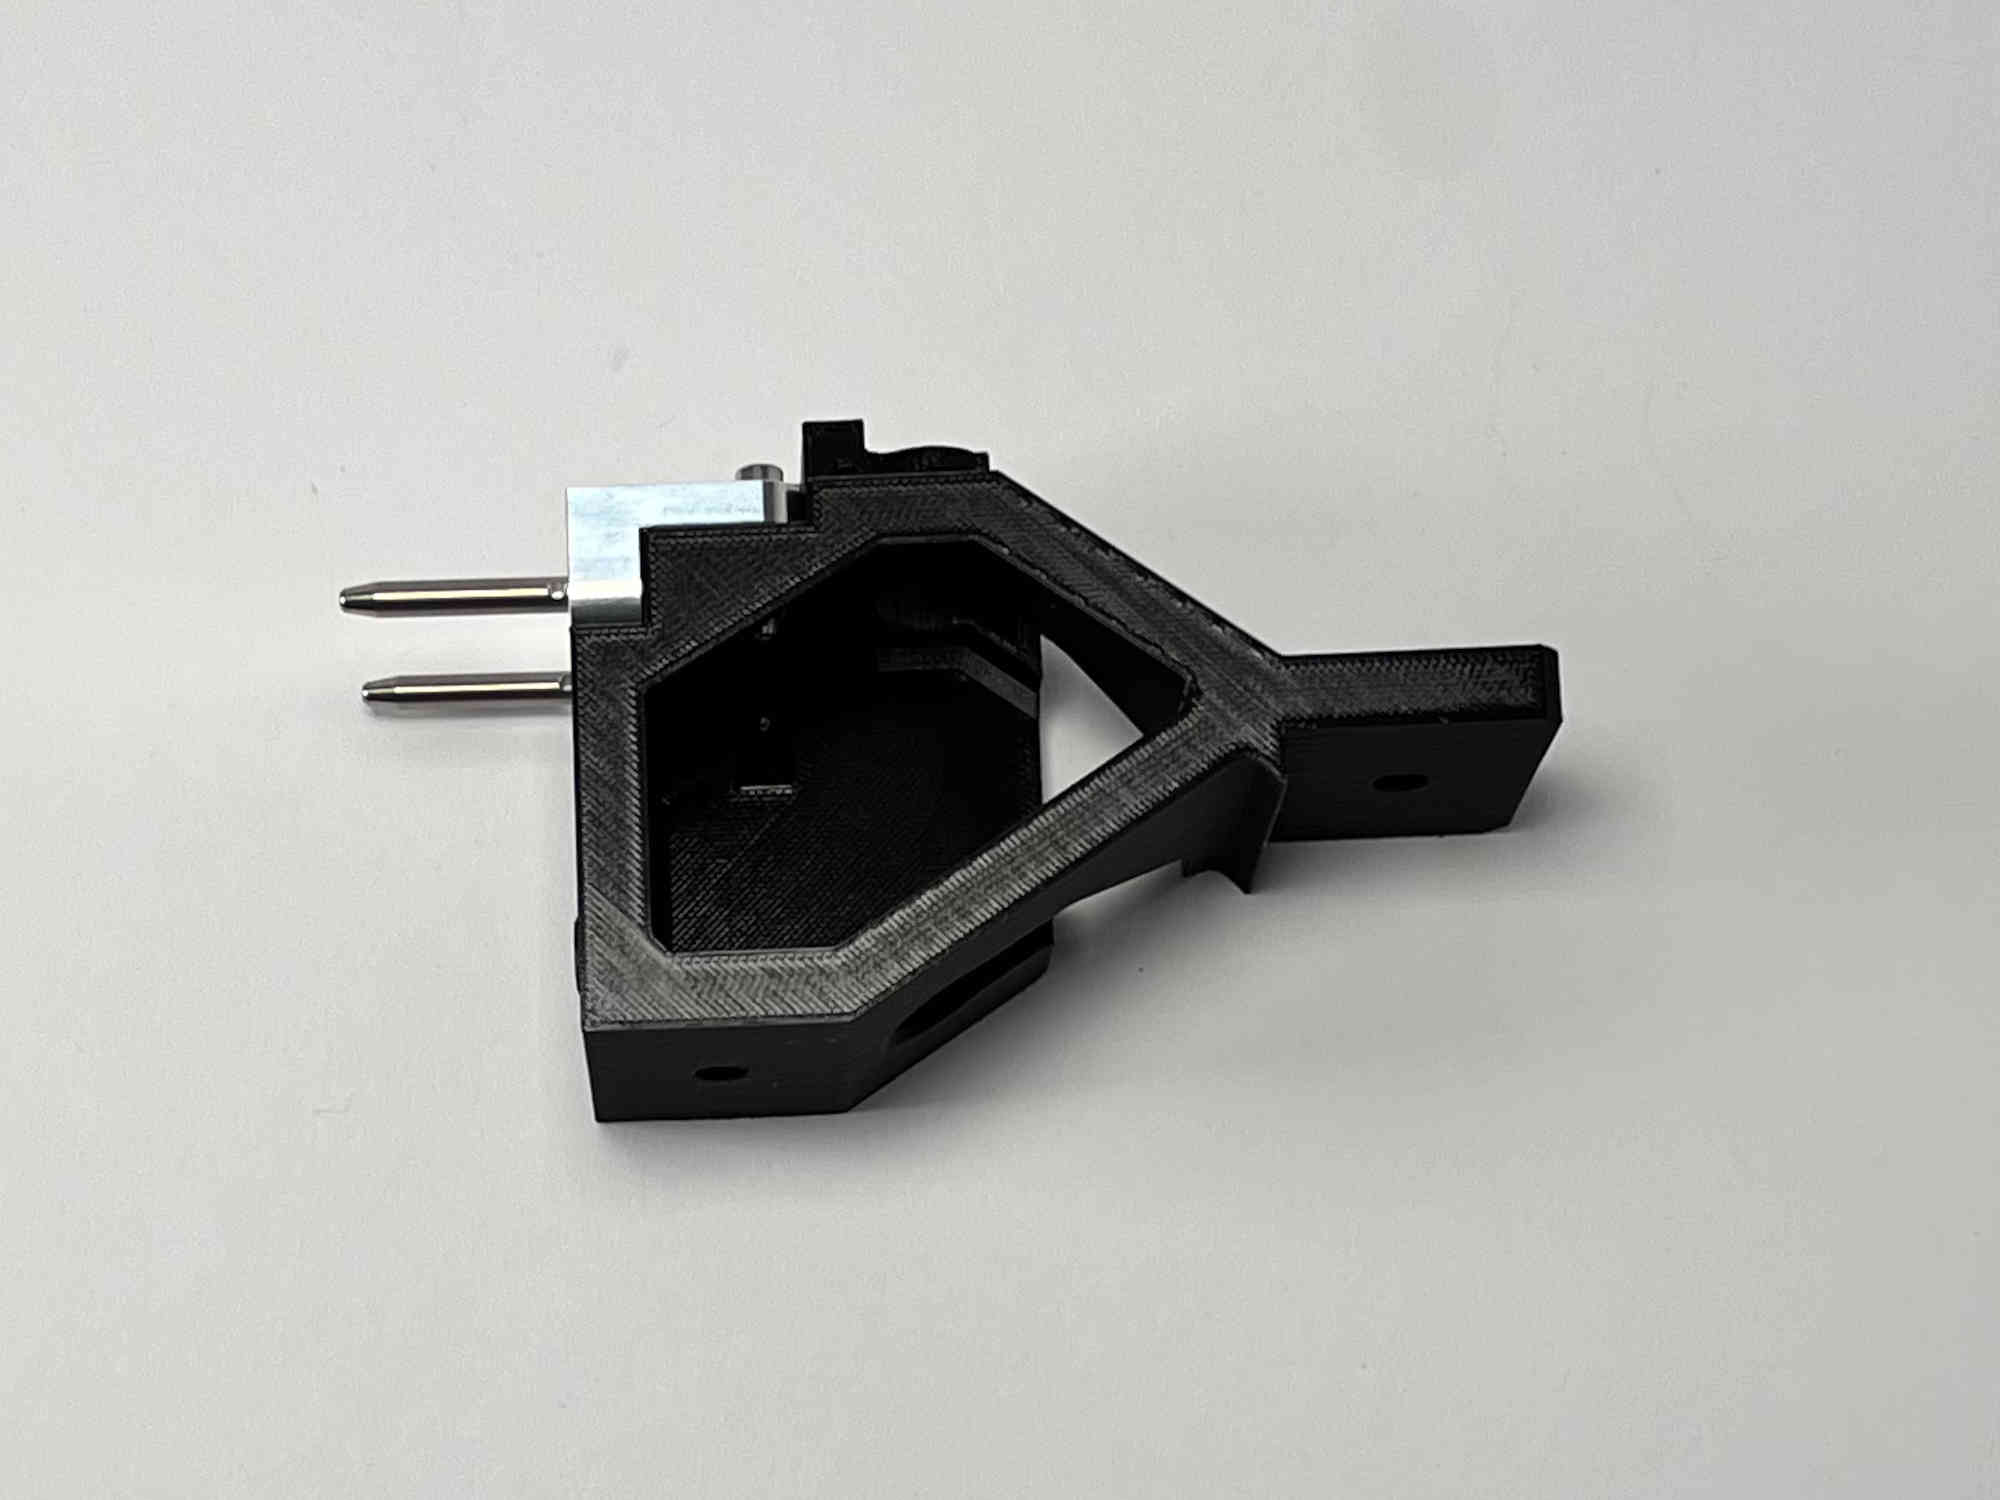
Prepare the Toolchanger Toolplate, including the six countersunk screws for fastening, the Toolchanger receiver, the “brace”, the “bracket”, two M3x8 caphead screws, two M3x6 caphead screws, and two M3x5 caphead screws.
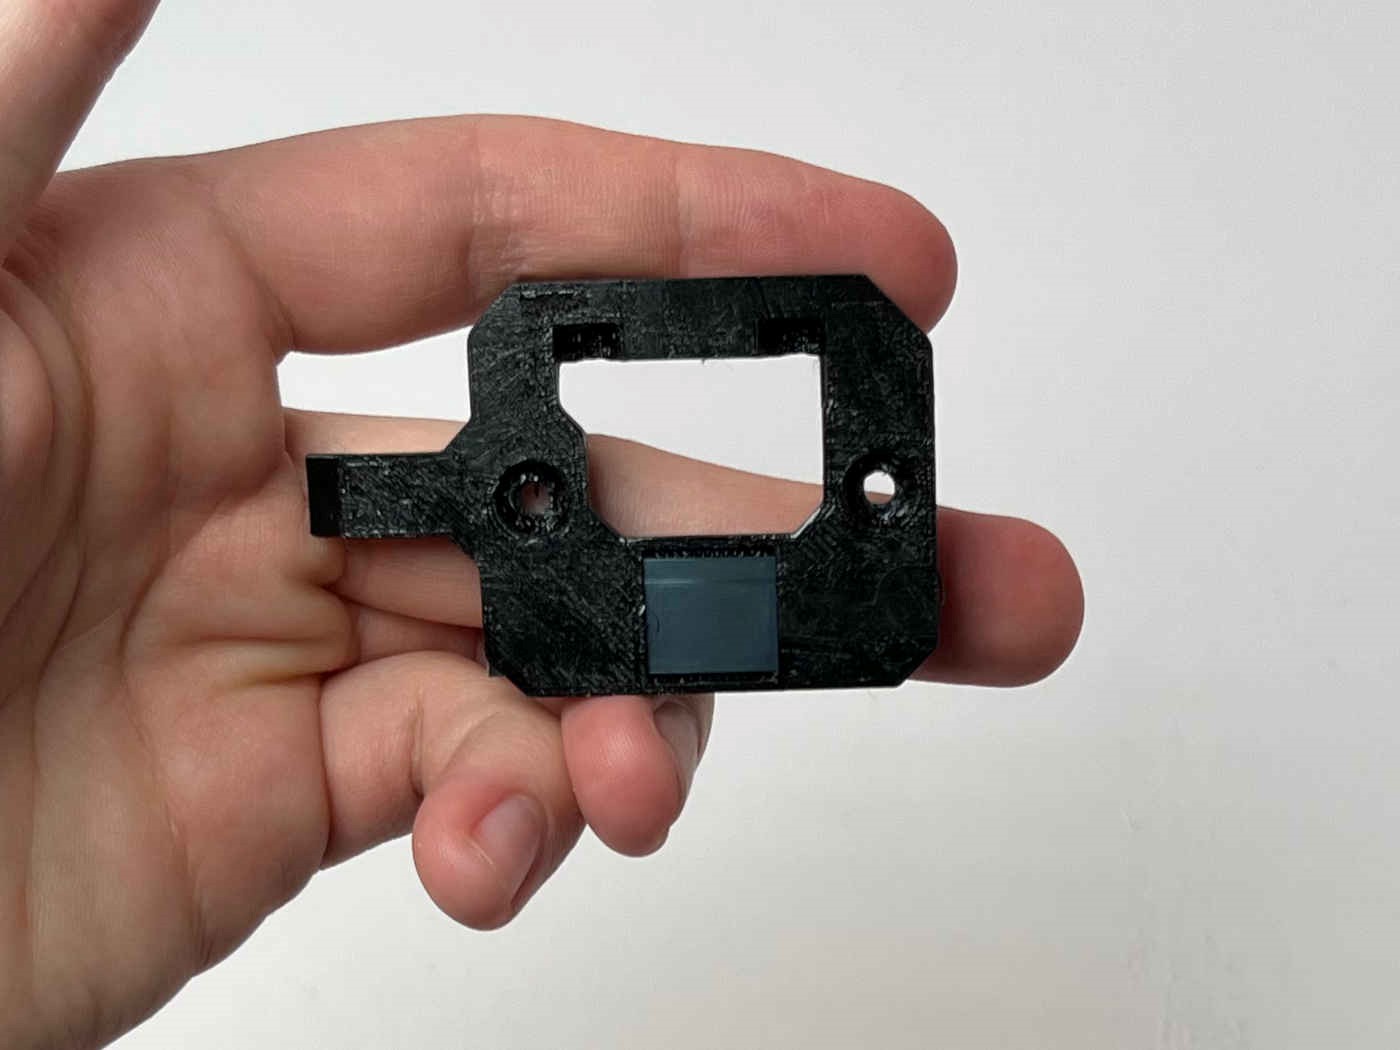
Insert a short length of the metal strip into the bracket part through the slot on the side. This will be used to hold the tool in its parked spot with a magnet.
Attach the brace to the receiver using the two M3x6 screws.
Attach the bracket to the receiver using the two M3x6 screws.
Attach the toolplate to the adapter using four of the provided countersunk screws.
Attach the brace to the toolplate using the two remaining countersunk screws.
Attach the bracket to the extruder moto using the two M3x5 screws.
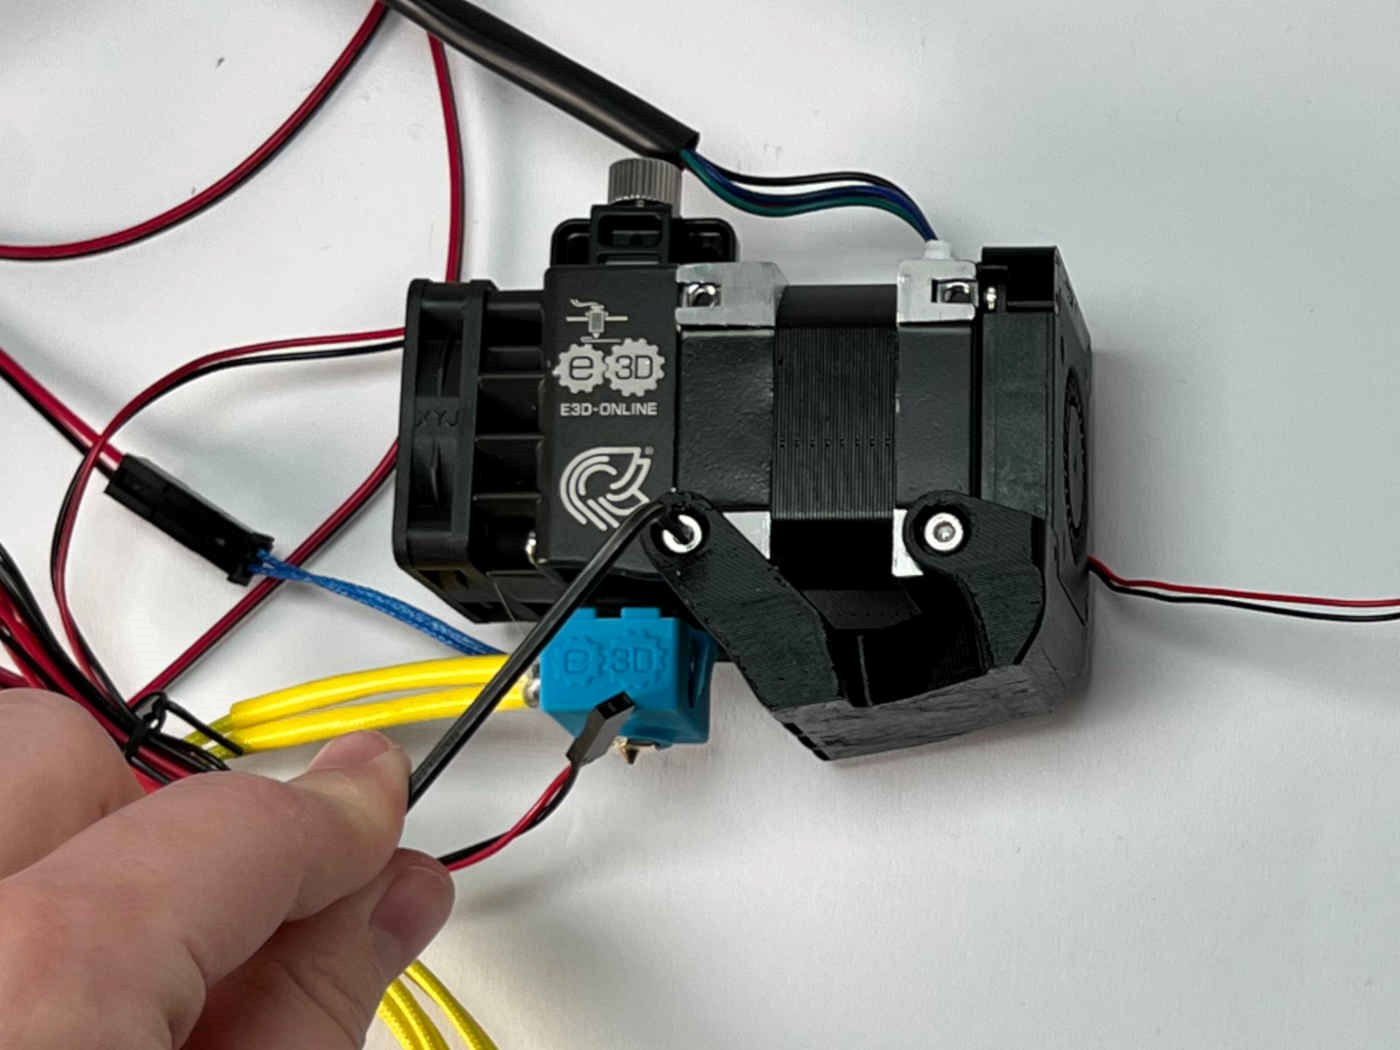
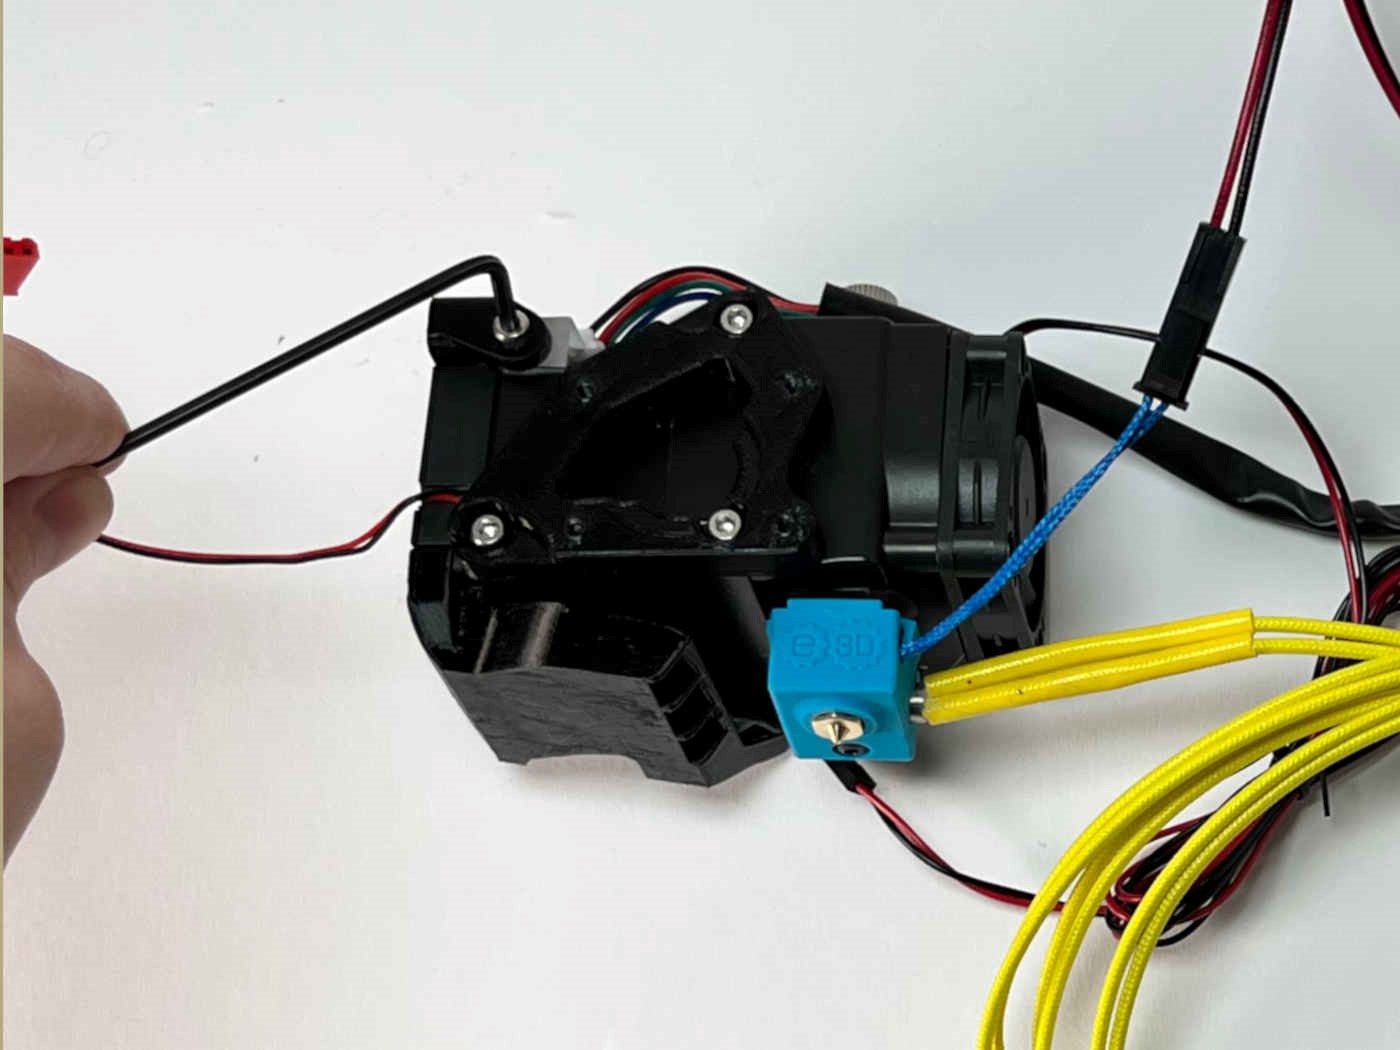
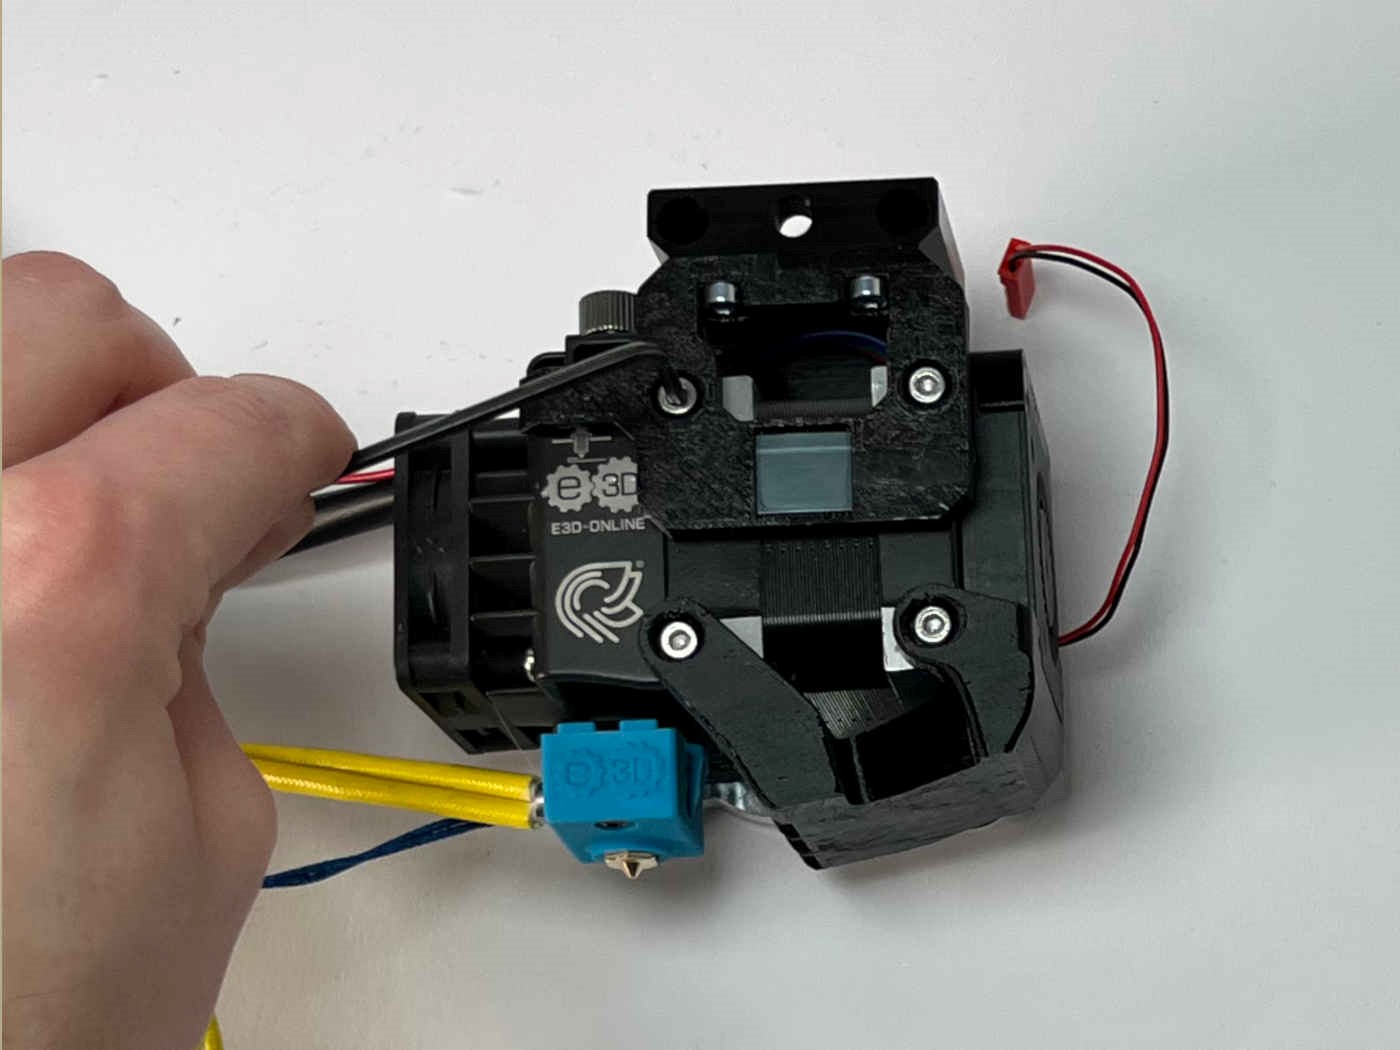
Prepare the “Receiver Top”, the “Cable Relief”, Four M3x16 caphead screws, and one M3x5 caphead screw.
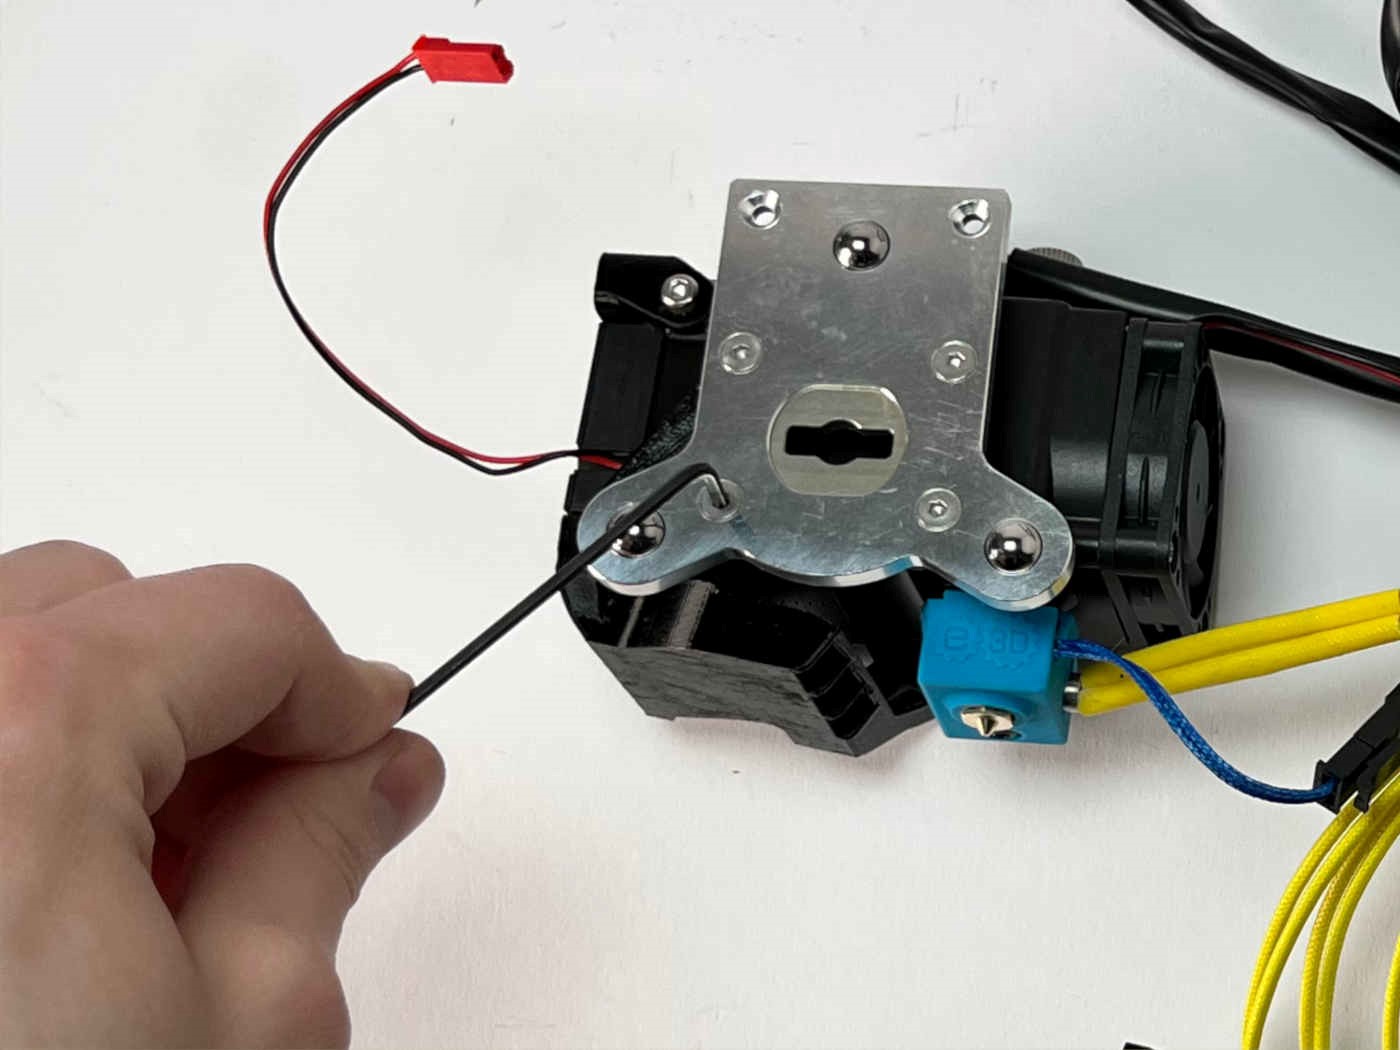
Tap the M3x5 screw into the cable relief. This will be used to hold the metal strip later.
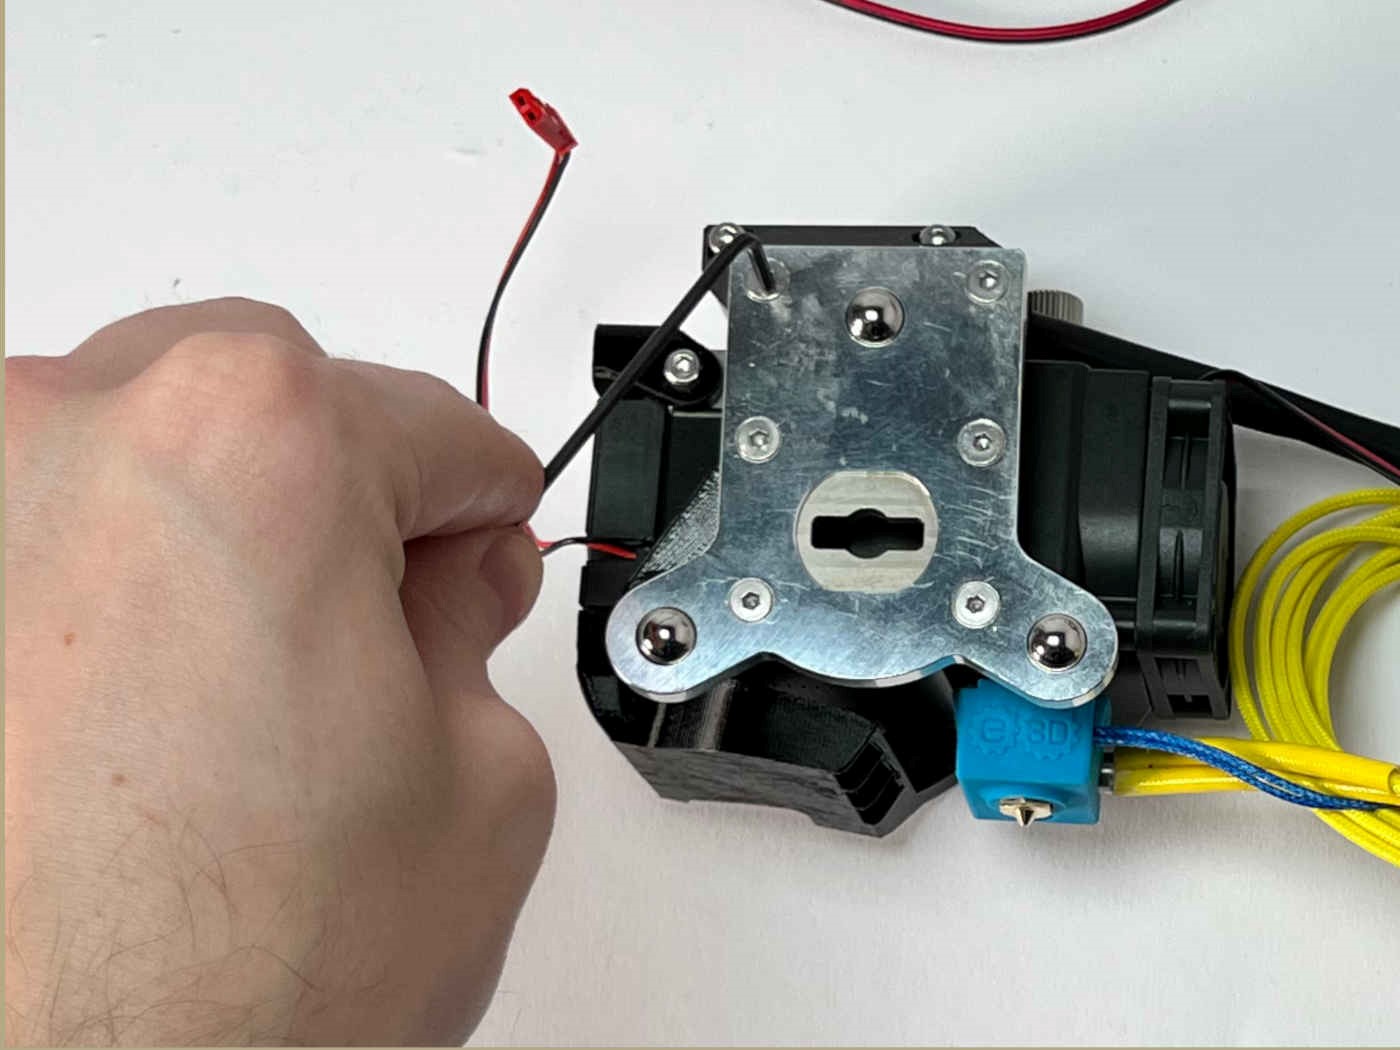
Attach the cable relief on top of the receiver top to the receiver using the four M3x16 screws. note the orientation of the cable relief. The slot for the metal strip should be facing away from the toolplate.
Parking spot
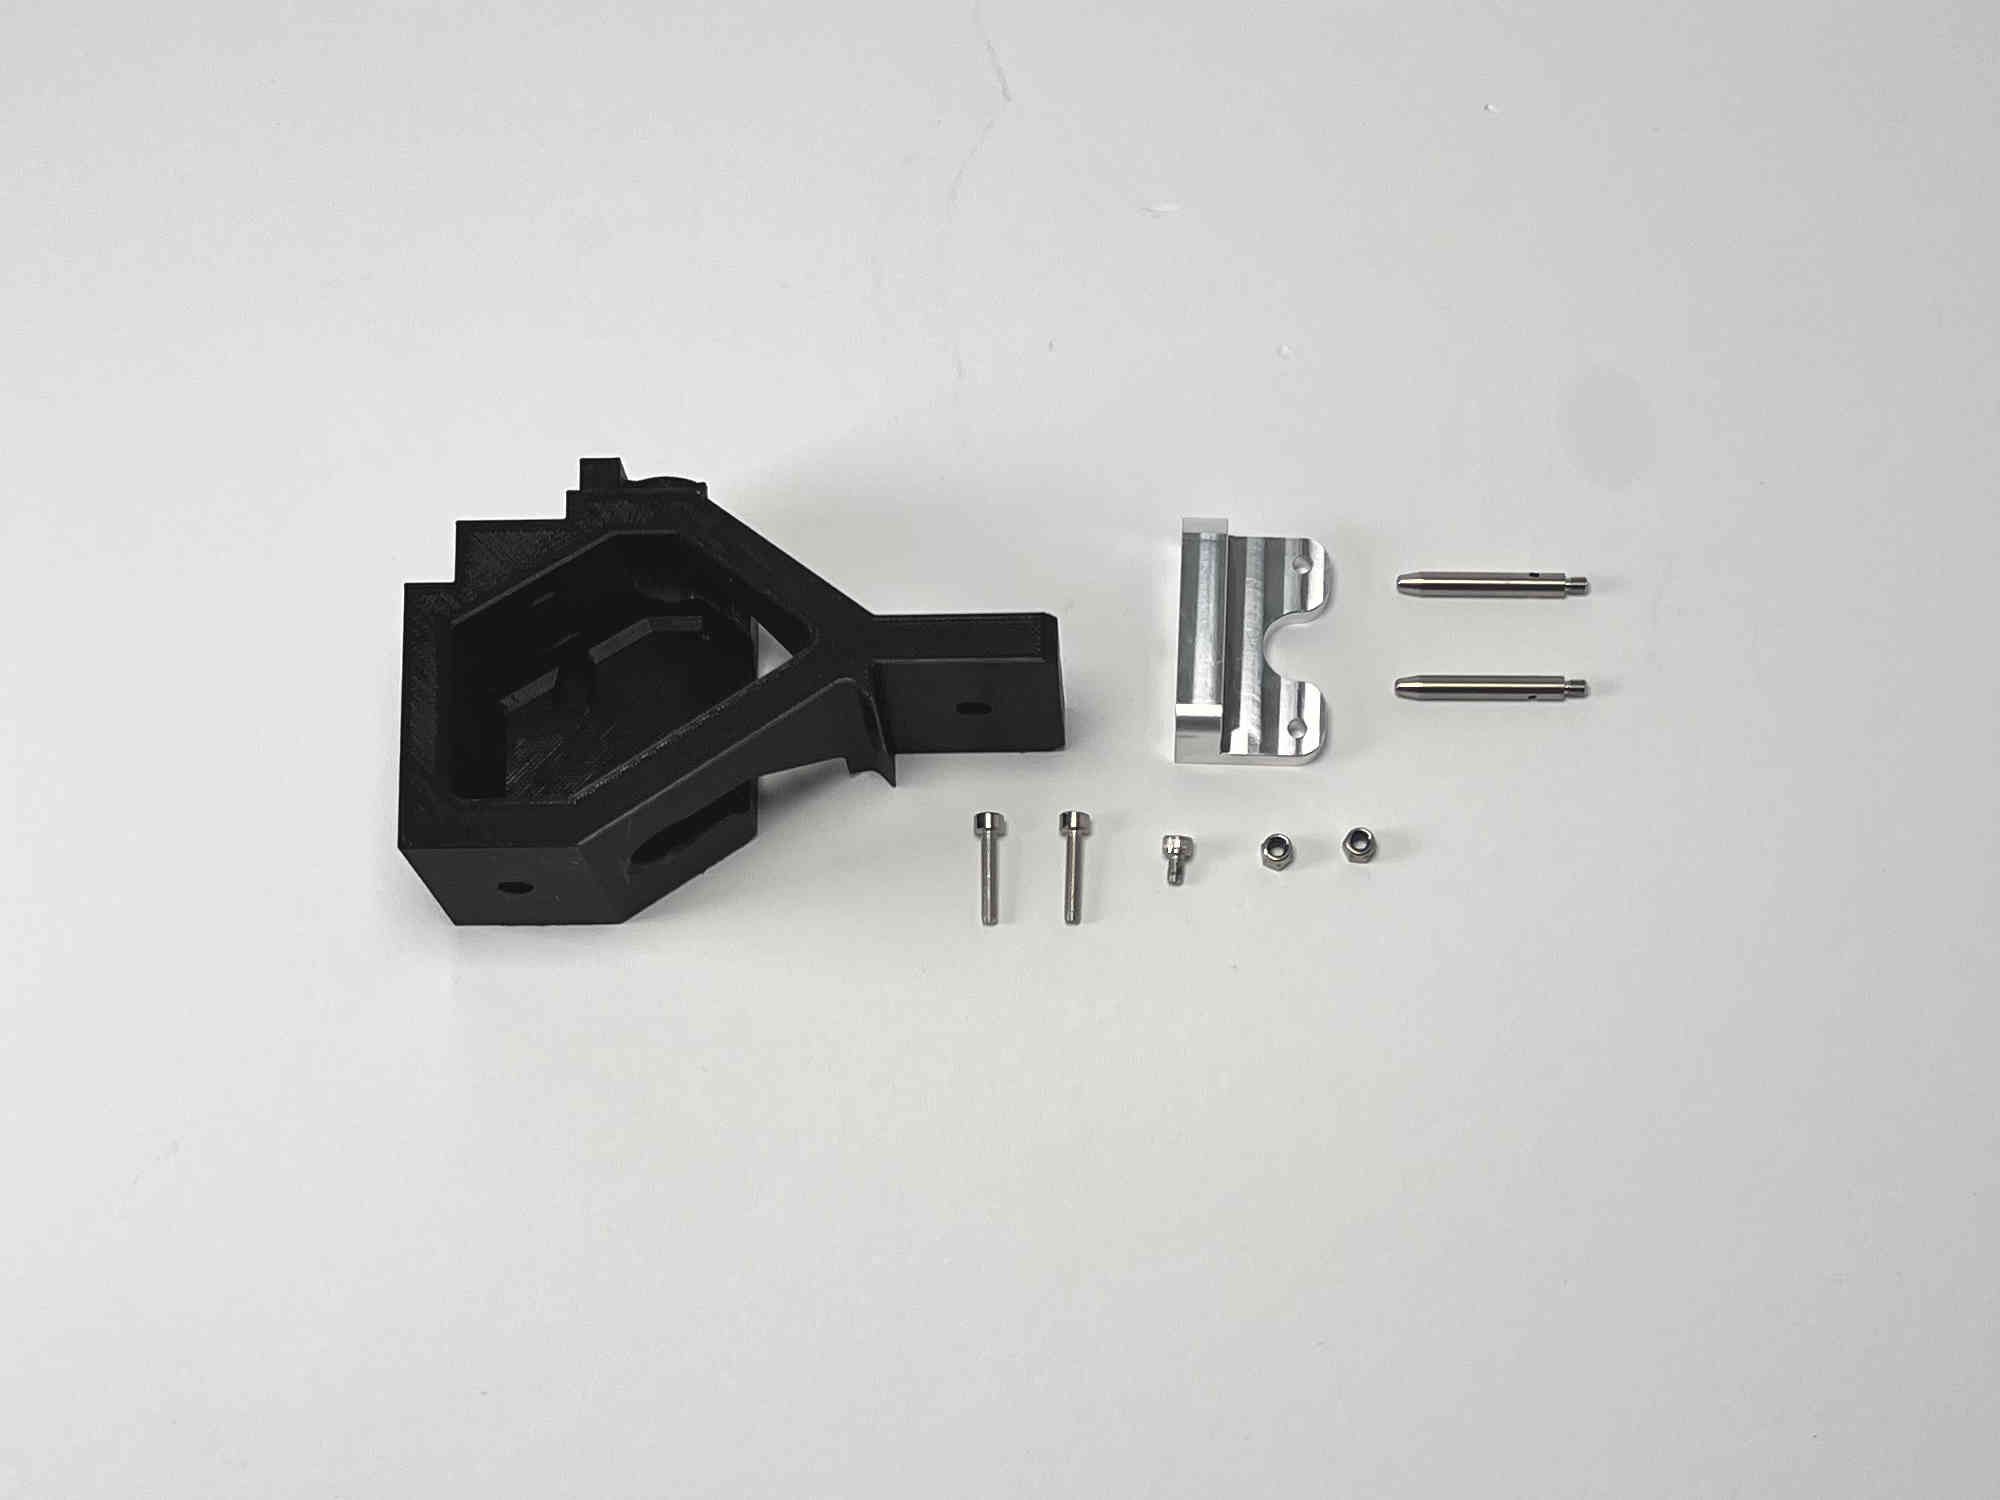
Prepare the “Hemera_Parking_spot”, one M3x5 caphead screw, two m3 locking nuts, the parking bracket, two pins, the small magnet, and two M3x16 screws (The last four items are included in the “blank toolplate and dock” kit from E3D).
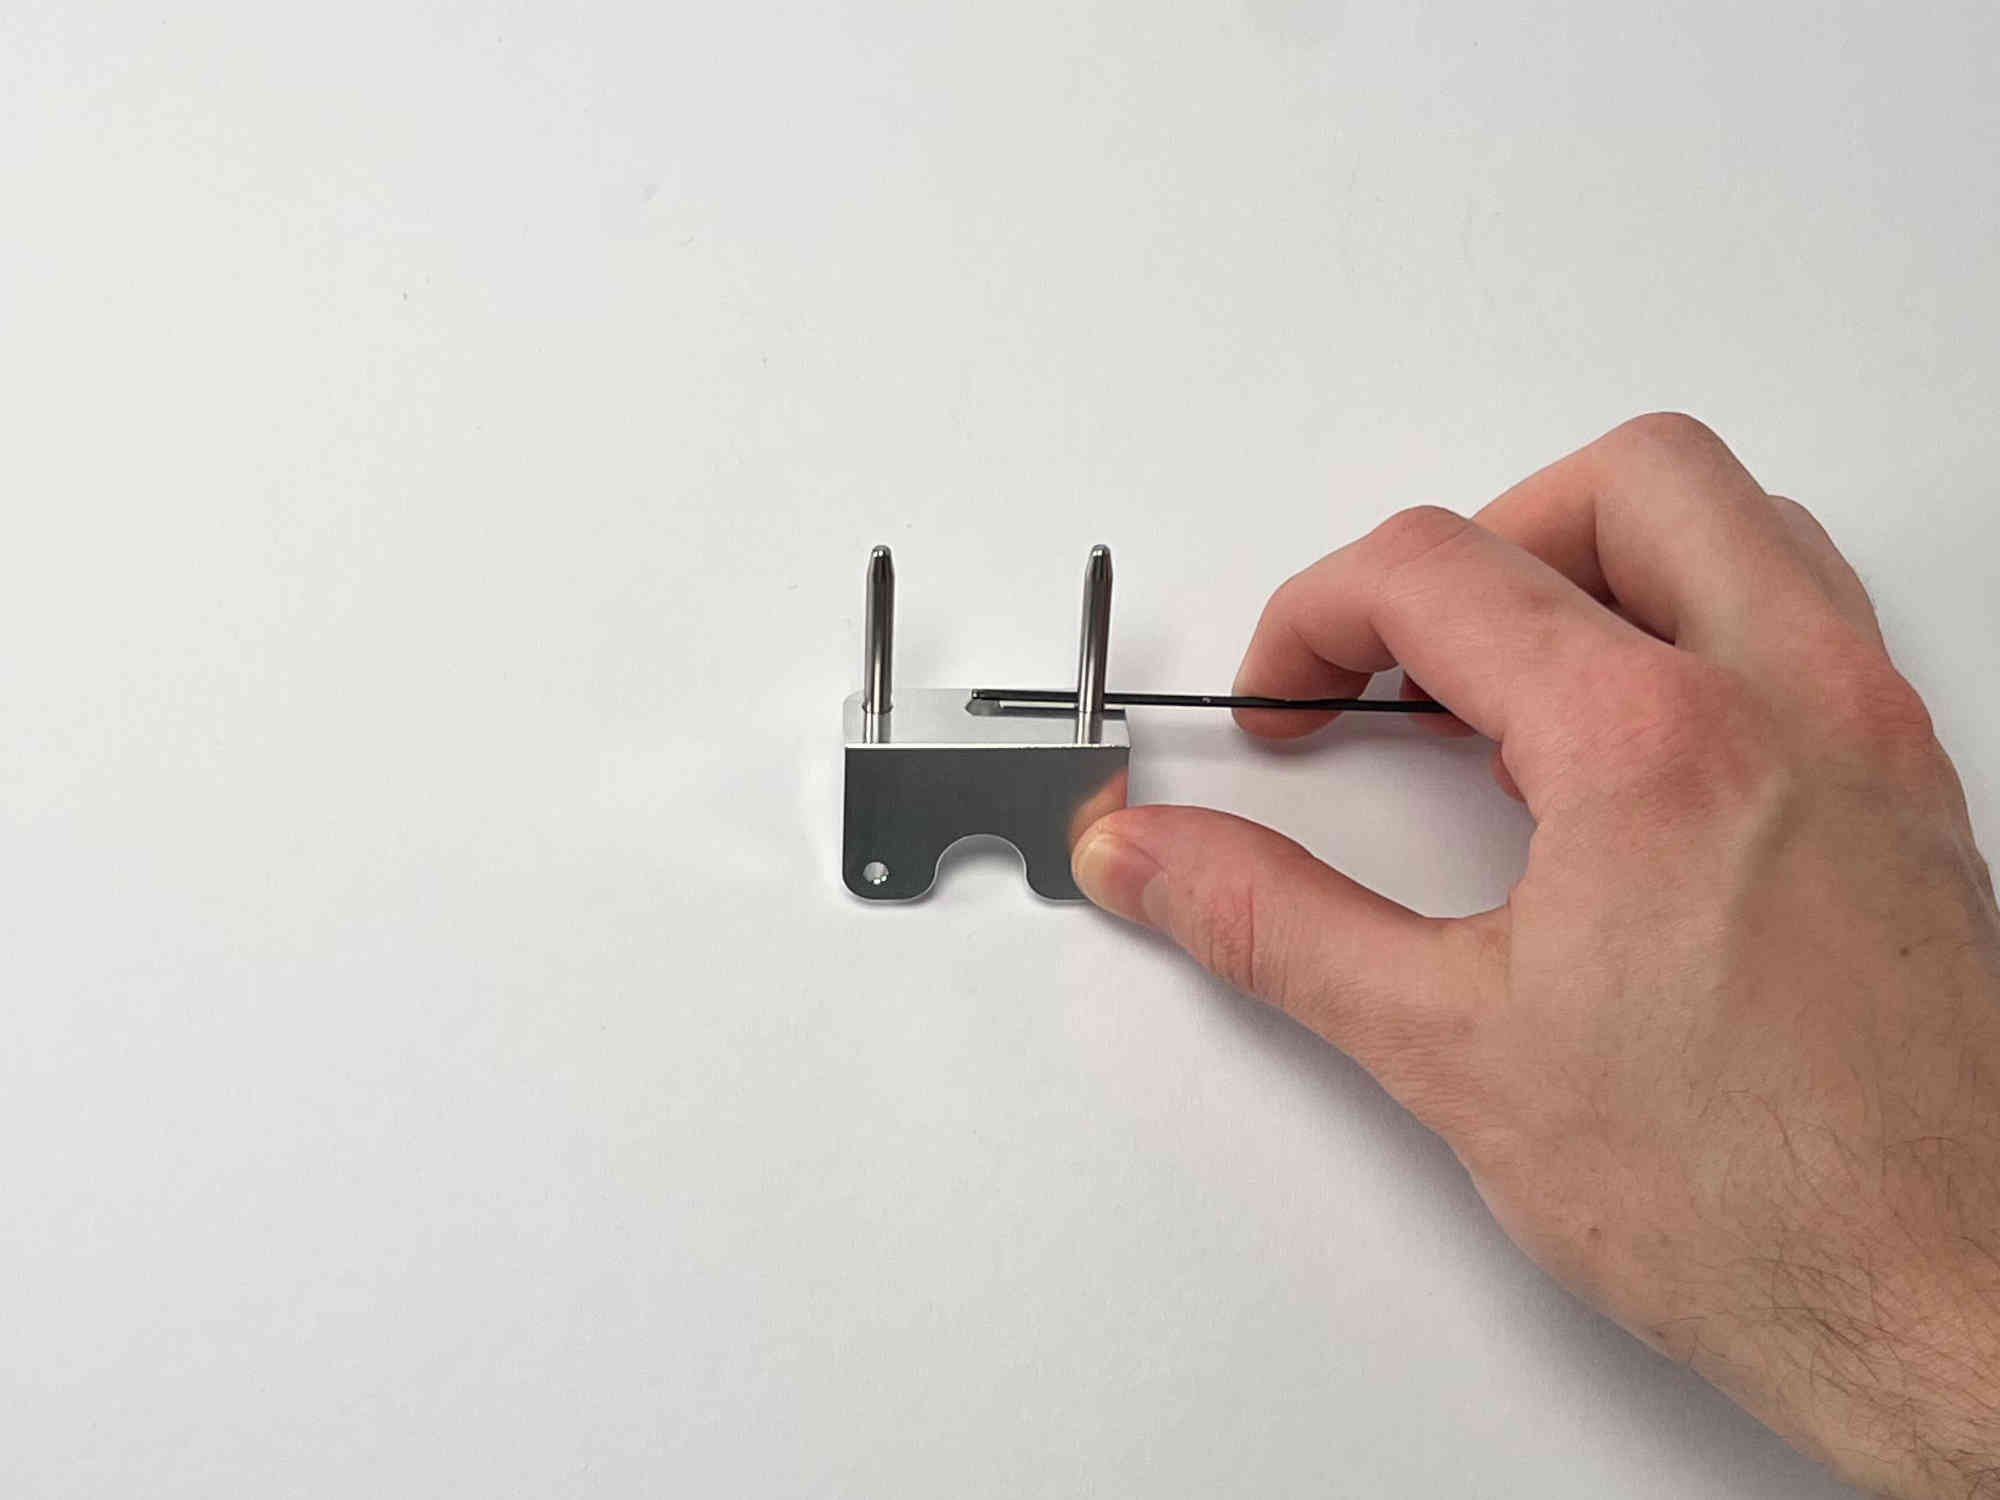
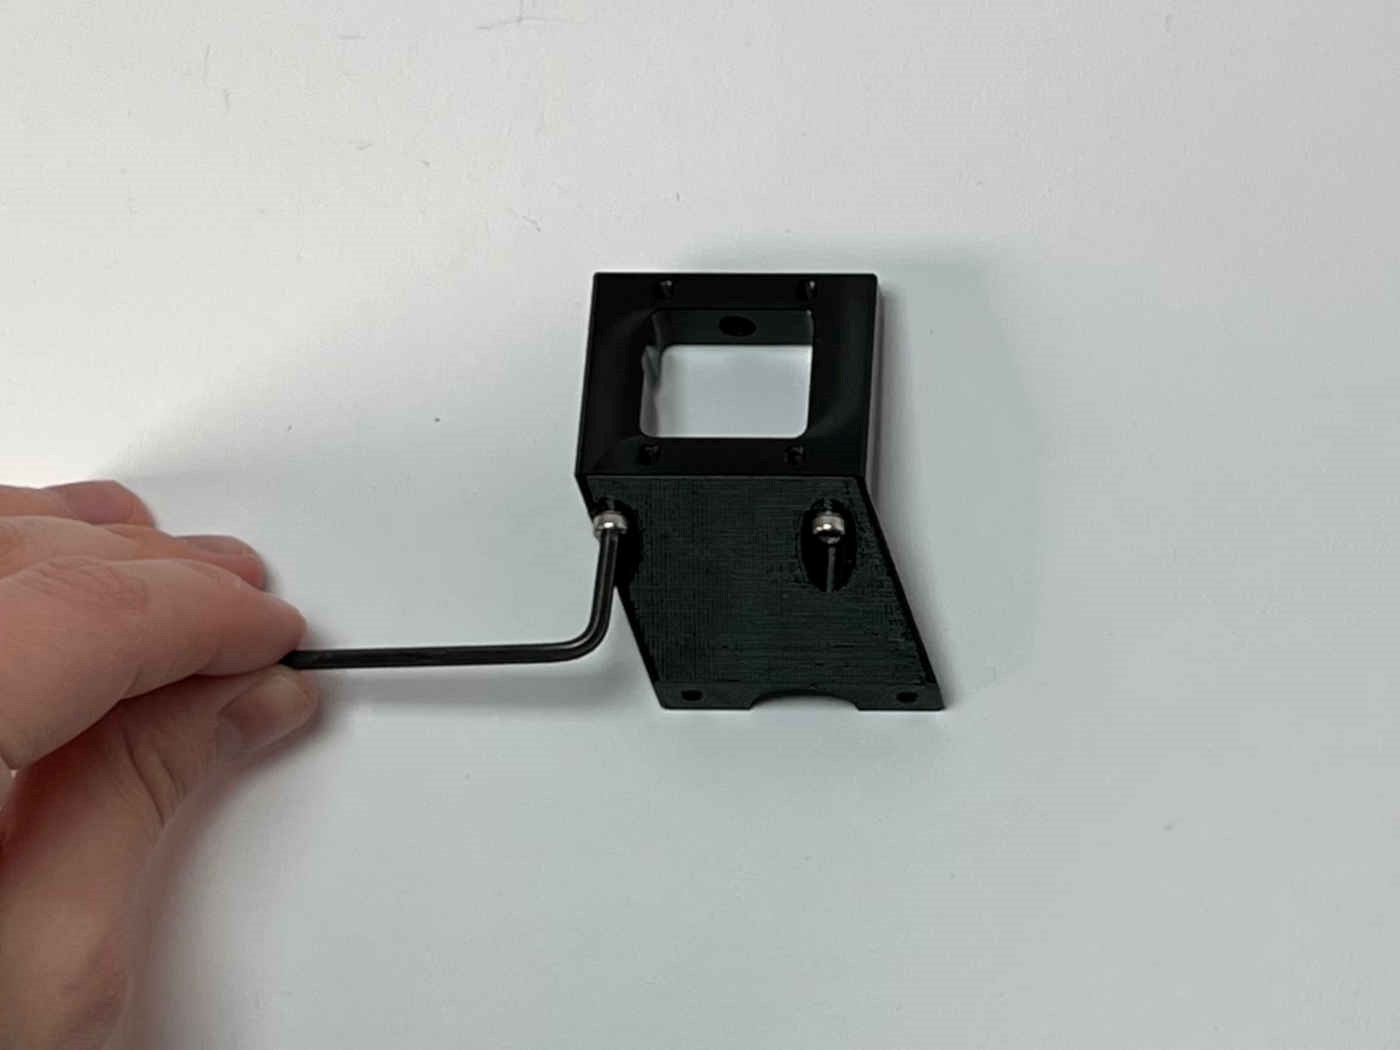
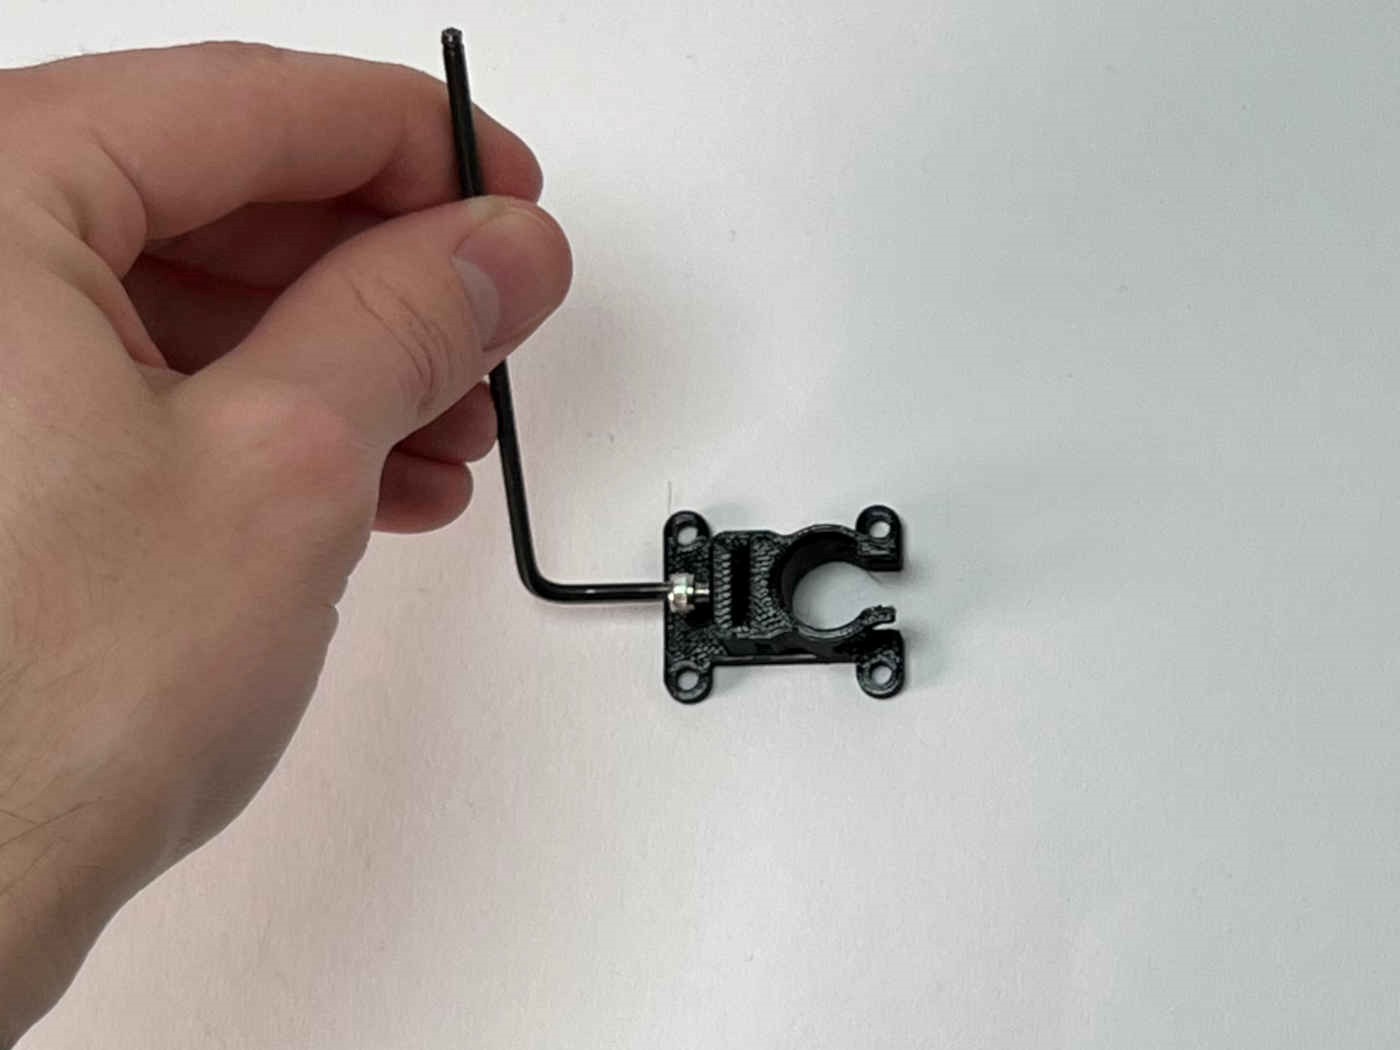
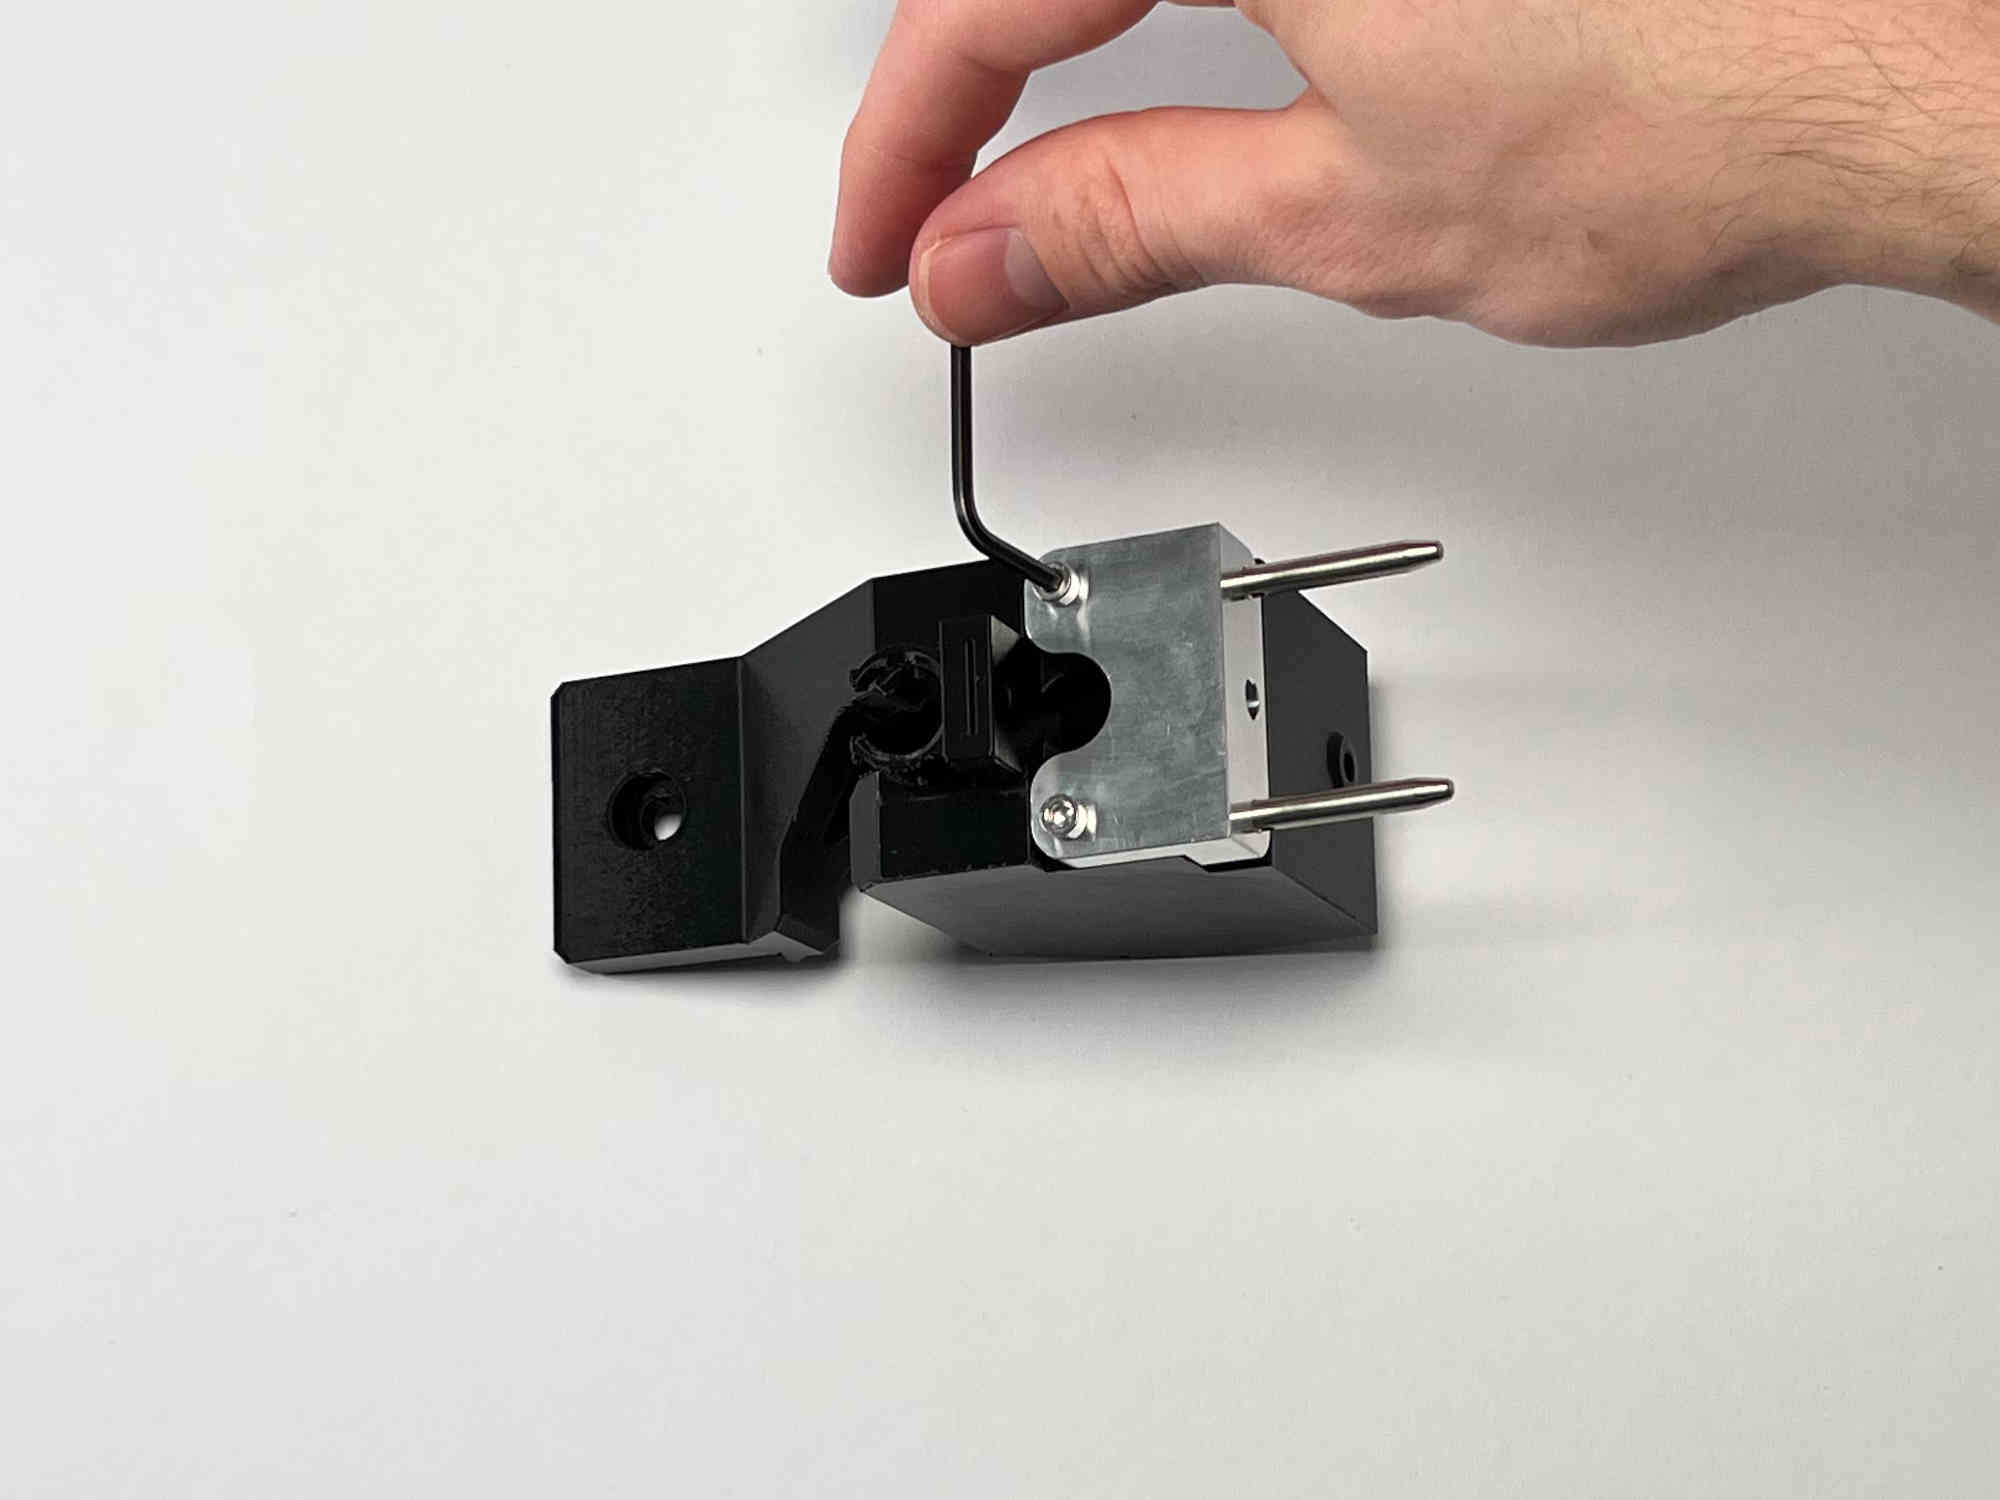
Attach the two pins to the bracket and tighten by slotting a small allenkey through the hole in the pin.
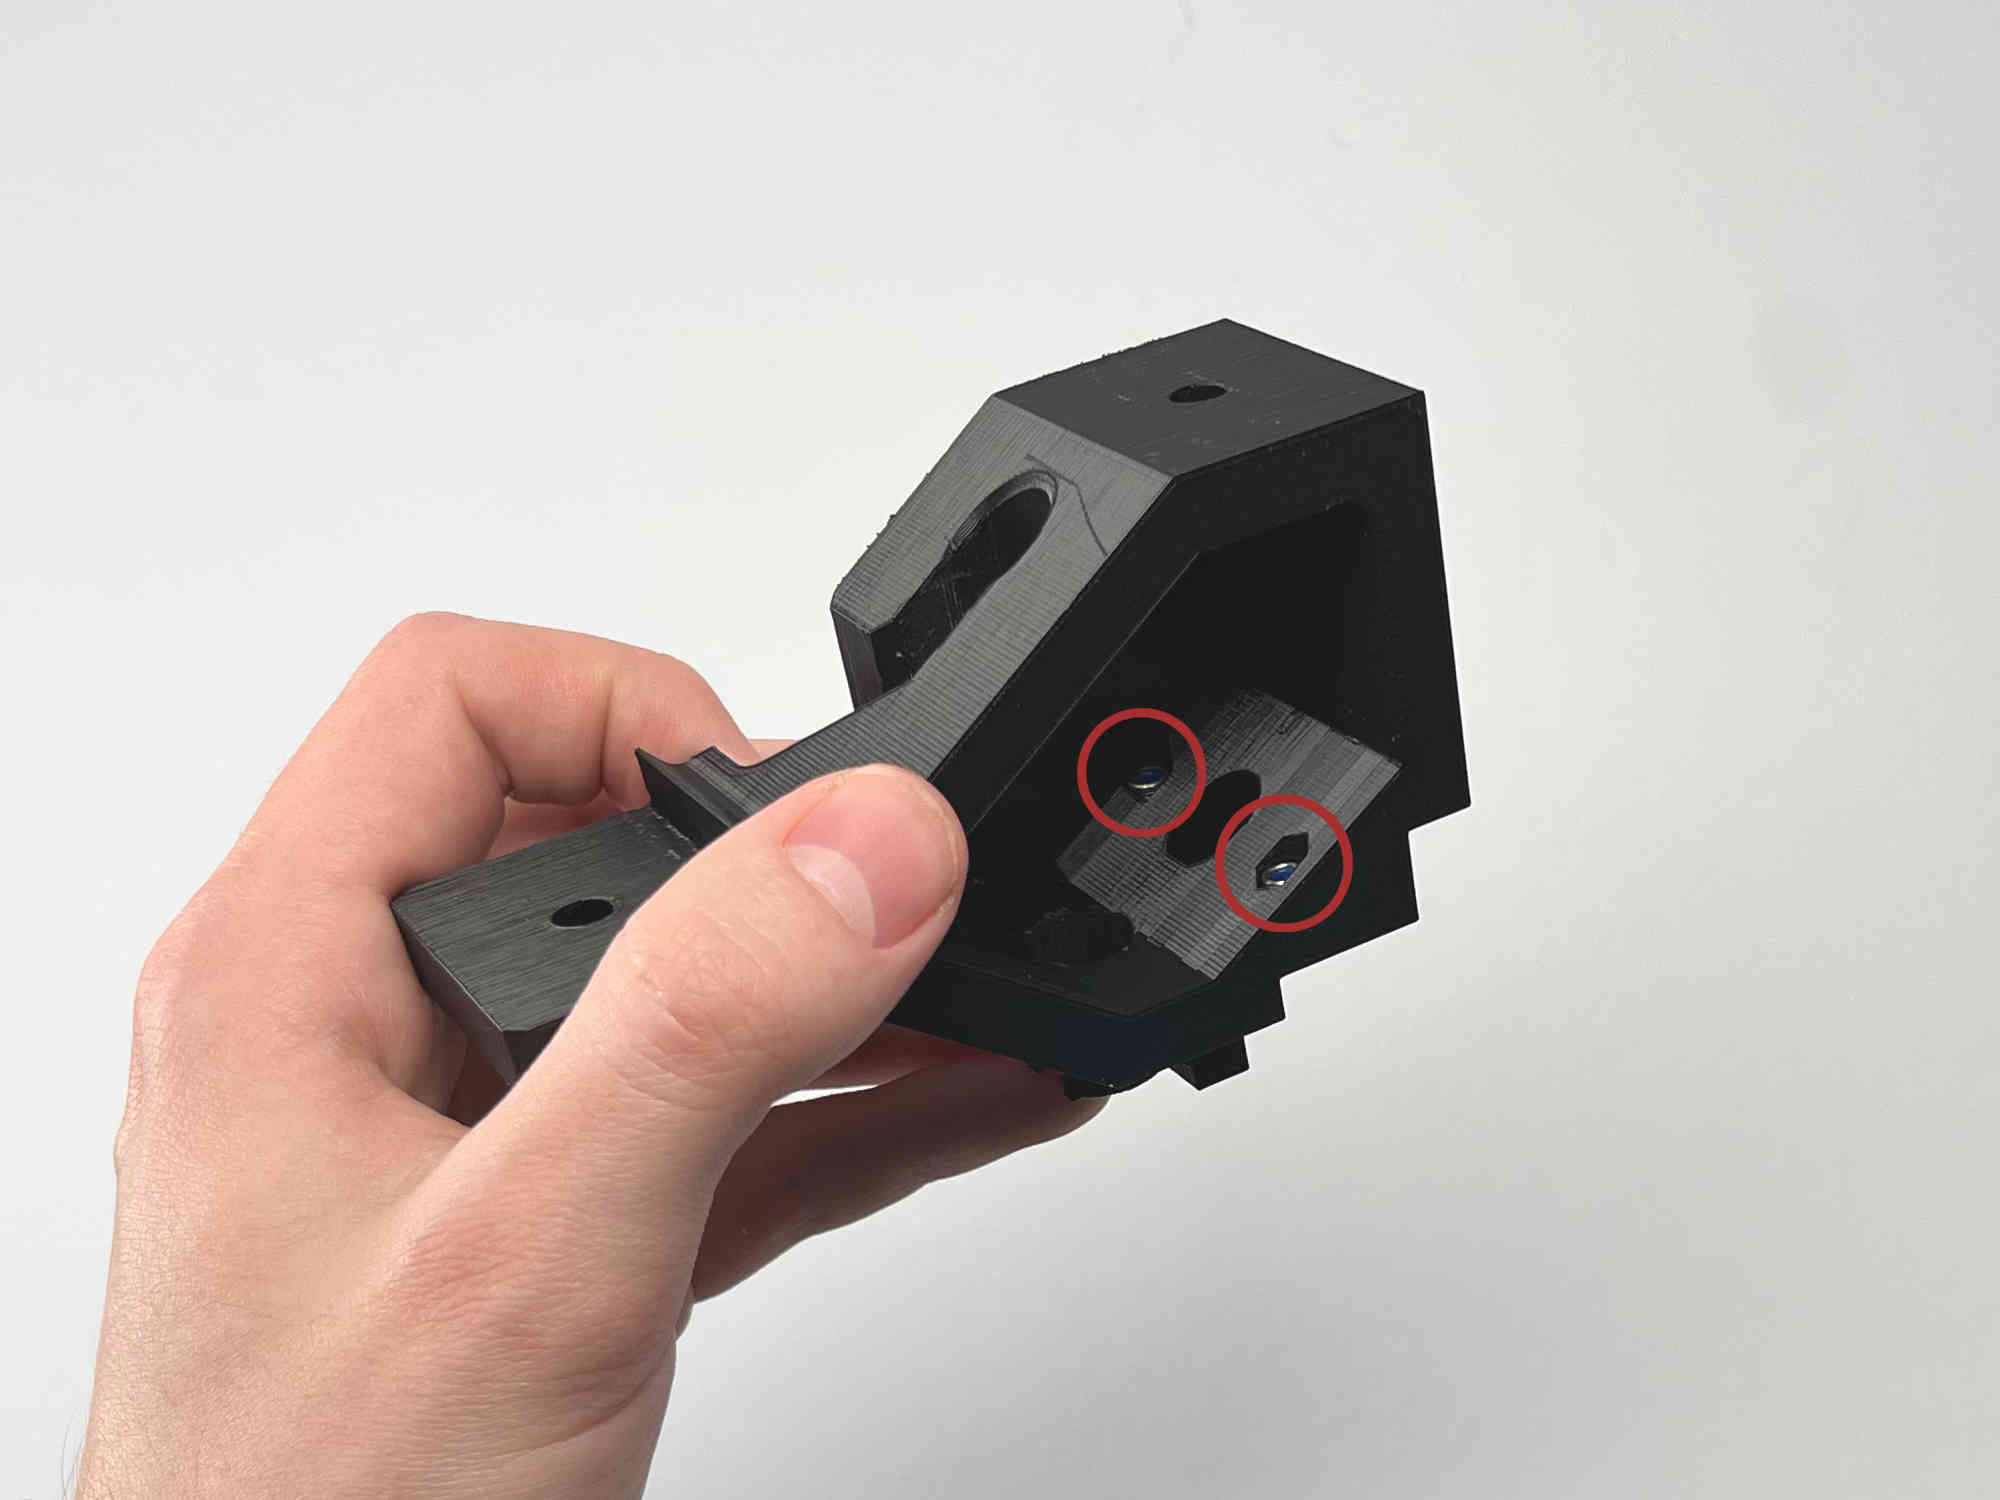
Insert the two M3 nuts into the slots on the parking spot.
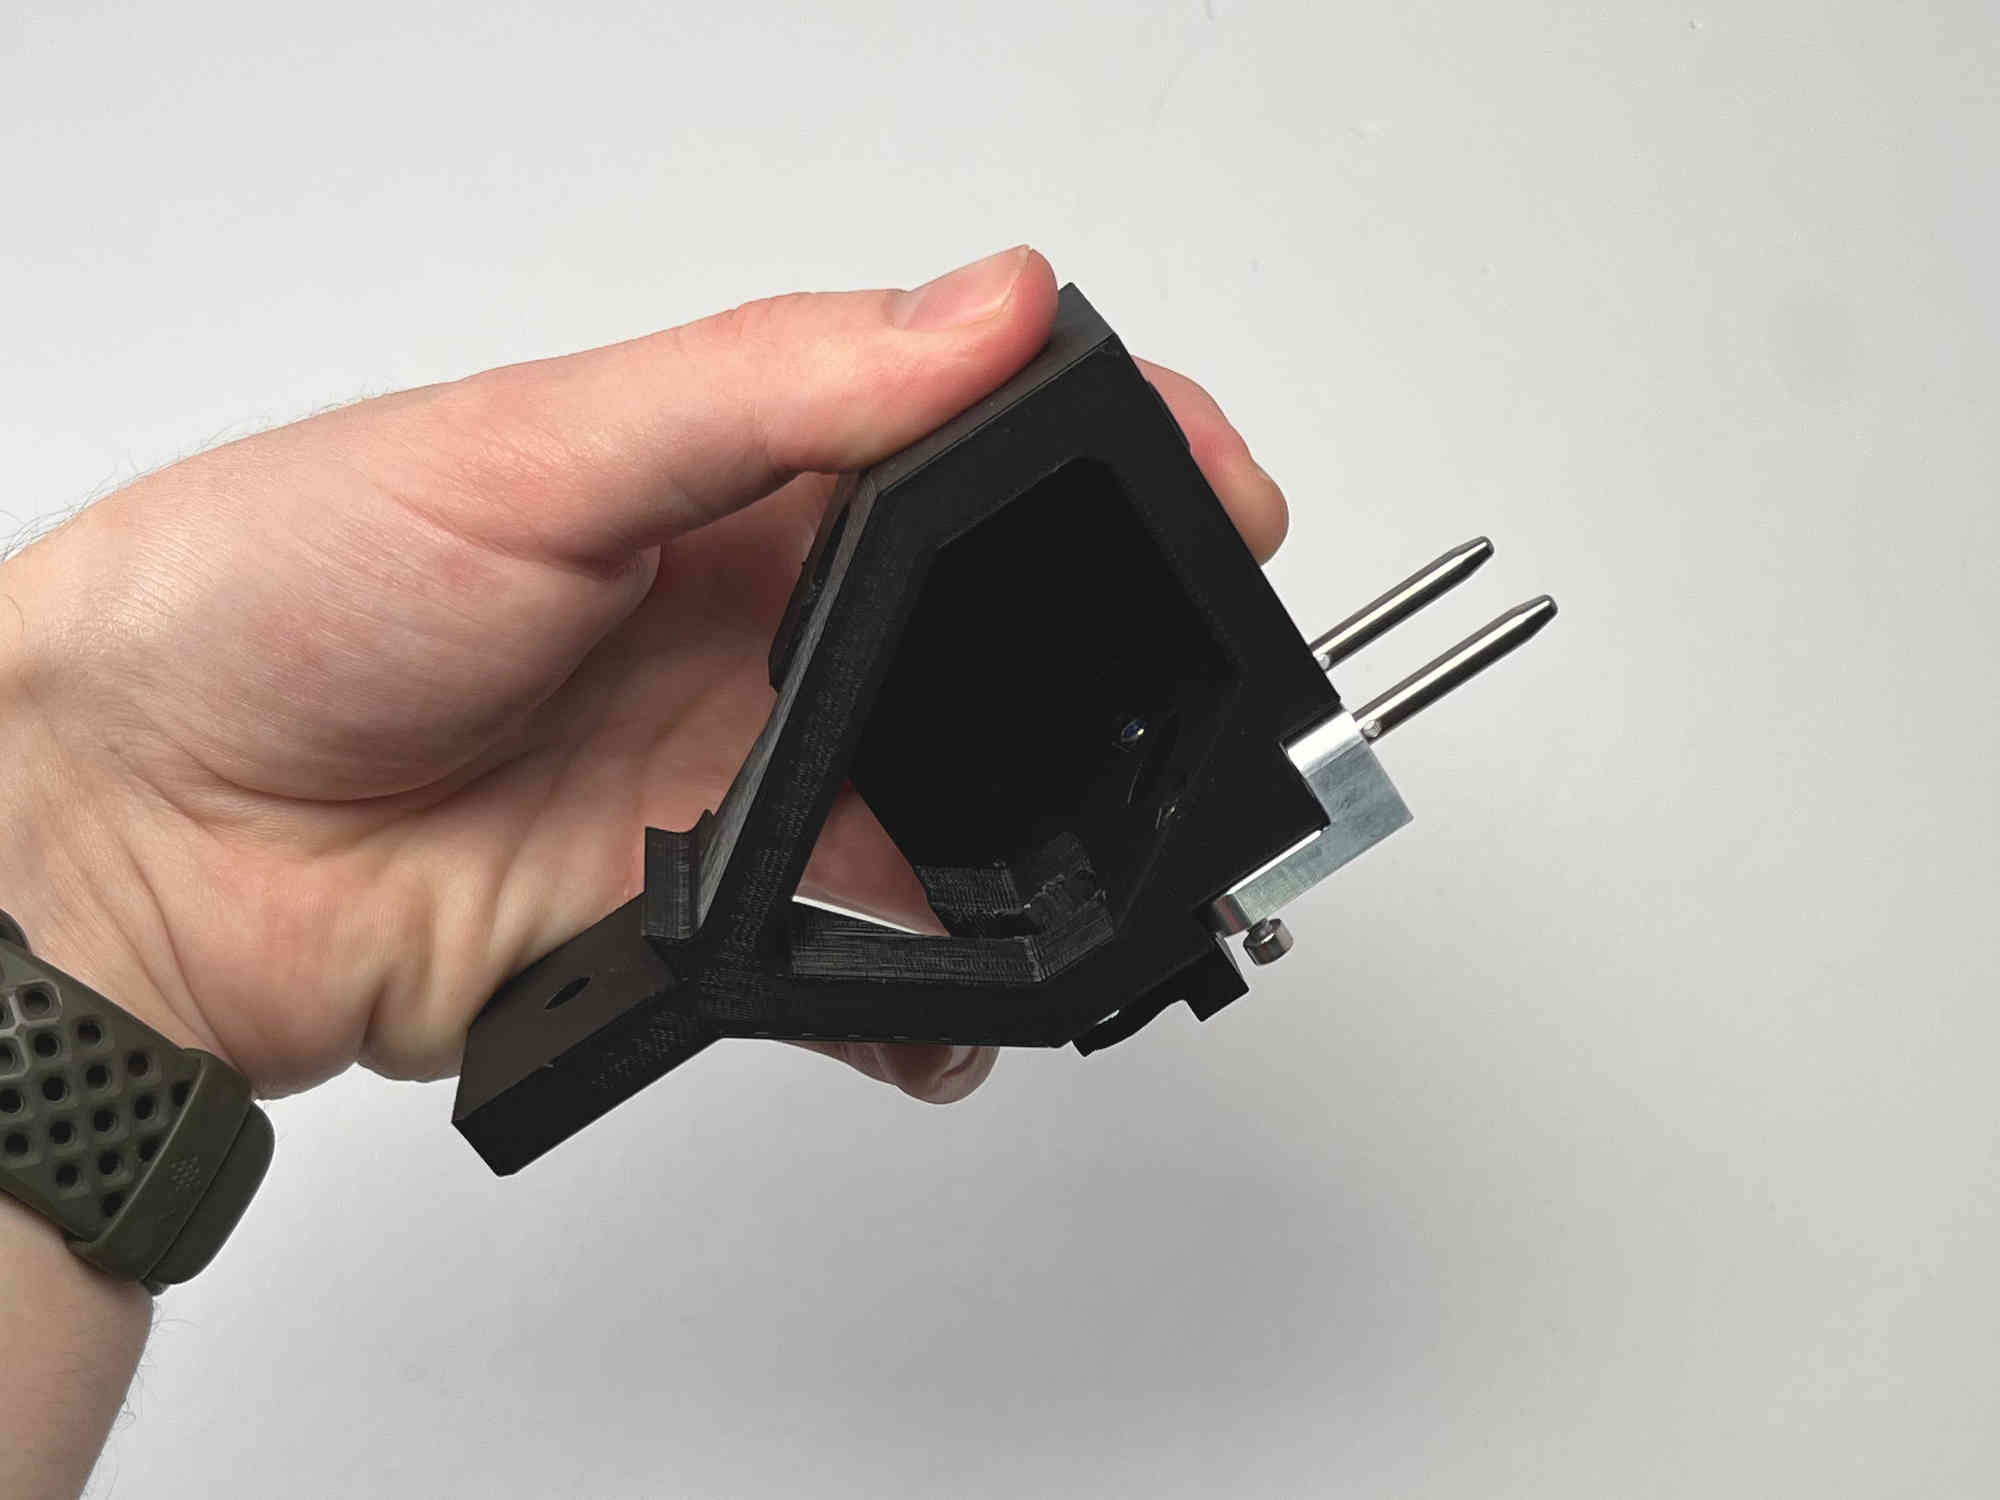
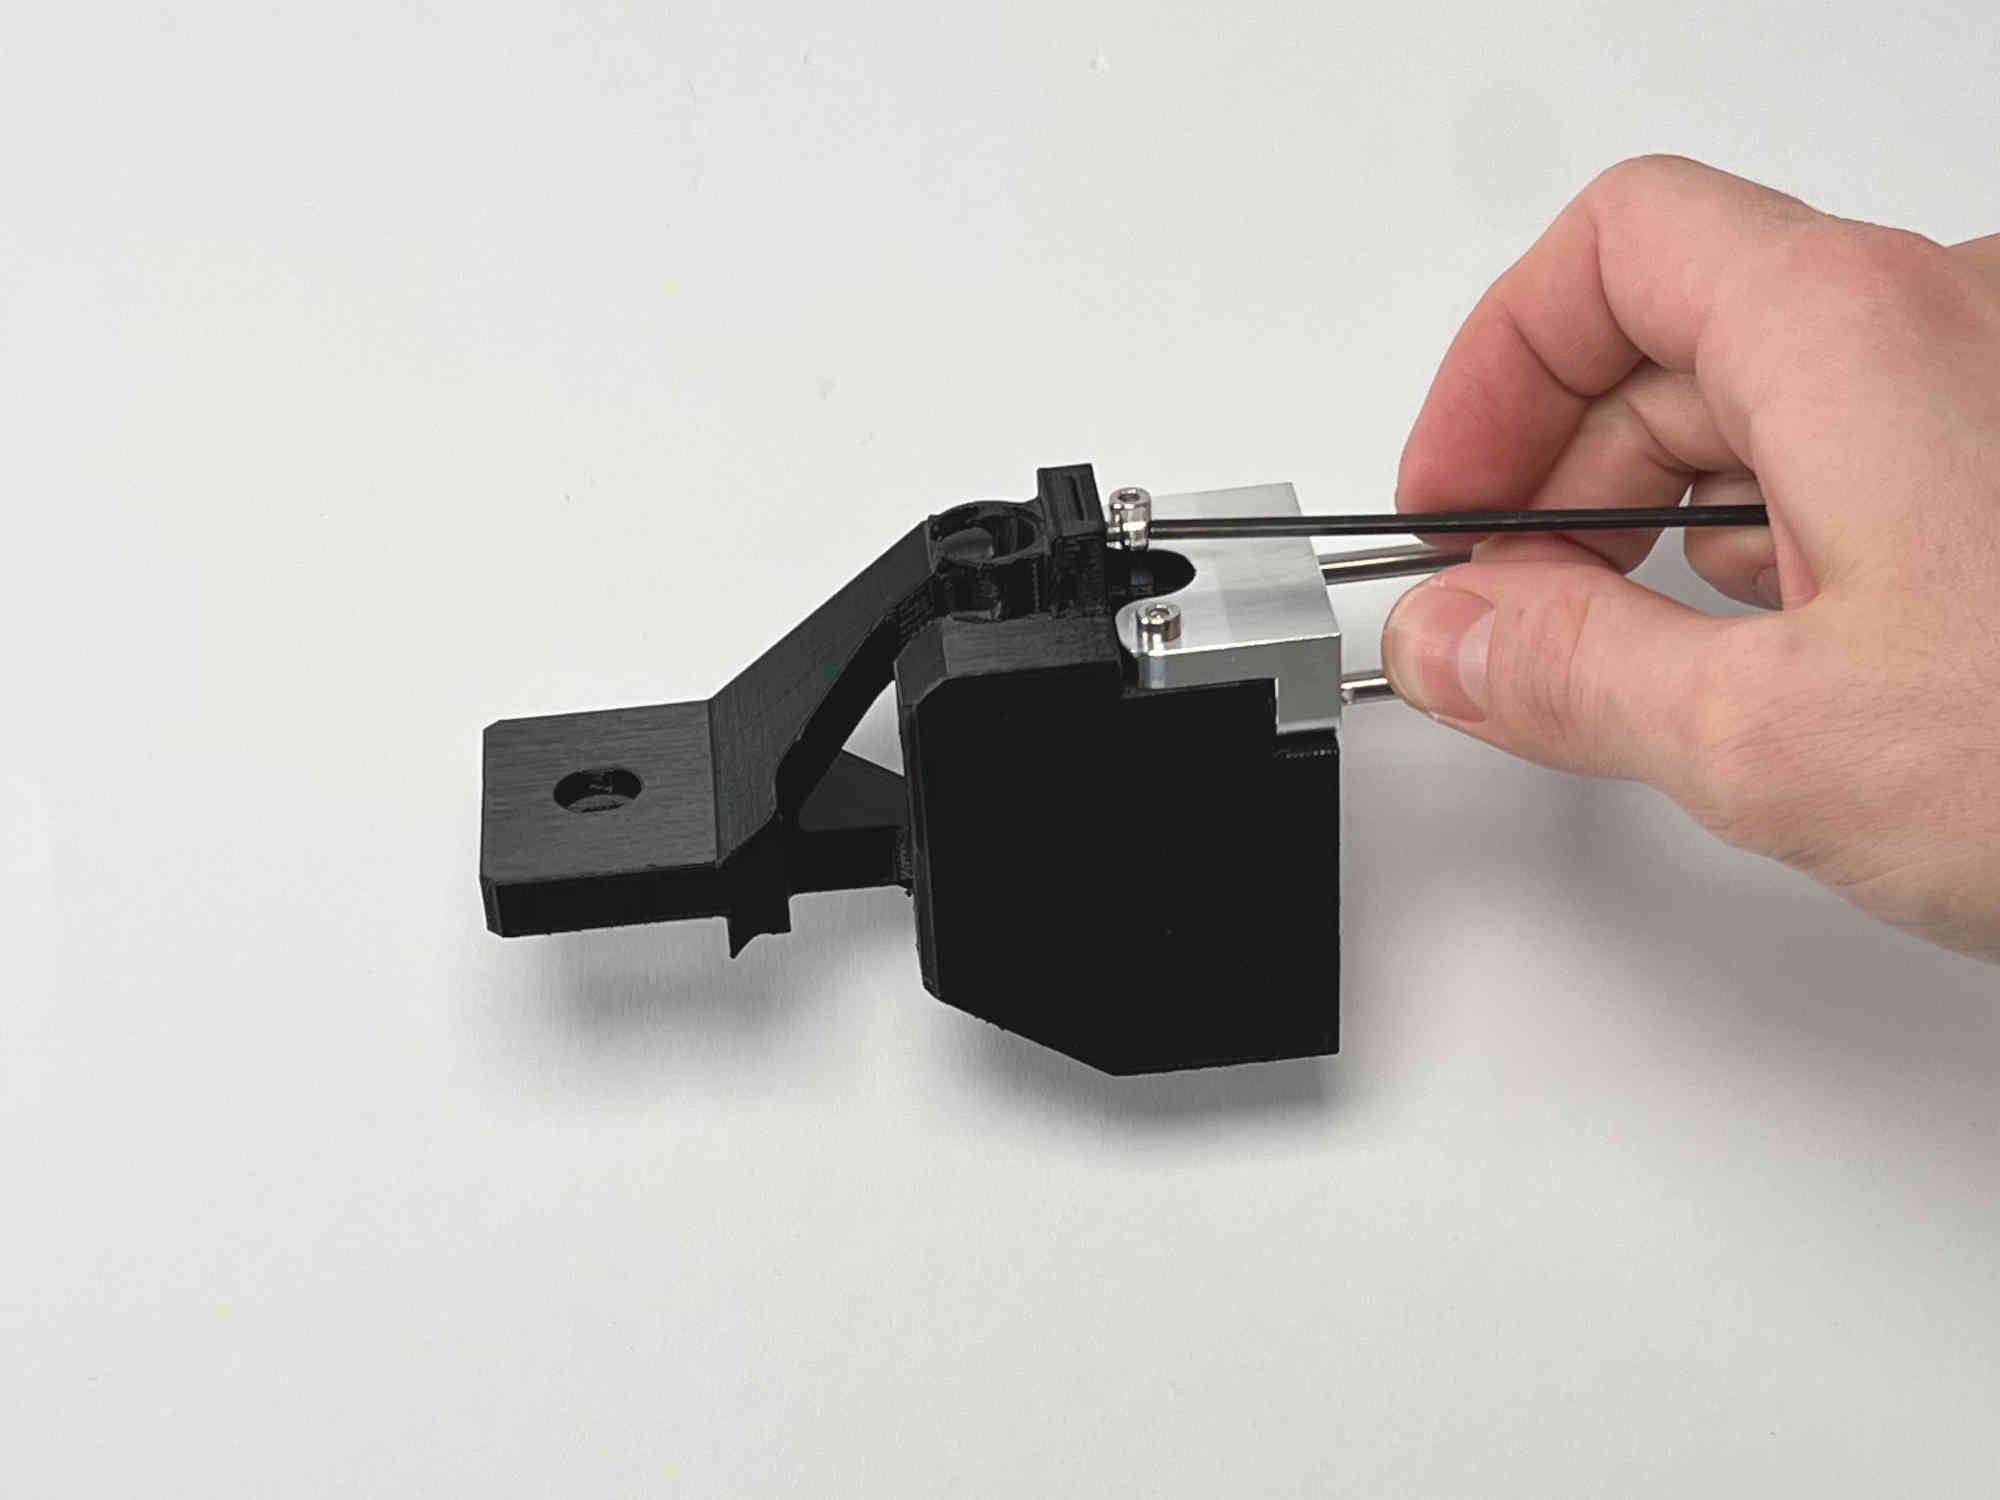
While still holding the part upside down attach the bracket by inserting the two M3x16 screws.
Tighten the M3 screws.
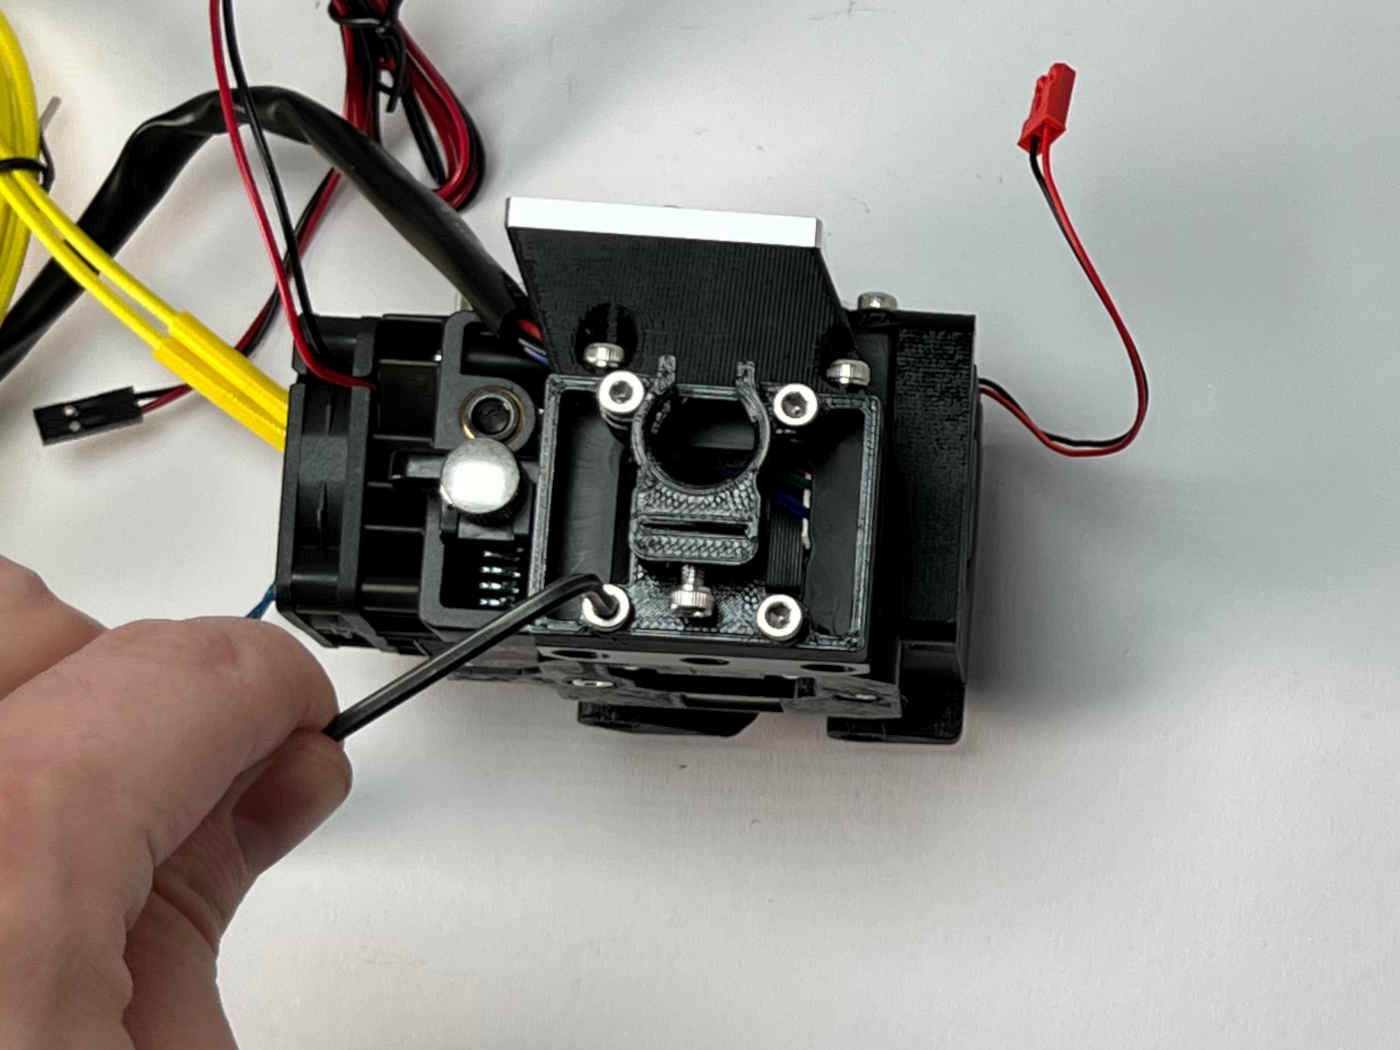
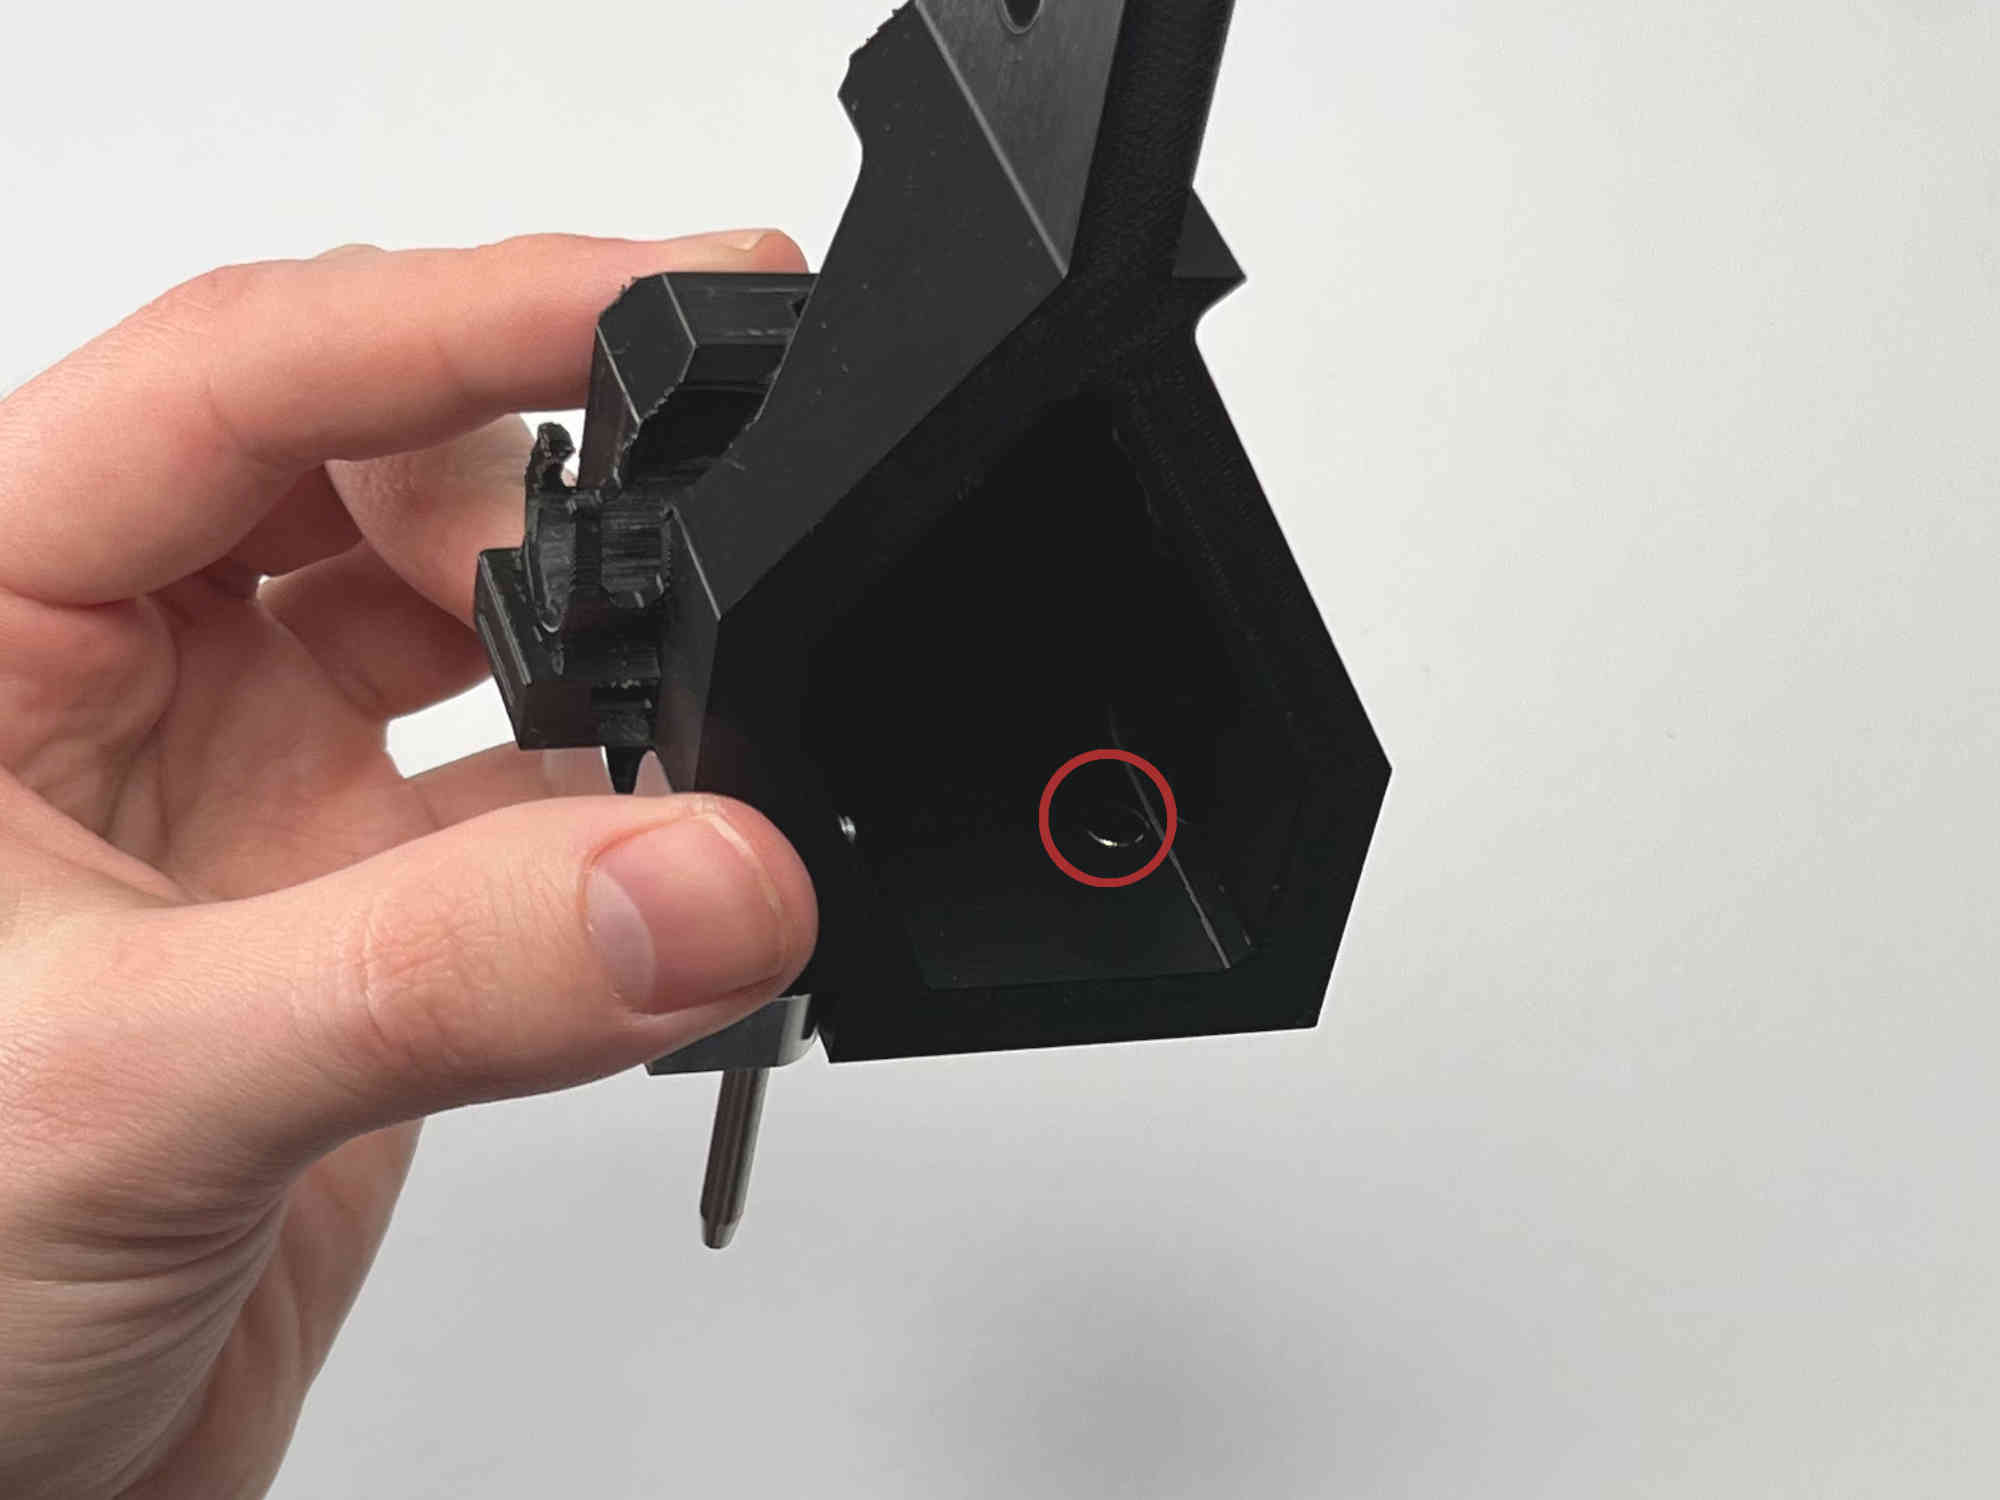
Thread the M3x5 screw into the top of the part. This will later be used to clamp the cable brace.
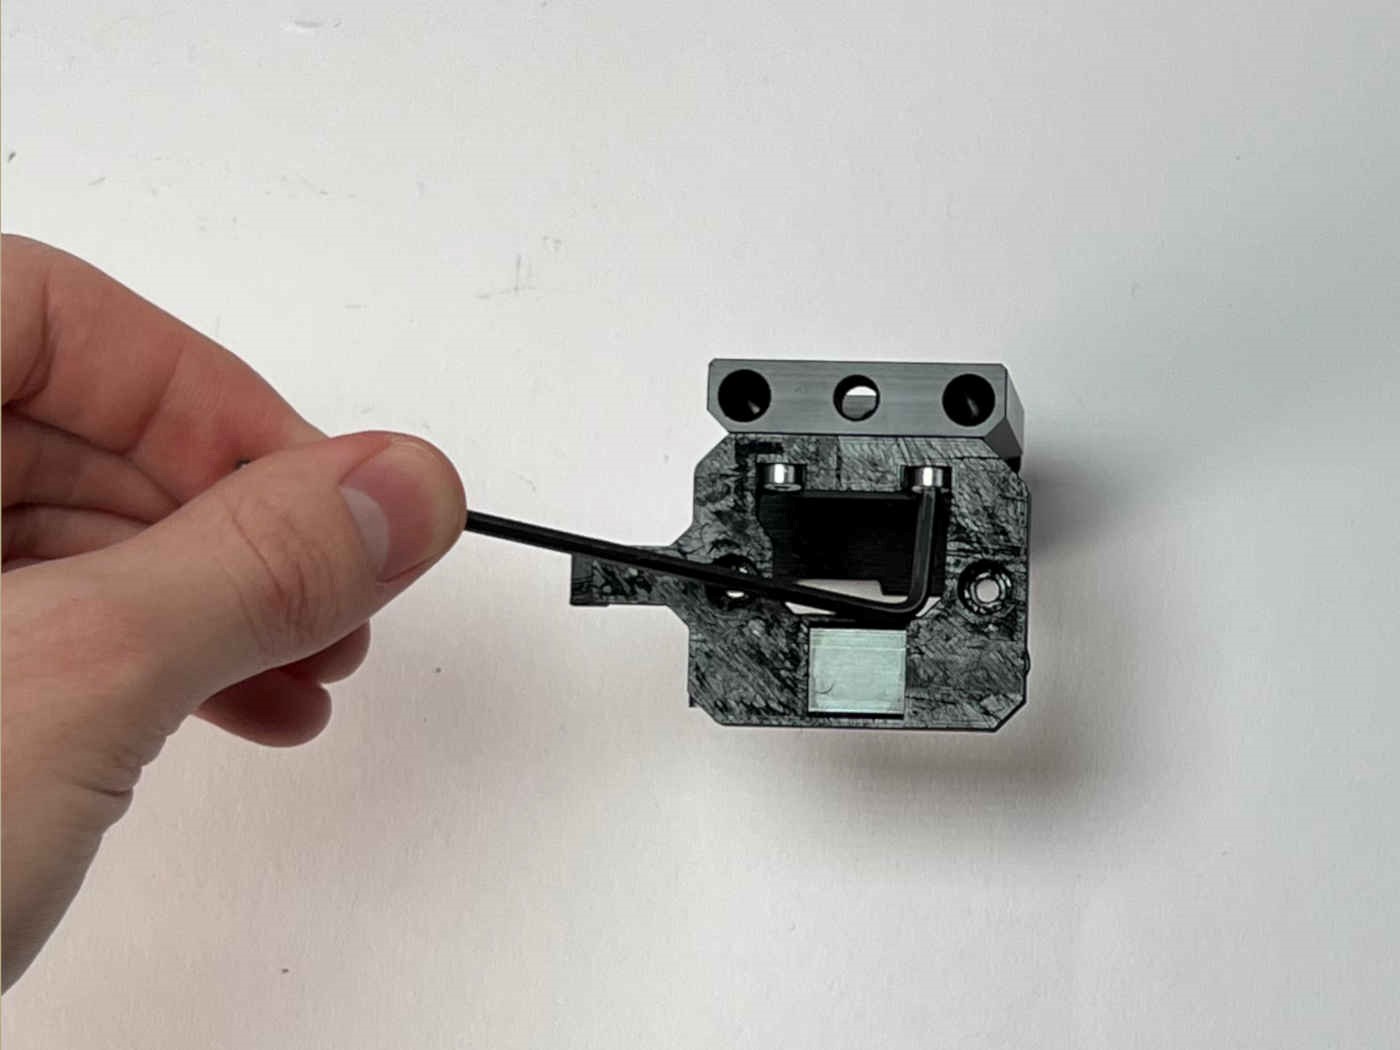
Insert the magnet into the slot in the middle of the part.
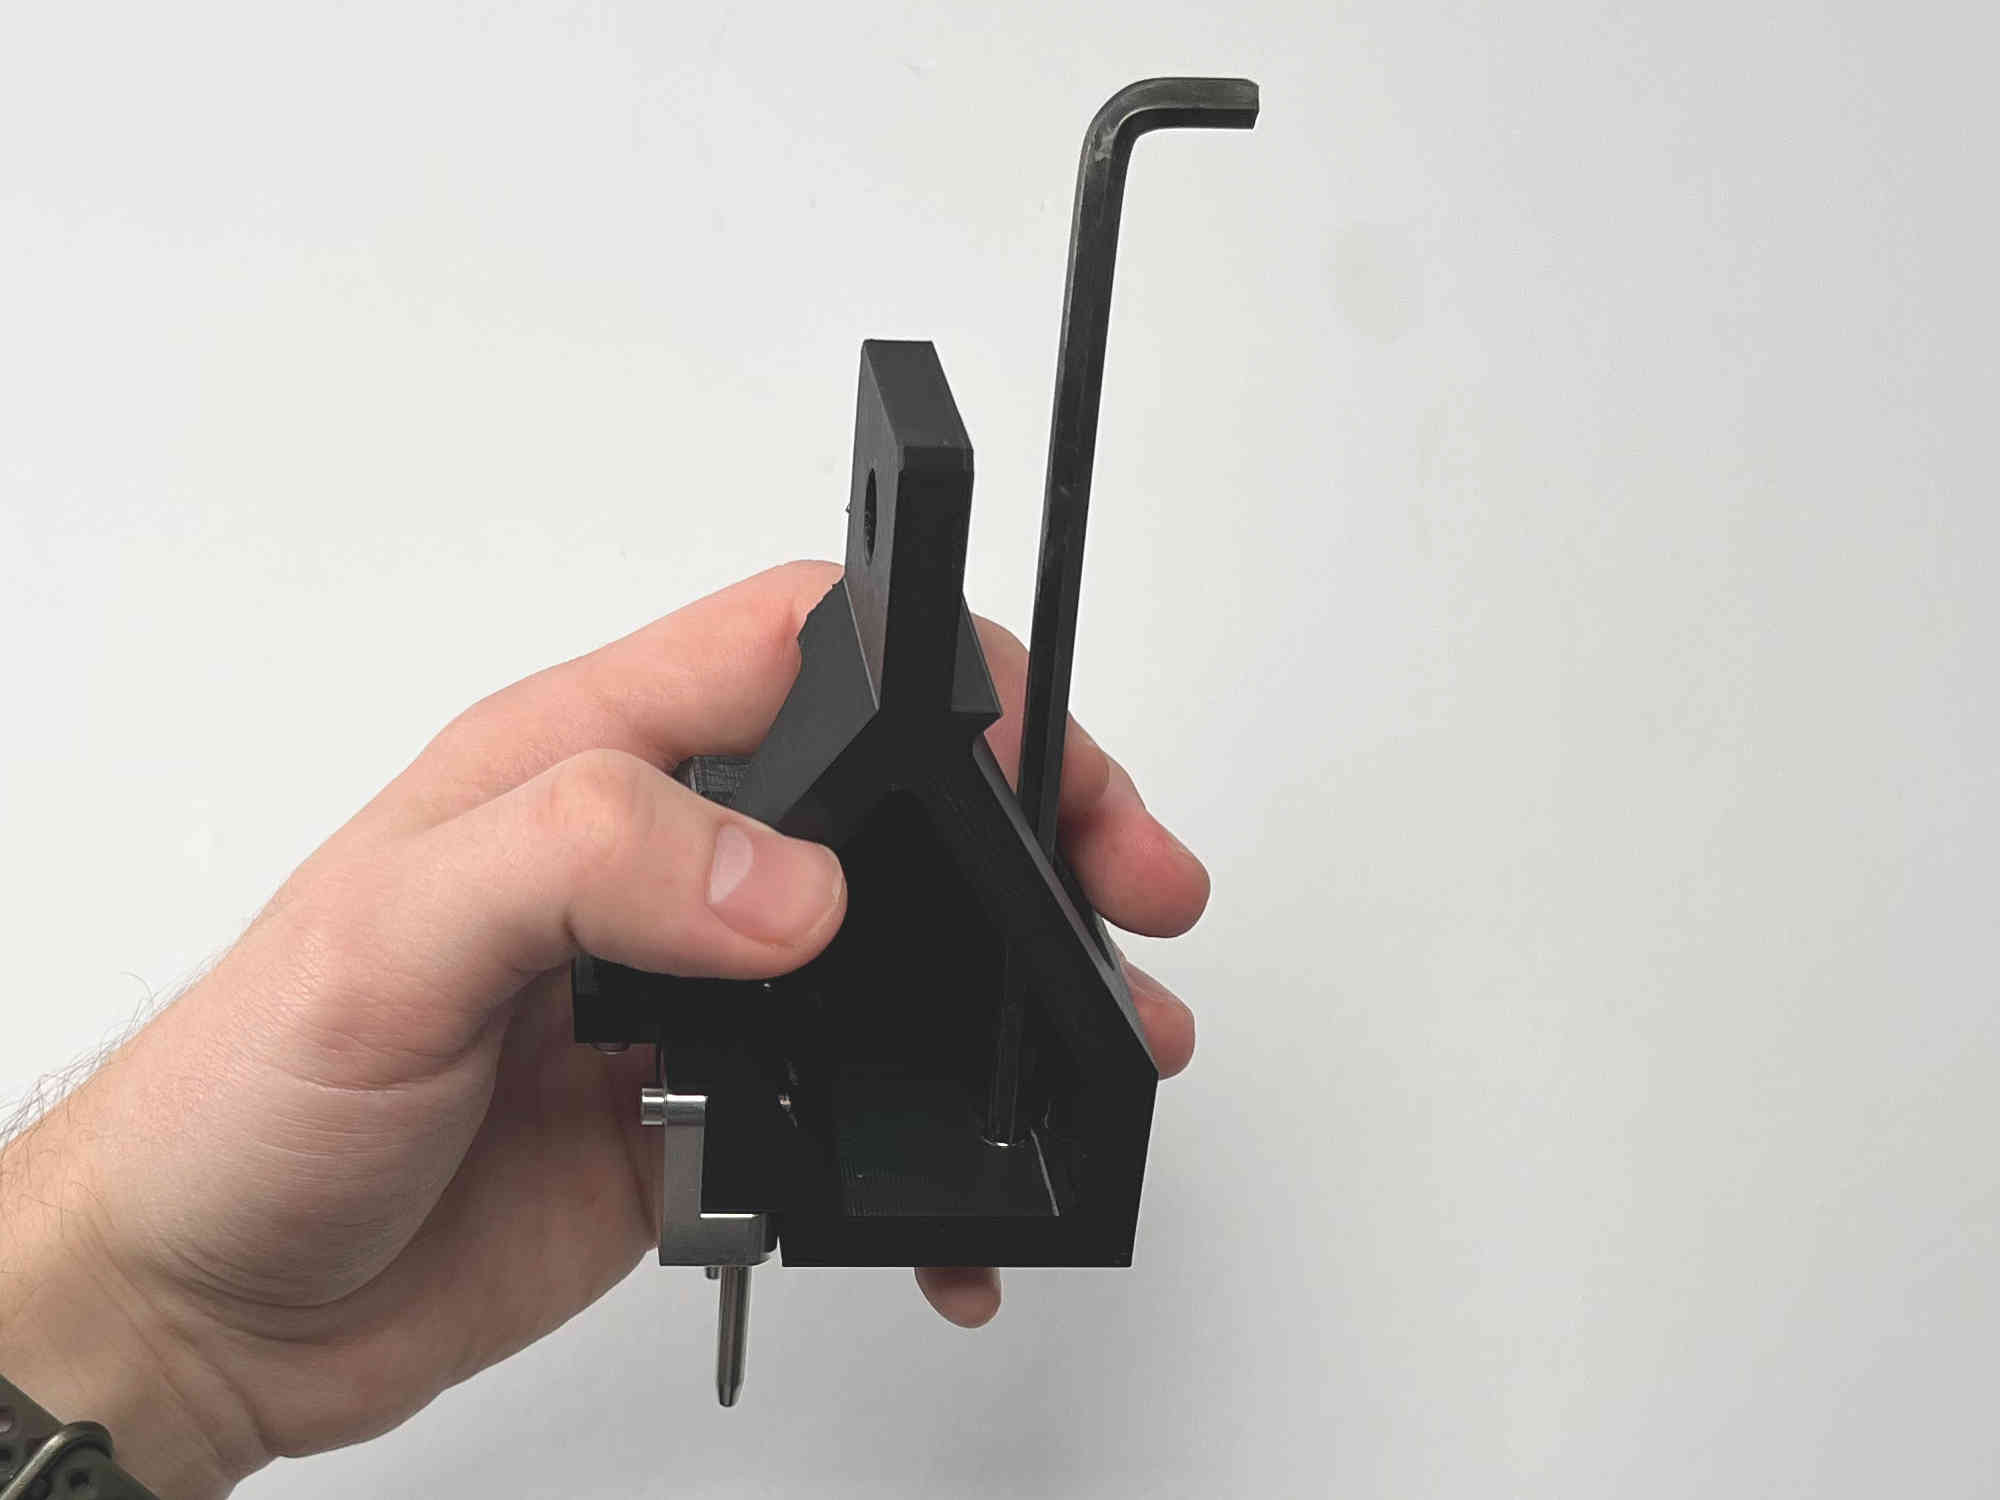
Press the magnet all the way to the front. This can easily be done by using an allenkey or similar object.
You are now ready to mount the parking spot on the machine. Please follow the guide in the RatRig assembly.